Category Archives: Holidays

A Very Cube-y Christmas

Hello internets! It feels like it’s been ages since I’ve posted – because it kinda has been.  Let me first assure anyone who’s following along (thanks!) that I’m not going anywhere!  In my real life, I work in the online retail industry, and fourth quarter is absolute madness for me.  I just don’t have the time for a good ol’ hands on DIY project this time of year.  ‘Tis the season for online shopping, #amirite?!

Moving on… I have some projects on the to-do list that I’m very excited about tackling and later posting here.  In the interim, I thought I’d do a quickie post about how my cubicle at work is decorated for Christmas!

Some people don’t care to decorate their cubicle at all, but my stance is that if I am going to spend most of my waking hours in here, I want to enjoy what I’m looking at!  It normally looks like this… 

photo-21
Here’s how I added a little holiday happiness to it!

4″ pre lit tree  

cubicle decirated for christmas  

Bow tree topper made of streamers ($1 at Target)

 cubicle decorated for christmas 

Pastel orb ornaments hung in a gradient pattern ($3 for 25 at Target)


Battery operated lights (I think these were $3 at the Target dollar spot, I’ve had them a few years now) + a Noble Fir branch (free! my mom cut it from her tree for me) for my console

 cubicle decorated for christmas

Merry message on my mini chalkboard

 cubicle decorated for christmas 

This only took me about 30 min total to put together, and added up to a whole $4 when you consider that I already had much of this stuff lying around!

 cubicle decorated for christmas 

Now my cubicle has me feeling the holiday spirit every time I walk into it!

Anyone else out there decorating their workspaces?  Link to yours in the comments if you please! 

Happy Holidays homies! 

xo

Advertisement

DIY Halloween Costume: Cliche Instagram Girl

Happy Halloween dudes and dudettes!

I made my own costume again this year and it was the shhh****.

We all have at least one of those friends on instagram.  Posting her pumpkin spice lattes, nutella snacks, selfie after selfie.  In the parlance of our times, a Basic B%!$#.  Calm yourself, I didn’t make up the term.

Halloween is a chance to be someone or something that you’re not.  So I went as a Basic B%!$# Cliche Instagram Girl for Halloween.  And it was cheap, and fast, and easy.  Unlike me.  This costume, for me, required a shirt and a prop.  You ready?

DIY Supplies:

  • Cotton T-Shirt (I used a men’s mossimo size M – so comfy!)
  • Cardboard
  • Spray Paint
  • Letter Stencils
  • Newspaper
  • Foam core poster board
  • Colored “holiday” plastic wrap
  • Tape

First: the outfit.  Skinny sweats, Uggs (faux and borrowed), and DIY’d t-shirt.  I chose the phrase “THAT FILTER LOOKS GOOD ON YOU” for my tee.  Because c’mon, Basics, you know that’s #truth!

The process is pretty straightforward.  I used a little cardboard t-shirt thing to keep my spray paint from leaking through the shirt.  I also used several pages of newspaper to protect my work surface, and to protect my shirt from too much over spray on the other letters on the stencils.

Anytime I do a project that involves lettering, I like to start my stencil or template in the middle of my surface to get things as centered as possible.  This takes some planning since you’re writing things out of order.  I recommend writing your phrase out on paper to use as a reference, just in case.  That way you don’t misspell something and facepalm.  My result with this tee wasn’t 100% centered but the choppy-ness (real word alert) really lends itself to the grungy-hipster-graffiti feel I was going for.

No one needs to see tons o’ progress pictures of how I did it, so I made a fun little gif for you.   You’re welcome, friends!

how to spray paint a shirt

Second: the prop.  What Basic instagram post is complete without a filter and frame, #amiright?!

This part was even easier than the shirt.  I cut a piece of black foam core board into a square and then cut a smaller square into it.  I’m going for the Mayfair filter / frame combo here, Basics.

diy instagram costume diy instagram costume

Then I taped red “holiday” plastic wrap to the back to create those subtle Mayfair pinkish tones we all love.

diy instagram costume diy instagram costume

That’s it, friends.  Done.  Selfie’d.  Grammed.

diy instagram halloween costume


This better win me a PTO day at our costume contest at work…

Pro Tips:

  • Don’t get offended by this blog post if you’re guilty of Cliche Instagram Girl posts.  This costume is a satire and I am most certainly guilty of some of the Basic Behavior I’m poking fun at.  See: pic in top left-hand corner.
  • Use Valspar flat spray paint.  They have that “any angle” spray can, which is ideal when you’re working on a flat surface and need to spray from directly above.
  • When you’re done spray painting your shirt with whatever design, use newspaper edges and your paint to create a look of over-spray on a large stencil.  It makes the whole thing more cohesive.
  • Wear disposable gloves or get spray paint on your hands.  Your choice.
  • Treat yourself on Halloween.  I’m not much for candy so I’m going with an adult bev or four.
  • Boo!

xo

Mother’s Day DIY Version 2.0

Happy Mother’s Day to all the Super Moms out there!

Last year, I shared the garden markers that I made for my Mom as a Mother’s Day gift, and in keeping that tradition, I’m back to tell you about the gift I made for her this year!

manicure in a jar

This sweet mani-pedi kit is so cute and really easy to personalize.

Supplies

  • Mason jar
  • Cotton balls
  • Nail tools (clippers, orange stick)
  • Nail polish color(s)
  • Small homemade lotion bars (optional)
  • String or ribbon
  • Card or nametag

manicure in a mason jar

Pick a polish color (or even two or three) that you know your mom likes, or even one that she might not normally try that suits her.

Lotion bars, like these I just posted, are a sweet handmade touch that any mom is sure to appreciate.  The size I made is perfect for this set!  I wrapped them in saran and secured the back with washi to package them.

manicure in a mason jar

Just like I did with the sugar scrub that I made as Christmas gifts, I covered the lids of the mason jars with fabric.  This is optional but makes the jar cuter, so why not, right?

manicure in a mason jar

It’s as easy as purchasing the items and putting them in the jar, friends.  Finish the Mani for Mom jar by tying a name tag or card onto it with a cute ribbon or string.  I used decorative baker’s twine and some plain note cards in which I stamped “Happy Mother’s Day” and “Mani for Mom”.

manicure in a mason jar

Your mom (or whomever you choose to give this to) is gonna love it!  I made three, one for my Mama, one for the fella’s Mama and another for his sis-in-law (who is the Super Mom to our adorable niece and nephew).  They turned out so cute!

manicure in a mason jar

Did anyone else make mom a gift for Mother’s Day?  Do tell…

Art is Everywhere

Friends, I hope you all had a wonderful Easter weekend.  If Easter isn’t your thing, I still hope your weekend rocked.  If you follow me on Instagram, you may have seen that the fam and I enjoyed a decadent brunch this Sunday, including Quiche Lorraine, Honey Baked Ham, Fruit, Mimosas, loaded potatoes and my favorite thing to make, bacon wrapped cinnamon rolls!

Brunch

Because my mom is the coolest lady you’ve ever heard of, she still gives my sister and I (and even our boyfriends) Easter baskets full of treats.  It’s not like we’re in our late twenties or anything… Lies, we are.  One of my treats this year was a little 5″ x 7″ Peter Rabbit puzzle called Scarecrow.  The fella and I put it together last night while pigging out on chocolate bunnies and skittles.  I was smitten y’all.

how to preserve a puzzle to use it as art

I laid three coats of Antique Matte Mod Podge on that baby and let it dry overnight.

how to preserve a puzzle to use it as art

This particular type of Mod Podge has an ever-so-slight tan-ish tint to it, giving an antique look to whichever surface it’s applied.  The image already has that kind of look to it so I didn’t actually need to use the antique matte but it was the only Mod Podge I had on hand.

how to preserve a puzzle to use it as art

I popped my ‘podged puzzle into this pretty pearl picture frame.  (What is my deal with alliteration lately?)

how to preserve a puzzle to use it as art

The frame was one of my many clearance Target purchases – $4.94 check and yes please.

As the title of this post points out, art is everywhere.  Even in a “gag gift” (her words) your mom the Easter Bunny stuffed into your Easter basket.  I love the simple, quaint feel of the picture.  Props to Beatrix Potter for creating such sweet imagery.  I don’t have kiddos but I think it would be perfect in a nursery!

how to preserve a puzzle to use it as art

Have you ever preserved a puzzle to use as artwork?  Do tell…

Three Easy DIY Heart Garlands

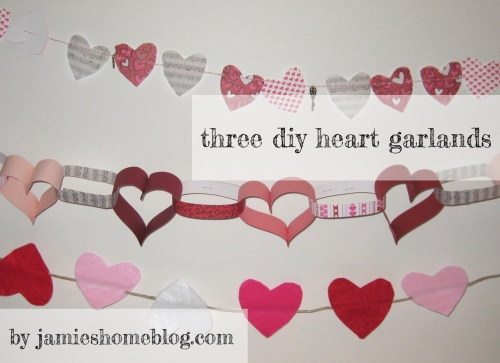
Love is in the air and the Hallmark Holiday that many of us celebrate and others love to hate is right around the corner.  I’m not big Valentine’s Day to be honest.  My birthday is the day before (YAY!) so I just ride the birthday high all the way into the 14th and keep on celebratin’.  Plus any excuse to get crafty and make cute decorations is A-OK with me.  Anyway I’m running late with this post so lets get on with it, yes?  Here are three easy diy heart garlands that I made!

diy heart garland tutorial

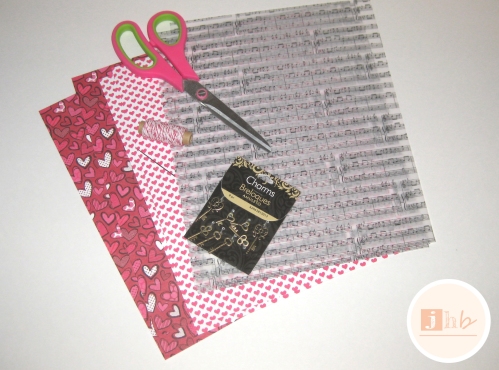
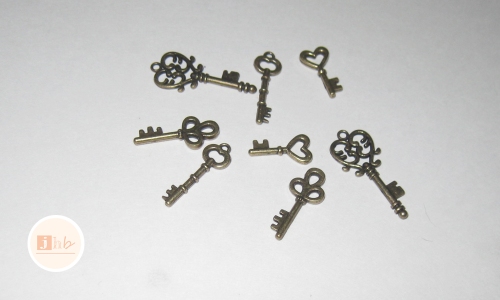
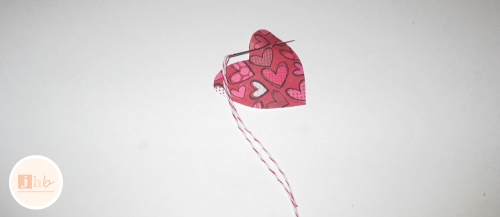
For the one you see in the top of the above picture, I used cutesy heart paper and music note vellum paper, a piece of card stock for a heart shaped template, decorative baker’s twine and a sewing needle, and some adorable little skeleton key charms.

diy heart garland tutorial

First, I cut the paper into 3″ x 3″ squares.  Making them “hand-held” made it much easier to cut them into heart shapes.

diy heart garland tutorial

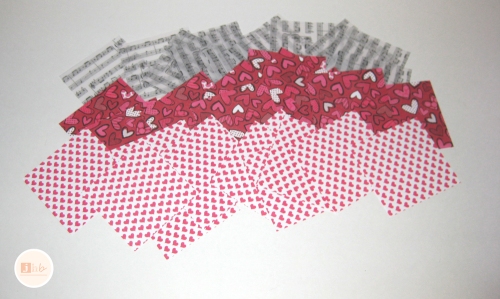
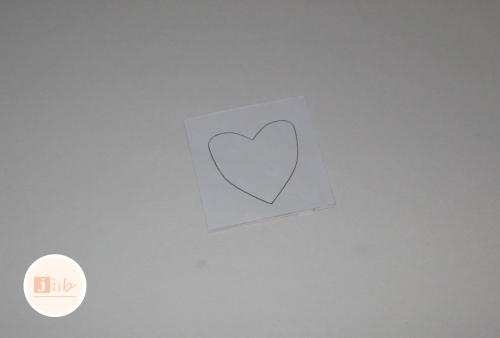
I free-handed a teardrop shape in a piece of card stock that was folded in half and cut it out to use as a heart template.

diy heart garland tutorial

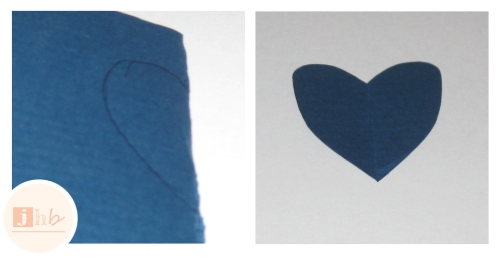
Traced it on the back of my paper squares…

diy heart garland tutorial

Then cut the hearts out.  That sounds heartless, but who can resist the bad pun?

IMG_2206

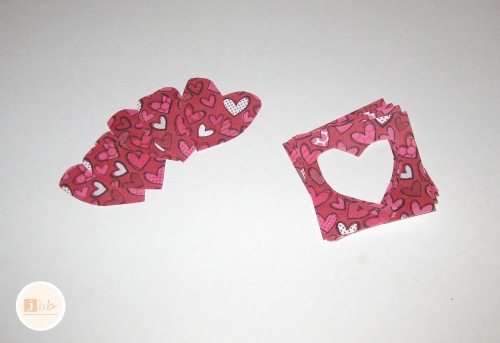
I layered four pieces each time I traced and cut the hearts to make the process faster.  I have no idea how many I cut, I just kept going until I felt like I had enough for my garland (which is around 9 feet long).

diy heart garland tutorial

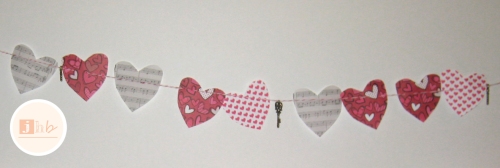
Then I threaded a sewing needle with my red and white baker’s twine and just strung the hearts together, adding a skeleton key after every fourth heart.  I didn’t follow any formula when sewing the twine into the hearts, just into the front and again into the back somewhere near the top.

diy heart garland tutorial diy heart garland tutorial

diy heart garland tutorial

diy heart garland tutorial

That’s it!  Heart Garland One: Done.

diy heart garland tutorial

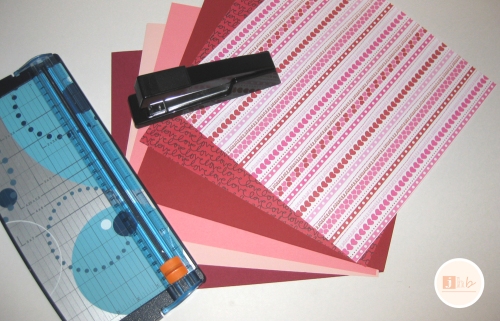
The second garland is my Valentine’s Day version of the good ol’ paper chain.  For this I used four 12″ x 12″ pieces of red and pink scrapbook paper, two 12″ x 12″ pieces of decorative scrapbook paper (hearts and the word love), one piece of the 8.5″ x 11″ music note vellum paper, a paper slicer and a stapler.

diy heart garland tutorial

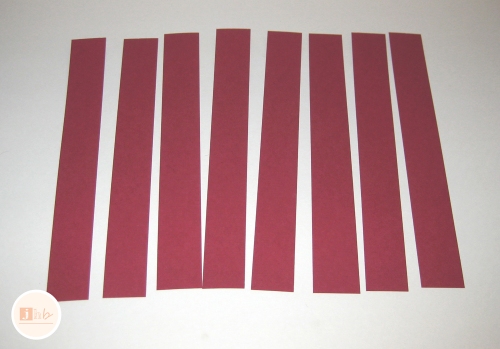
The solid-colored papers, I cut into 8 equal strips; each 1.5″ thick.

diy heart garland tutorial

This paper has a pretty, linen-like texture to it and is thicker than plain paper but not as thick as card stock.  I’m not sure how this project would work with thicker paper but I imagine this next part would be more difficult.

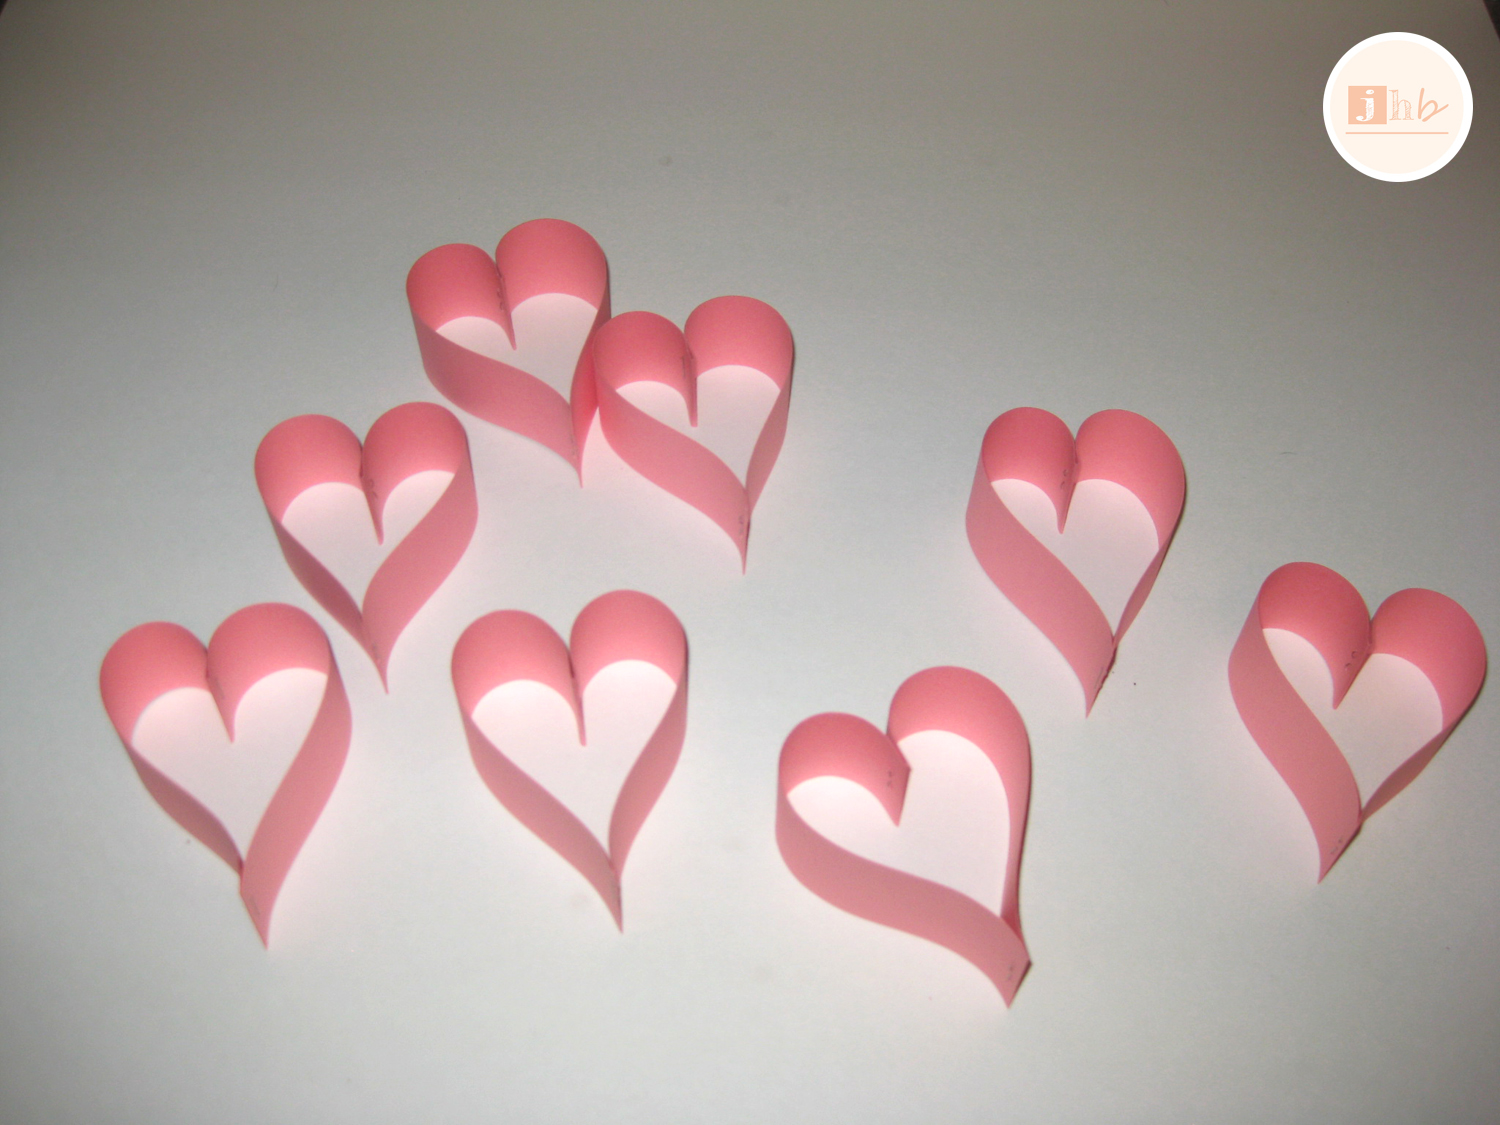
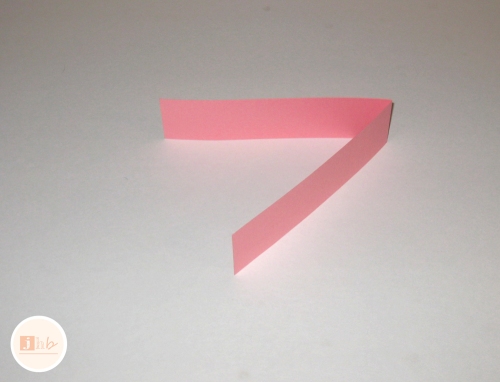
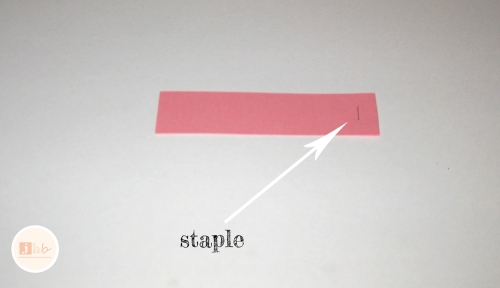
First, I folded the strip in half and stapled it about one-half inch above my fold.

diy heart garland tutorial

diy heart garland tutorial

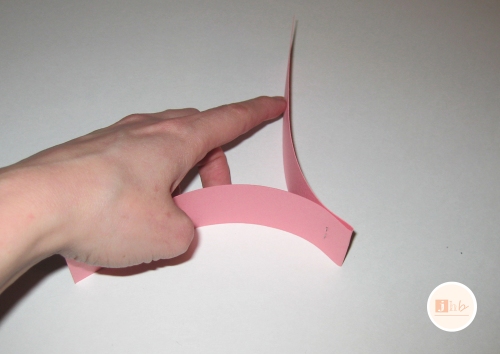
Then I pulled both sides around and stapled the ends together at the bottom to make a heart!

diy heart garland tutorial IMG_2236

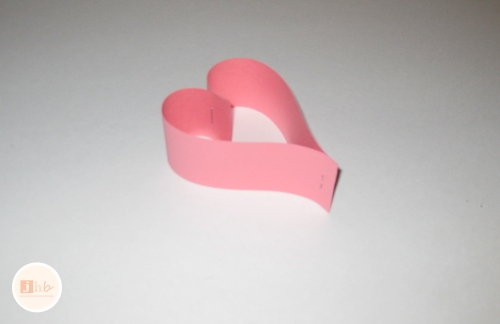
I repeated this process for each of the eight strips from all four papers.

diy heart garland tutorial

diy heart garland tutorial diy heart garland tutorial

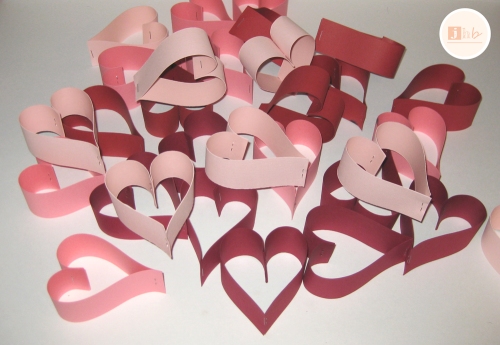
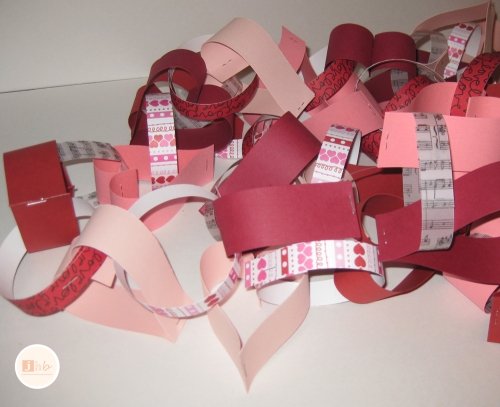
I’ll save you the math, that’s 32 times!  This particular garland clocks in at around 15 feet!

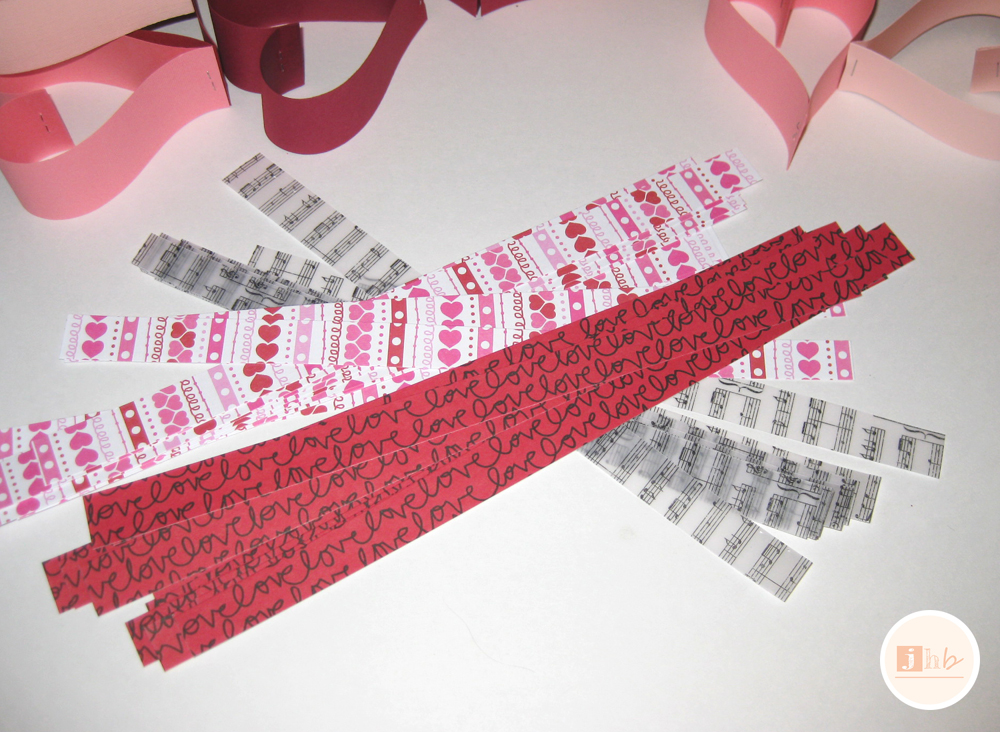
Then the heart, love and music note papers were cut into strips that were about 3/4″ thick.

diy heart garland tutorial

I stapled the strips like rings through the hearts to create a heart chain.  And that’s  all, it’s that easy! 

diy heart garland tutorial diy heart garland tutorial

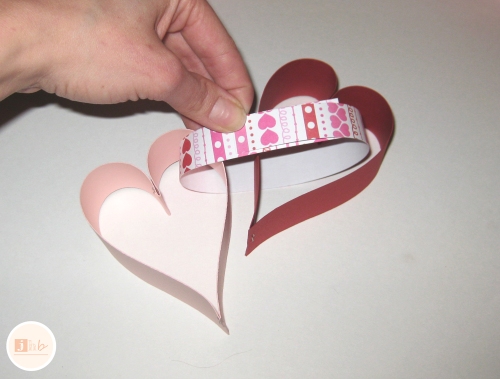
Heart Garland Two: Done.

IMG_2255

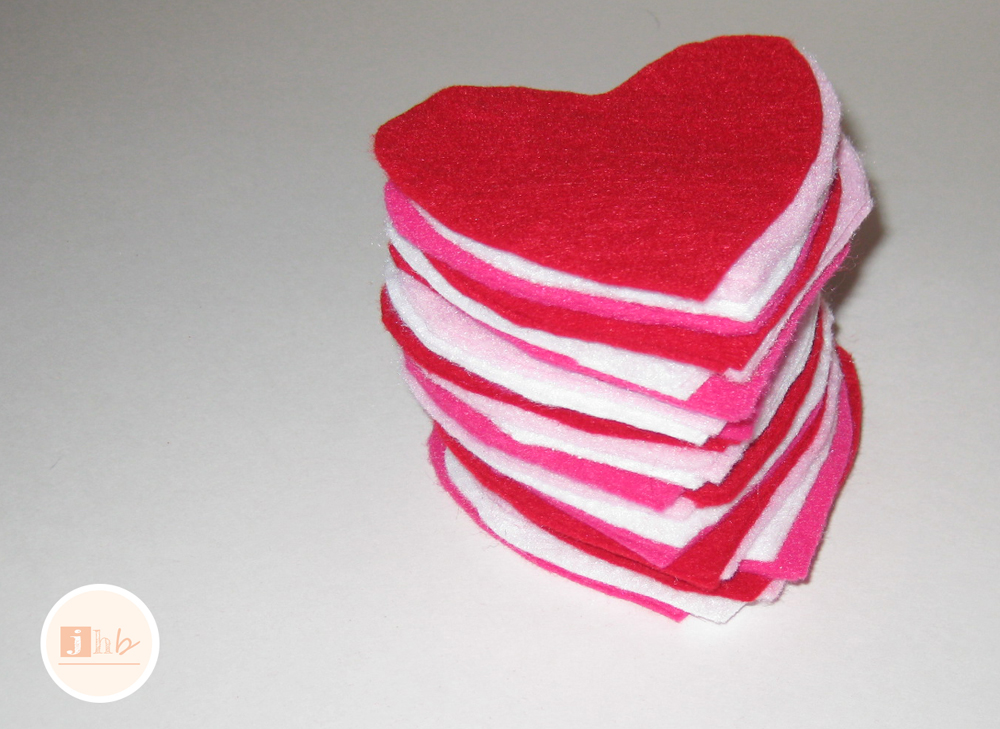
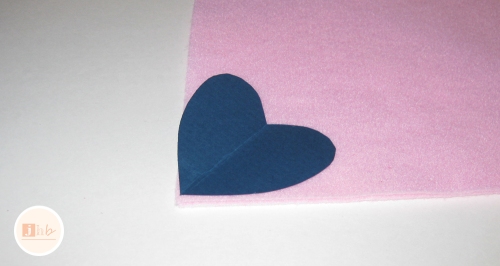
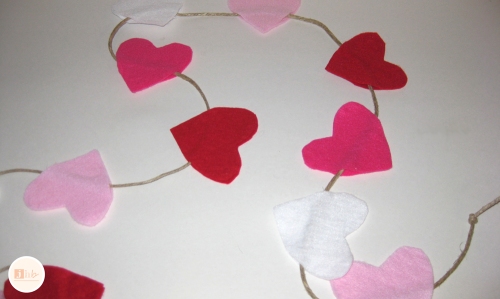
This last one took a little longer, but was less step-involved and might be my favorite one.  It’s so simple and cute!  I used eight pieces of V-Day colored felt, a card stock heart template, an iron and stitch witchery, and twine.

diy heart garland tutorial

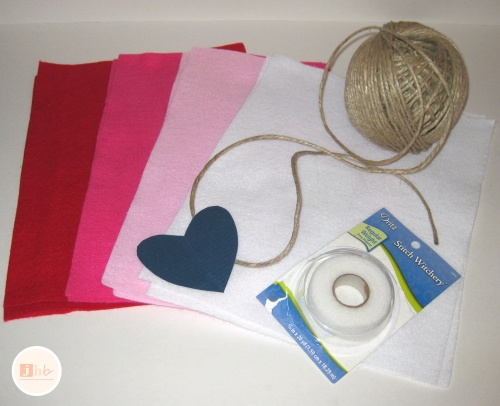
I used the same teardrop technique from the first garland in this tale to create a heart-shaped template that’s about the size of my palm.

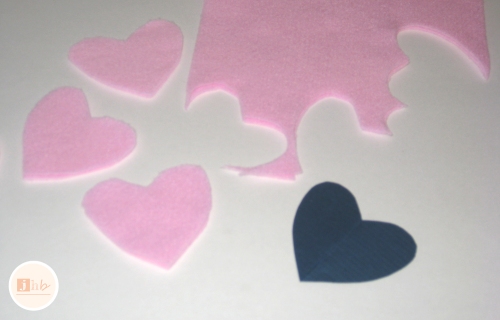
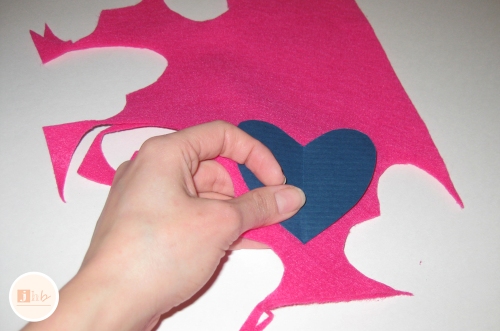
Then I cut hearts out of each piece of felt, two layers at a time.  I didn’t follow a method with this, I just cut a heart, moved the template, cut another and so forth.

diy heart garland tutorial diy heart garland tutorial diy heart garland tutorial

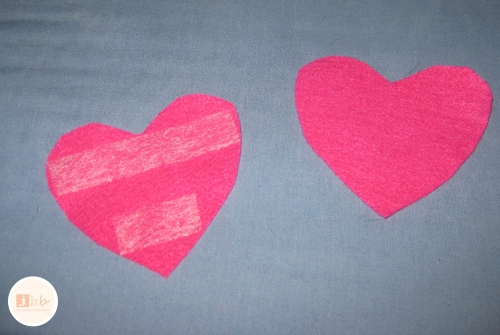
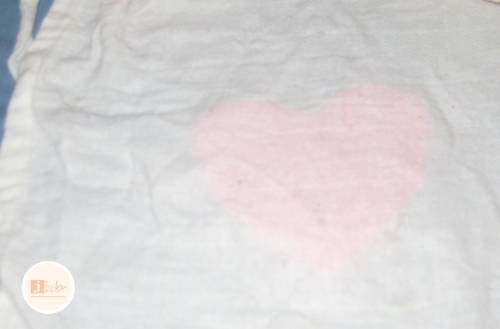
After the hearts were all cut, I pulled out my iron and got to work with the stitch witchery.  If you haven’t used this stuff before, let me break it down real quick for you.

You lay your stitch witchery where you want your fabric to be bonded or hemmed, lay a damp cloth over your fabric, and use your iron to essentially melt the stitch witchery, sealing your fabric just like thread would, but without the stitched look.  It’s even machine washable.  The stuff rocks my socks off.

I used a long strip across the top of one heart and a short strip across the bottom, laid another heart on top, laid my damp cloth on and pressed with my iron for ten seconds.  Then flipped each heart over, laid the damp cloth down again and pressed for another ten seconds on the other side.

diy heart garland tutorial

diy heart garland tutorial

diy heart garland tutorial

I repeated this process I’m not sure how many times, and ended up with a nice little stack of them.  This last garland ended up being around 12 feet long.

diy heart garland tutorial

Then I just strung the twine between the two bonded parts of the hearts.  I used a crochet hook on some of them since the twine seemed to slide through more easily that way.

diy heart garland tutorial diy heart garland tutorial

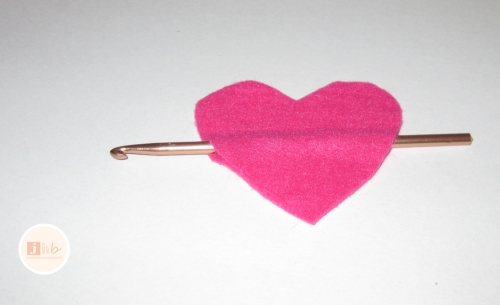
And just like that… Heart Garland Three: Done.

diy heart garland tutorial

These were so fun to make!  I wish I could have posted this sooner, but there’s still time for you to make one too!  Well, I’m off to hang them now…

diy heart garland tutorial

What diy Valentine’s Day projects have you been up to?  Do you have a favorite of the three garlands I made?  Do tell…