Category Archives: Gardening

DIY Hanging Bud Vase

Oh hi, blog land! It’s been, uhhh, six-ish months since I’ve posted anything here… Which, well, sucks. I’m still here, you guys, and I still want to do this diy blog life thing. It’s hard lately. By way of explanation, a second job kind of fell into my lap last December, and I jumped at the chance to take it. It’s a lot of work, dudes. Like, a LOT. I’m not complaining, though, because it’s fun work. And, well, I like money. I’ve got lotsa diy dreams, and money will certainly help me accomplish them. It’s just been a busy whirlwind that hasn’t left me a cache of energy to work on projects (or finish the five or so that I’ve got in progress/half done). In any case, I want to pledge to balance business and pleasure better, so hopefully I’ll be around on here more often. I’ve got something to share today, though, so let’s get started!

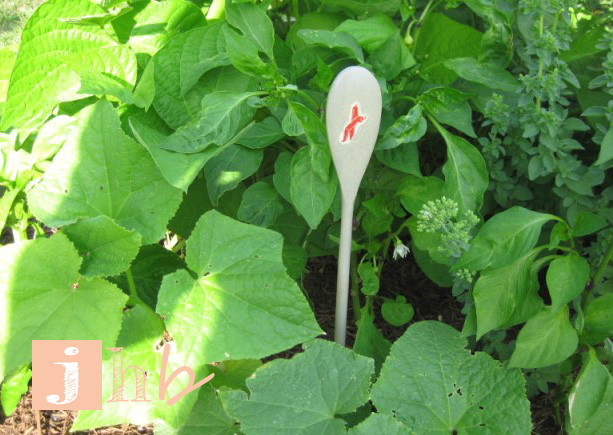
I’ve got a history of making garden related things for my flower child mom and posting them here (painted flower potsplant markers). This post continues that tradition.

My mom has these rose bushes… She loves them dearly. She planted them at the house where we lived while I was in junior high and high school. When she and my father downsized after my sister and I moved out, my dad carefully dug them up so she could transplant them to their new yard. Five or so years later, they’re still doing pretty well, despite one getting a rose disease. Yes, rose diseases are a real thing.

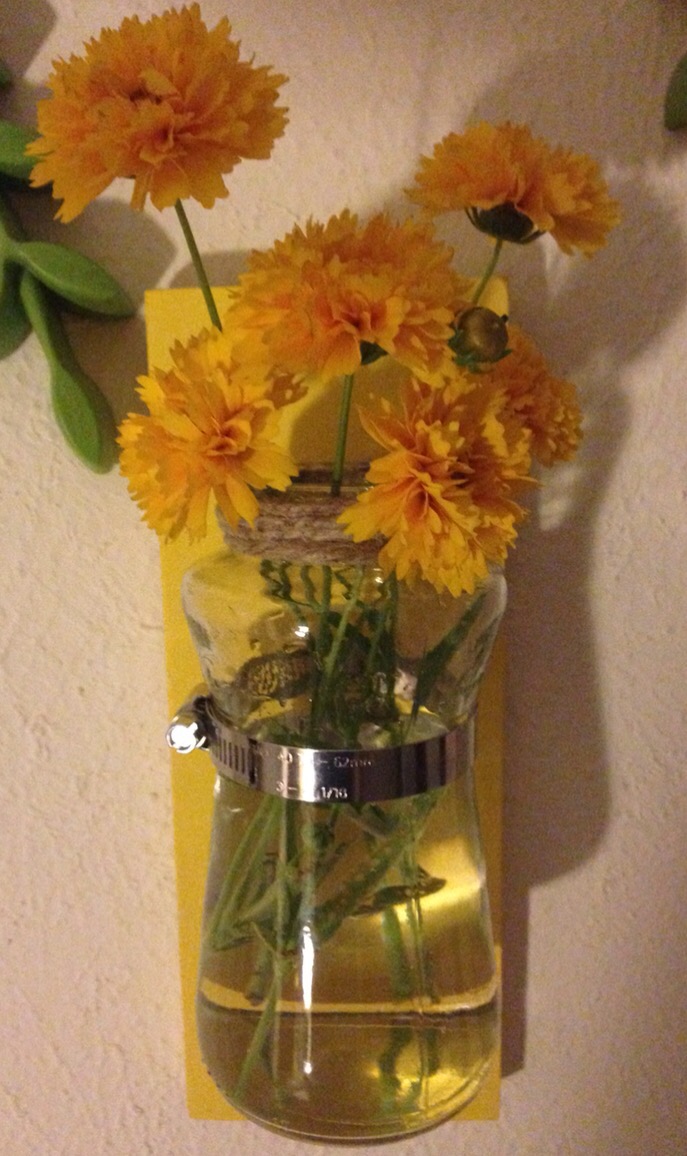
She’s always snipping off a rose or two and giving them to me and my sister, or displaying them in jars around the house. So for Mother’s Day, I made my Mom a wall mounted bud vase!

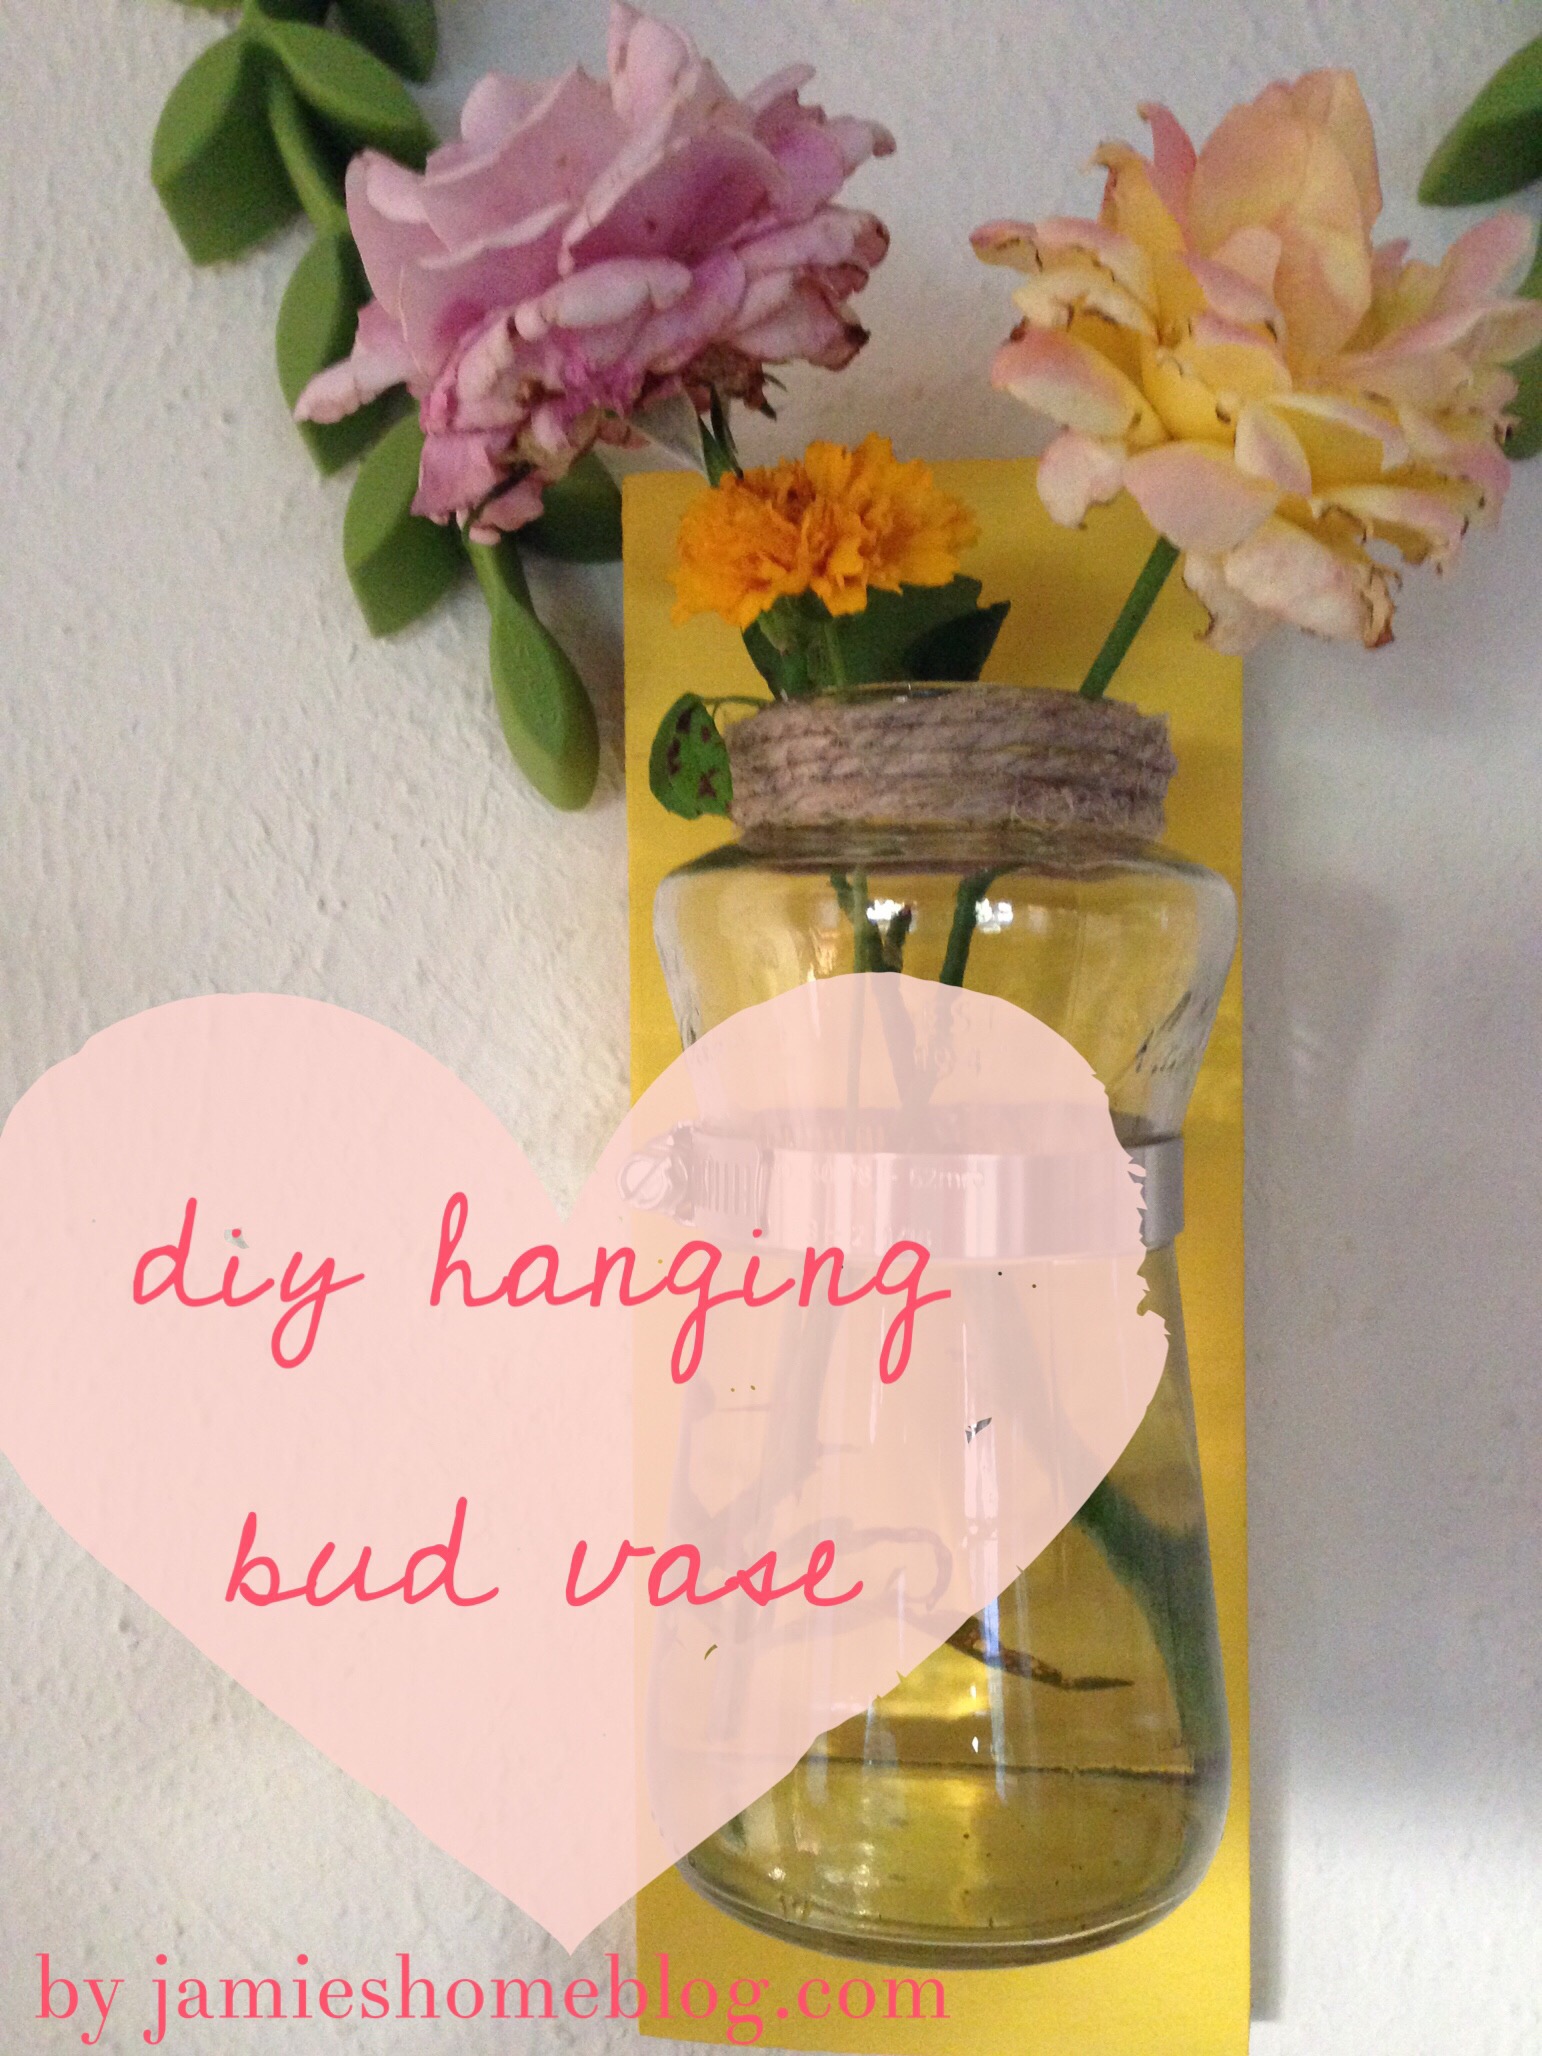
I can’t take full cred for the idea. Buzzfeed’s Nifty Facebook page posted a video of three mason jars being mounted to a board to display succulents, organize your bathroom, etc. I just took the idea and modified it. It was easy peasy, lemon squeezy!

Supplies

  • Block of wood (mine was a scrap)
  • Jar
  • Twine
  • Acrylic paint
  • Hose clamp
  • Screw
  • Sawtooth hanger

Tools

  • Phillips head screwdriver
  • Flat head screwdriver
  • Foam paintbrush
  • Hot glue gun + 1 hot glue stick
  • Hammer

Steps:

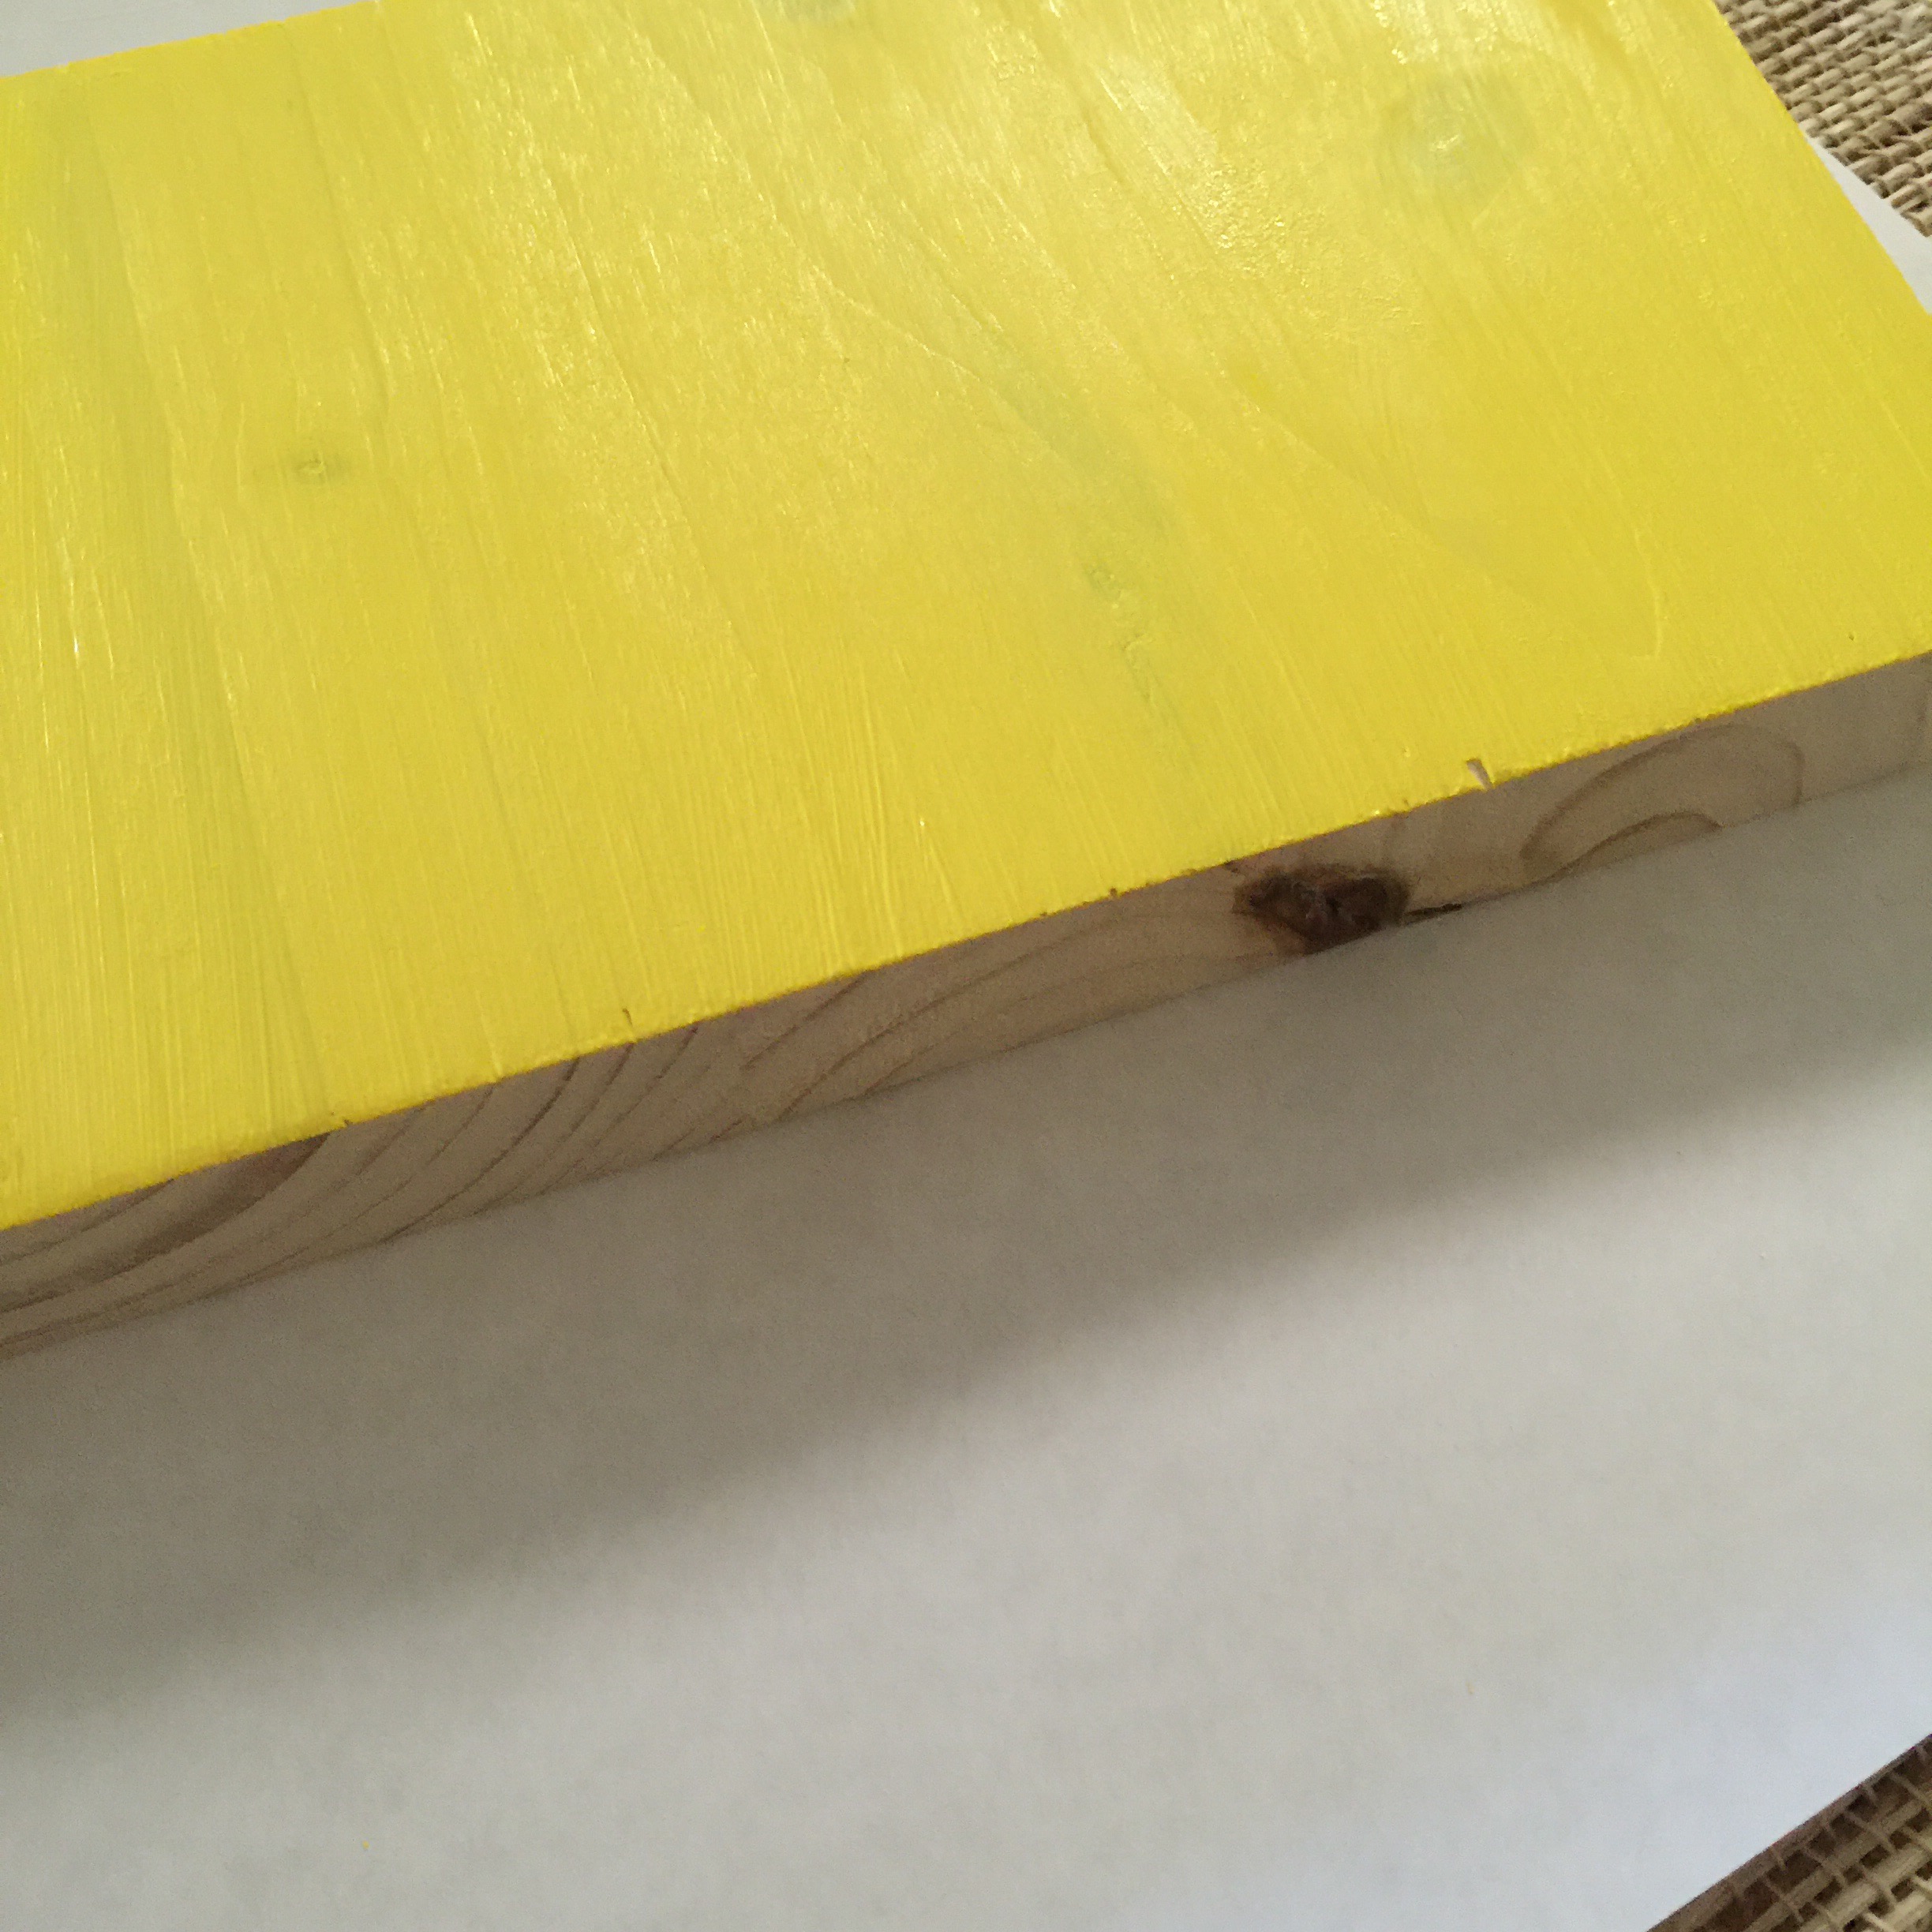
1. Paint your wood block. The first coat is pictured here, but I ended up painting three coats on the front and two on the edges.

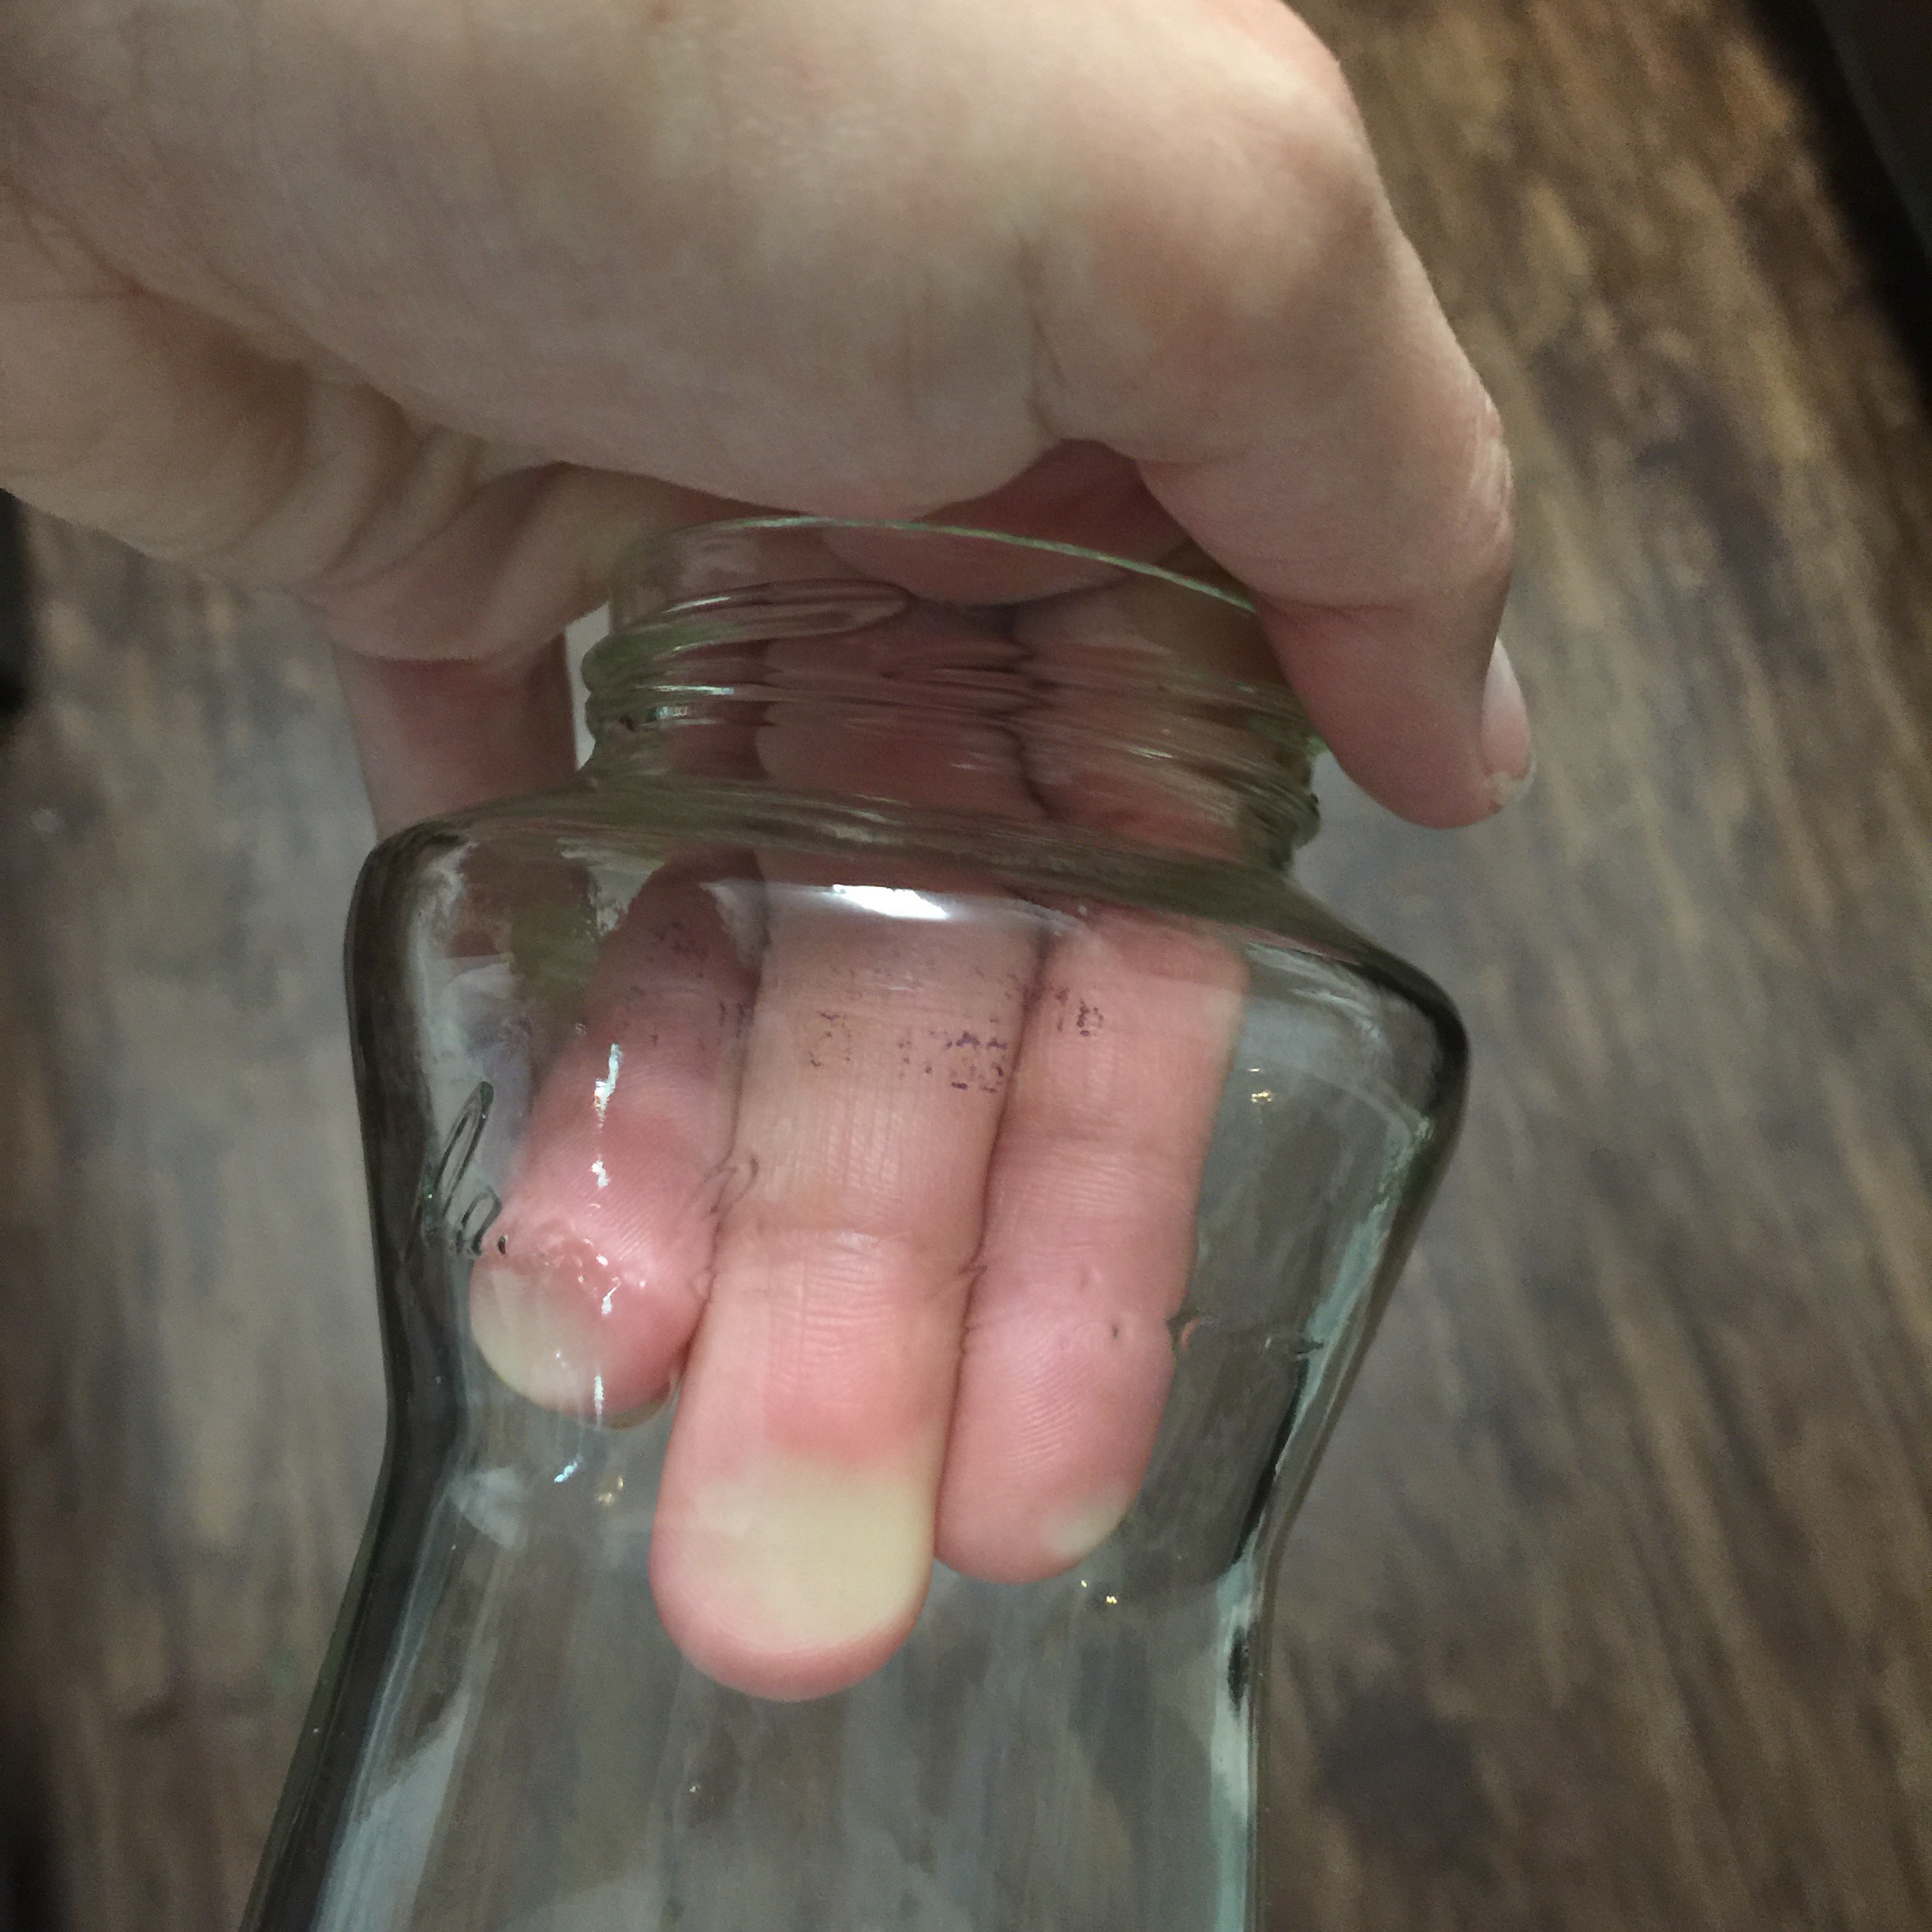
2. Prep your jar. I used a salsa jar, which still had salsa in it, and since I don’t waste salsa EVER, I poured it into a plastic food saver and proceeded to wash the jar.

Pro tips:

  • Wash the jar thoroughly with hot water and dish soap.
  • Use goo-gone to help you get the label off. The kind in the spray nozzle bottle is amazing.
  • To remove printed-on “best if used by” dates, soak a cotton ball in a little bit of rubbing alcohol or nail polish remover and gently wipe off the ink.

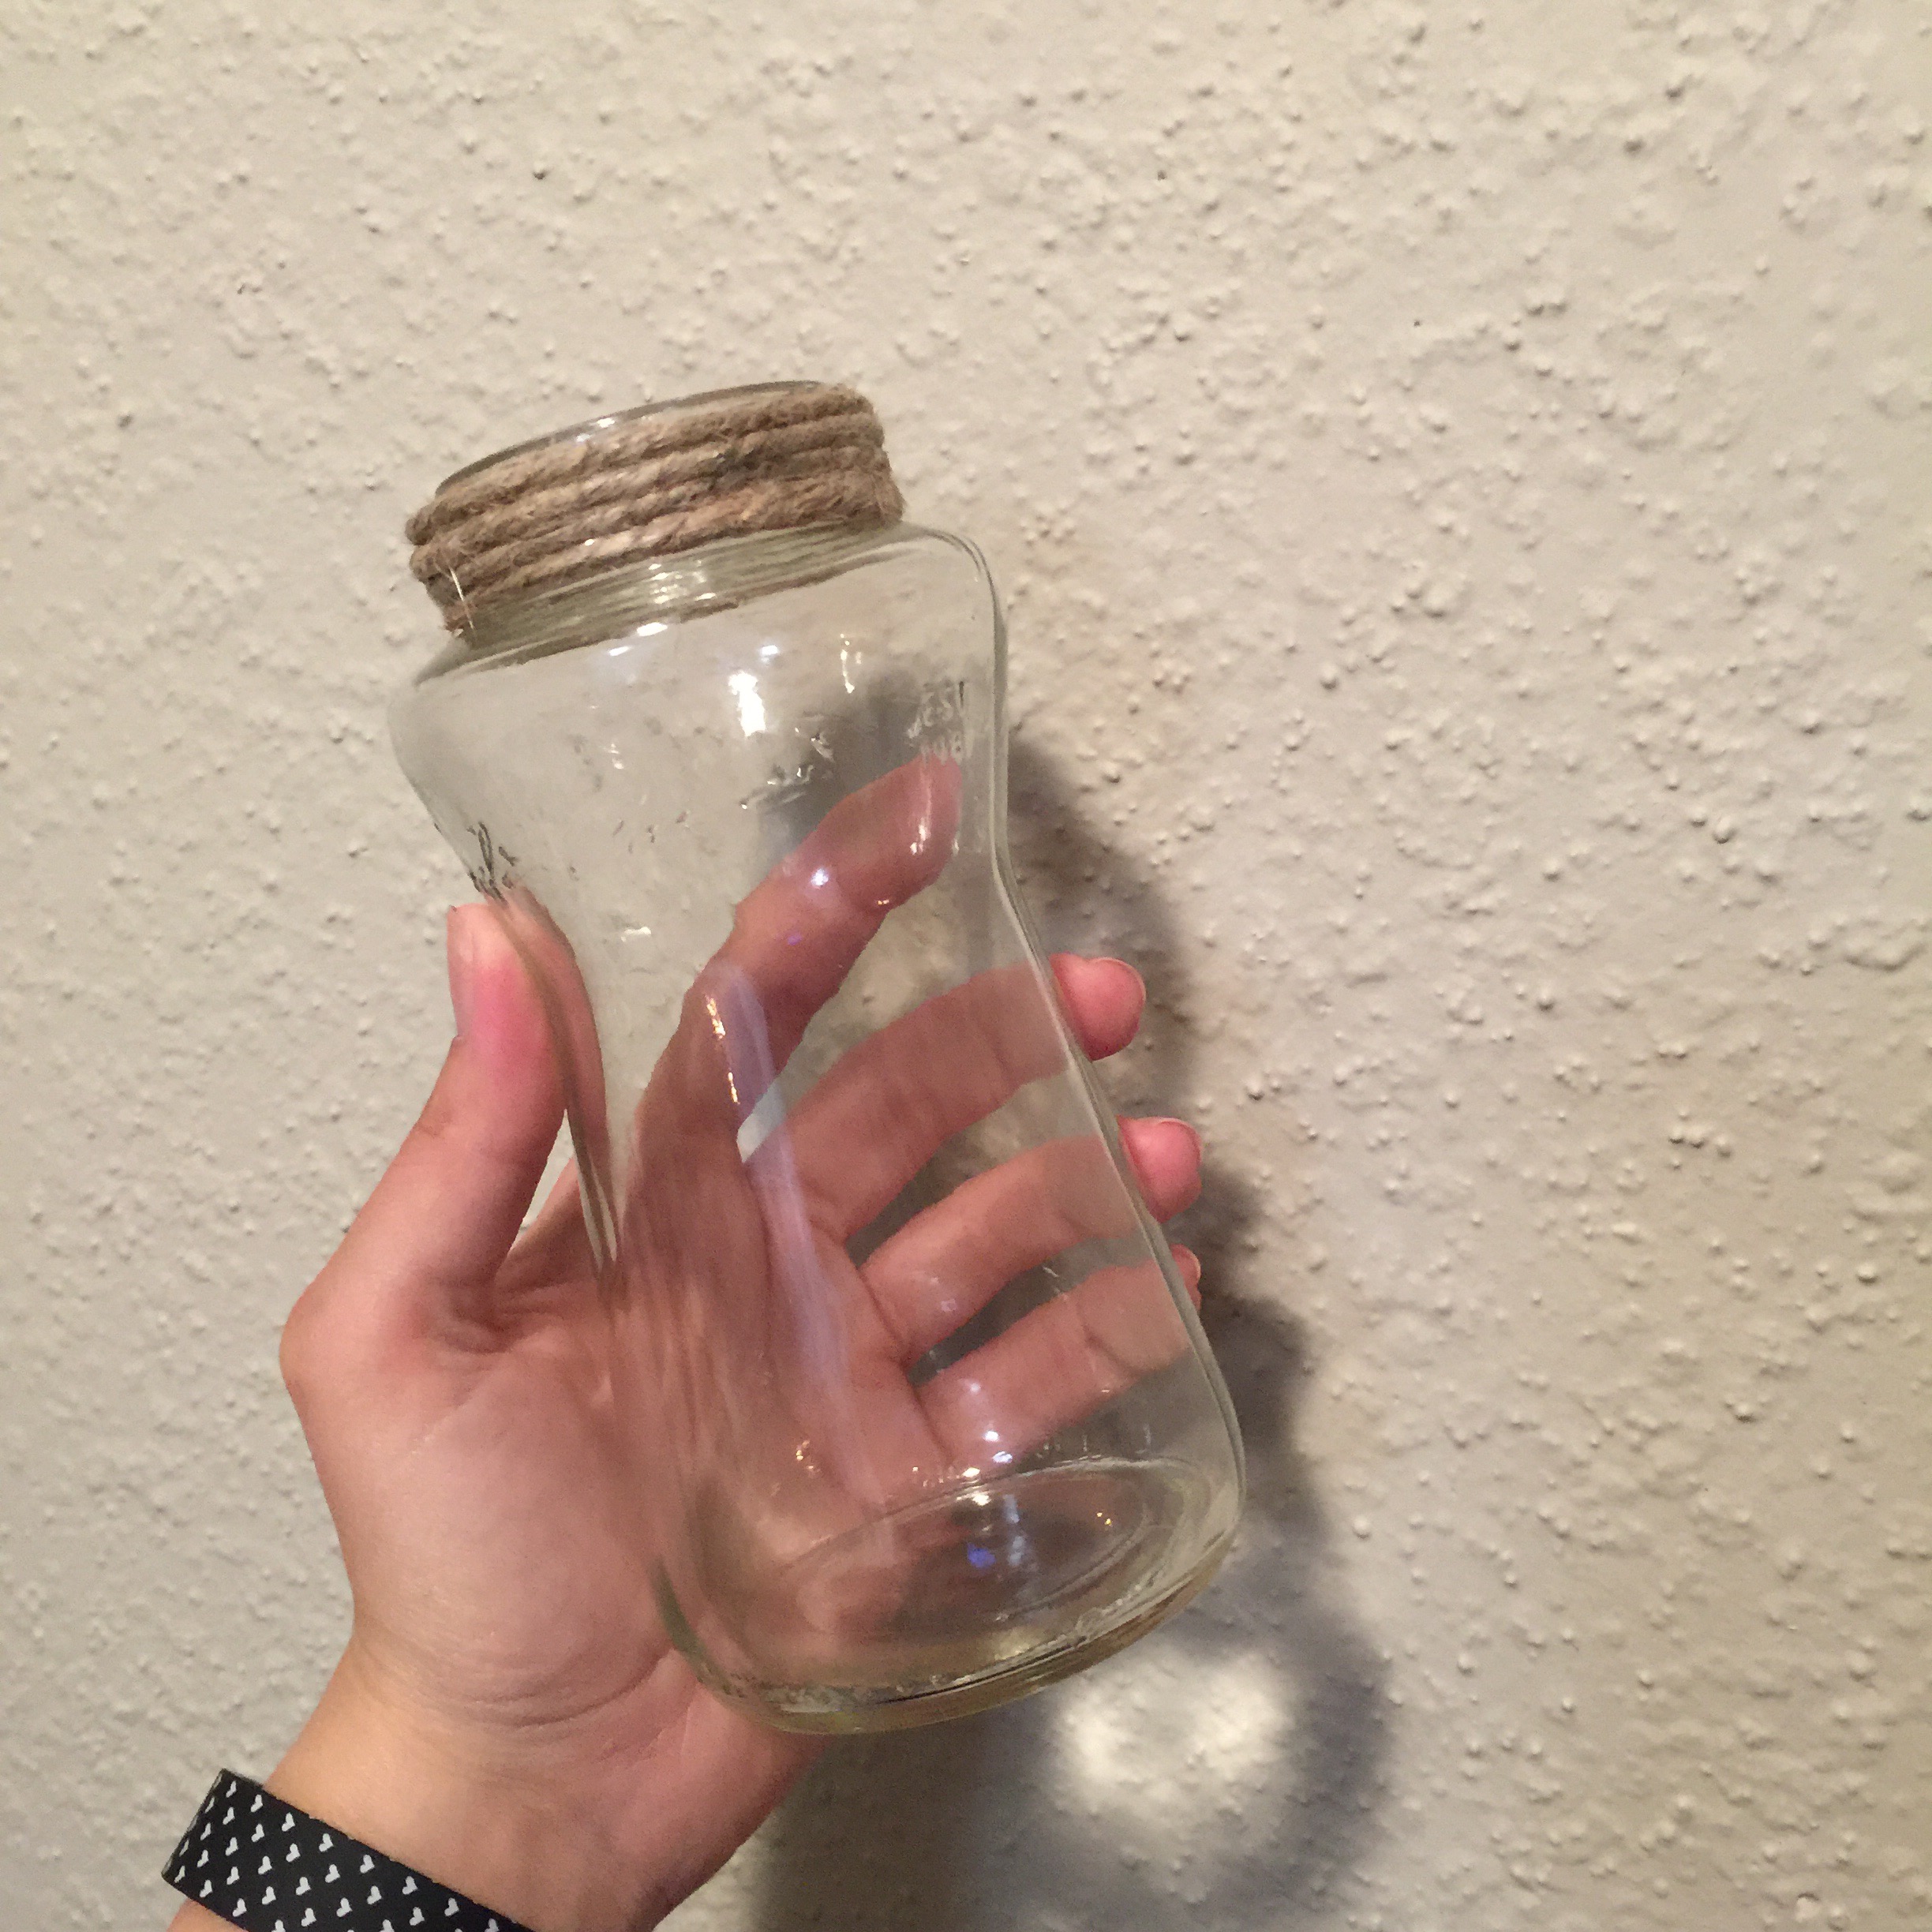
3. Add twine or ribbon to the rim. The threading on the top rim of the jar makes it very obvious that it’s a salsa jar. Using hot glue to affix twine around the rim gives it a much more finished look.

I don’t have pics of the below parts of the process, but Buzzfeed’s video is a good resource for visuals for the parts I’m about to explain.

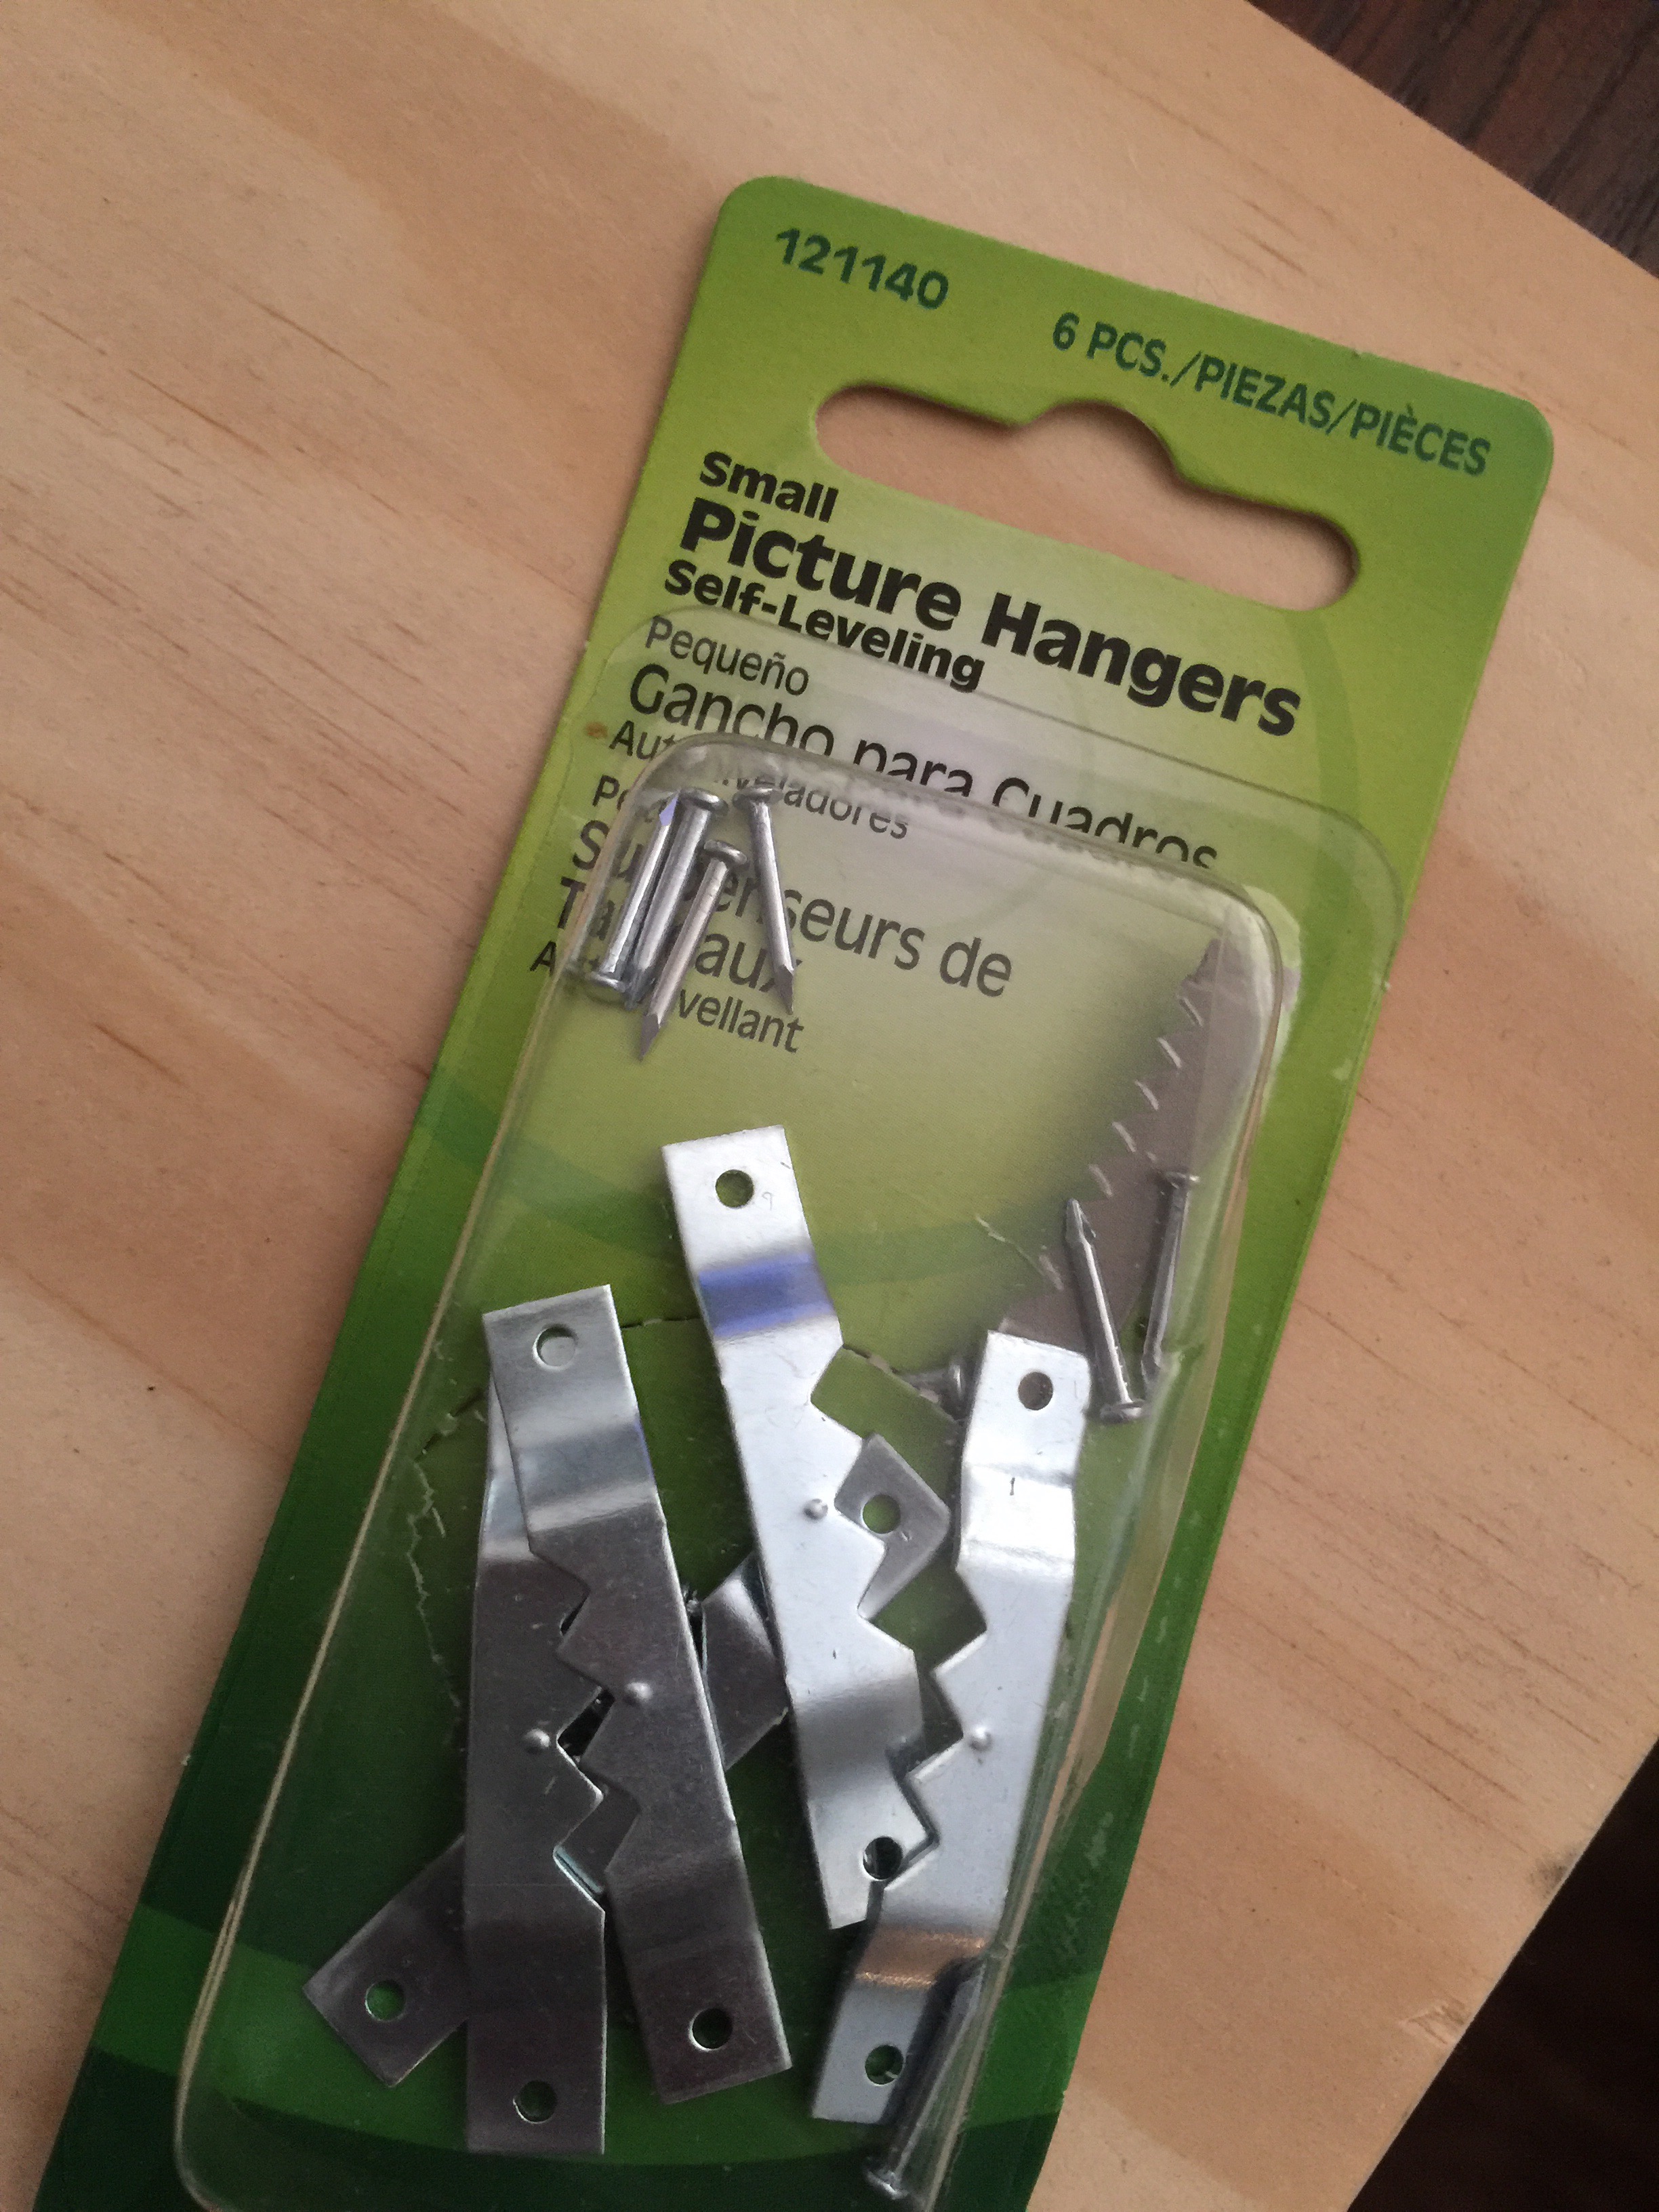
4. Attach your sawtooth hanger to the back of your board. Because I did a vertical bud vase I attached it to the very top in the middle, using the tiny nails that come with the hanger, and a hammer. If you’re making a horizontal hanger, you’ll probably want to use two sawtooth hangers towards each top corner of the board. Because I sometimes get asked what a sawtooth hanger is, look here:

5. Attach the hose clamp to your board. You’ll want to measure to find the middle of your board and then mark where you’re going to screw the hose clamp in. Make a very small pilot hole for your screw. Open the hose clamp and use a Phillips head screw to attach the clamp to the board.

6. Insert the jar in the hose clamp, and use a flathead screwdriver to tighten the hose clamp down taut so that the jar has no wiggle room. Not too tight, though, you don’t want to break your vase!

7. Hang, add water and pretty flowers, enjoy!

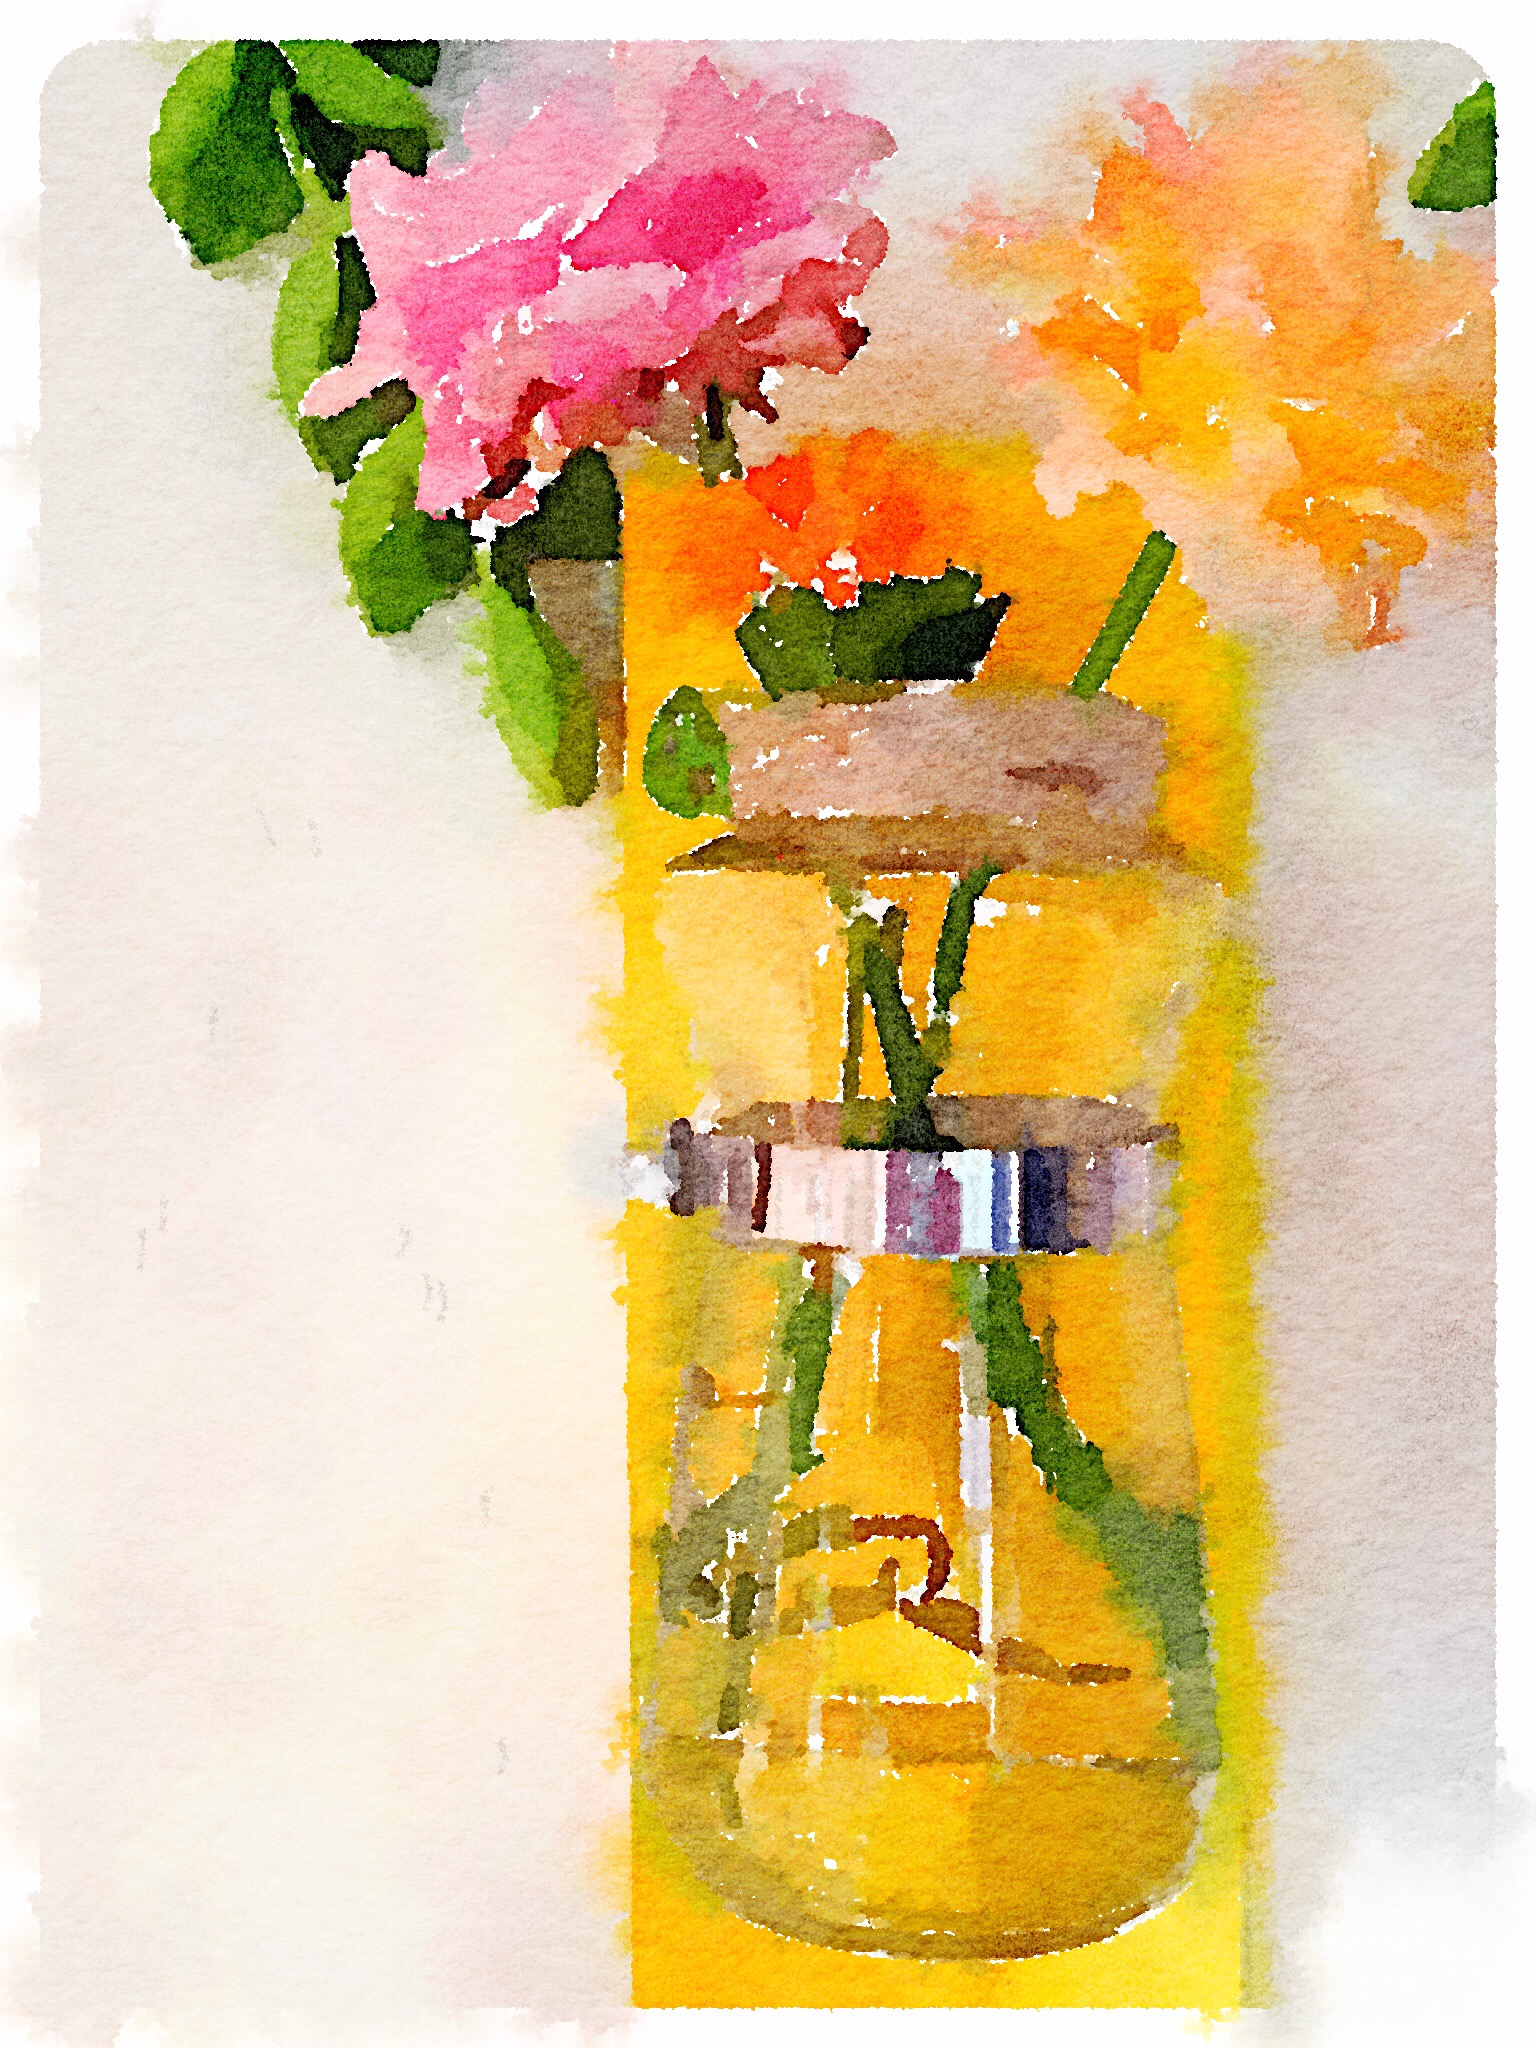
And because I love the waterlogue app and how pretty it makes flowers look, here’s a waterlogue pic of the vase:

This was so easy and inexpensive to make! I want to make a ton more so I can display all of the flowers! 🌻💐🌺🌸🌼🌷🌹

Mother’s Day DIY No. Three

My mom loves a good diy project, so I always try to give her something handmade for Mother’s Day. She also loves to garden, so it’s fun to combine these two things and give her something plant-y!

Painted Terra Cotta Succulent Planters

This year I went with succulents in terra cotta pots that I hand painted. I just used latex paint samples and sponge brushes that I already had on hand.

Painted Terra Cotta Succulent Planters IMG_1413

I didn’t even realize until I gave them to her that the colors I picked match the curtains in her office – I love a happy accident!

Don’t they look so cute on her desk in the window?

Painted Terra Cotta Succulent Planters Painted Terra Cotta Succulent Planters

Did you DIY anything for your Mom this Mother’s Day? Link it in the comments!

PS – here are my Mother’s Day projects from the last couple of years:

DIY Veggie Garden Signs
Mother’s Day Mani Kit

Upcycled Colander: Patio Planter

upcycle a colander into a planter

It’s springtime in Texas, and that means that I can emerge from hiding and enjoy weather that doesn’t cause me to bundle up like a burrito!

I love being outside, and even though my patio is little, I have big dreams for it… as illustrated in this rudimentary drawing of what I’d like to accomplish in this little space.  Let it be known by the entire internet that I am not able to draw an Adirondack chair.  C’est la vie.

upcycle a colander into a planter

This past Sunday was a perfect day to get a jump on a pretty patio by picking up plants (that alliteration, tho).  I mean look at the “before”.  Bleh.

upcycle a colander into a planter

An old colander that was starting to rust a bit is a perfect home for some Polka Dot Plants and Ivy.

It was as easy as: colander…

upcycle a colander into a planter

Rocks for less messy drainage (probably not even necessary)…

upcycle a colander into a planter

Potting soil…

upcycle a colander into a planter

Plants!

upcycle a colander into a planter

I also bought a Sansevieria to live next to it.

upcycle a colander into a planter

It’s planted in a self-watering pot, which is great if you suck at remembering to water your plants.  You put water in the reservoir, and your plant in the inlaid pot, and let go of the guilt of not remembering to take care of it.  Fantastic!

upcycle a colander into a planter

I still have lots that I want to do out here – get an outdoor rug, strip and stain that little black table, spray paint my hurricane lanterns – but after an extra-icky winter, I’m glad I at least got a start on the patio primp last weekend.

upcycle a colander into a planter

Before long it will be one of my favorite little spots in my home, and of course I’ll post updates all along.  Until then…

What’s your first outdoor project when spring hits?  Do tell…

Easy, Inexpensive Mini Succulent Garden

Are you wondering how to make a cute little succulent garden for less than ten bones?  If your answer is yes (and it should be), you’re in the right place, friend.  Don’t get too comfortable – this project was so easy, that I did it in less than ten minutes!  So let’s call this the 10 Minute 10 Dollar Succulent Spectacular, shall we?  I’m glad you agree…

Easy DIY Succulent Garden

Three of these succulents were freebies from work.  Because sometimes my employer hands out succulents, I guess.  I didn’t ask too many questions.

Easy DIY Succulent Garden

The fourth is one that I picked out at Home Depot.  Yes, I purchased the one that looks like brains.  It was $2.50 and I’m in love with it.  Don’t judge.  Here’s a fun macro iPic of him.

Easy DIY Succulent Planter

This glass dish was a Goodwill find.  It looks like it may have been an ashtray, or maybe a candy dish, in it’s previous life.  But it’s low center of gravity, diameter and $1.37 + tax price made it the perfect place for my cute little plants to live.

Easy DIY Succulent Garden

I put some glass beads ($1 at the dollar store) in the bottom to allow for drainage.  Succulents and cacti like drainage.  They hold a lot of water in their leaves and stems, so they don’t need their soil to be so moist.  And you don’t need to water them that often, either.  Which means they’re the perfect plant for me.  My thumb isn’t the greenest.

Easy DIY Succulent Garden

After the beads, I threw in a layer of soil for good measure.

Easy DIY Succulent Garden

Easy DIY Succulent Garden

Then I positioned the succulents in a way that I liked, and filled the gaps with cacti soil.  I used this and it cost me $4.54 + tax.

My workspace got a little messy, but that’s ok.  I was playing with dirt for pete’s sake!

Easy DIY Succulent Garden

Then they got a few splashes of water.  And that’s it, folks!  Lets recap, shall we?

  • Brainy Succulent – $2.50 + tax ($2.71)
  • Other Succulents – free
  • Glass Dish – $1.37 + tax ($1.48)
  • Glass Beads – $1.00 + tax ($1.09)
  • Cacti Soil – $4.54 + tax ($4.91)
  • Total – $10.19 !!!

Ok so it wasn’t exactly $10 but pretty dern close, huh?  Not a bad price for this little guy:

Easy DIY Succulent Planter

He lives at my desk at work.  I’m thinking that will be temporary, since I get zero sun in my cubicle.  Boo.  Then again, I could get a cute little task lamp with a UV plant light to fix that.  Who knows.  I just hope I don’t kill the poor thing.  For funsies, here’s a pic of him that I took with my iPhone fisheye lens attachment:

Easy DIY Succulent Planter

Anyone else doing any gardening at their desk?  Or maybe you’re brave enough to fare the crummy weather that most of the country is experiencing and you’re gardening outside?  Do tell…

Mother’s Day DIY

I know I’m a bit behind with this post – I’ve experienced some technical difficulties in recent weeks. Boo. Better late than never, I say!

This post is dedicated to one very special person in my life… my Mom. She has always been a pretty crafty woman. She is a superb seamstress, friend to refinishing furniture and gardening guru to name a few of her great qualities. I love making gifts for her on special holidays because I know how much she appreciates the effort just as much as the finished product. Last Mother’s Day I made her some coasters inspired by this and other popular pins on Pinterest.  I put some sweet quotes about why Moms are so great on the first three and used a picture of her with me and my sister on the last one. She loved them! And they use them all the time! This year I decided to use my DIY skillz (’cause I got em, yo) to make her some plant markers for her veggie garden.

Let me talk about her veggie garden for a moment. My mom has the greenest of thumbs. I love that she enjoys growing vegetables because that means I get to eat fresh peppers and herbs while I’m over there, and even get to take home the occasional squash. Yum!
She and my Dad built and stained these raised planters from scratch so that she would have the perfect spot for her tomatoes, hot peppers, zucchini and more. Aren’t they great?!

Vegetable Plant Boxes

I thought plant markers would be a perfect addition.

I’ve seen a ton of cute ideas for garden markers all over Pinterest. This pin was by far my favorite! Stuff that you serve food in to label the food you’ll get to eventually eat? Sign. Me. Up.

So I headed out on an adventure to pick up my supplies. I purchased two 4-packs of inexpensive bamboo spoons. I thought about duplicating the look of the original project (at Little Green Fingers) by using some letter stamps I had in my stash, but decided I wanted to put my own spin on the spoons. Keep reading to see how. Or just scroll to the bottom to see the reveal, I don’t mind! You just do you.

Supplies for DIY Plant Signs

Here is my listy list of supplies:

  • Wooden spoons
  • 3M Sanding blocks in medium and fine grit
  • Varathane wood stain in “Sunbleached”
  • A lonely sock
  • Mod Podge photo transfer medium
  • Pictures of vegetables
  • X-ACTO craft knife
  • Minwax Helmsman Spar Urethane
  • Newspaper to protect my work surface

I got to work sanding the spoons, first with medium-grit sand paper and then again with fine-grit to get the surfaces nice and smooth. Then it was time to give these babies a coat of stain! I really liked the idea of the soft grey against the leafy green plants and sage-y green planters.

I applied the stain with the lonely sock mentioned in my supply list and let it soak for the recommended ten minutes to penetrate the wood. Then I took the clean end of the sock and wiped off the excess stain. This is where the newspaper made its first appearance. Gotta protect the ground in my courtyard!

Stained Wooden Spoons for Plant Markers

I would recommend wearing some sort of hand protection during the staining process. I keep a box of latex-free first aid gloves on hand (pun intended) that I use while staining, spray painting or any other activity where my skin (or manicure!) could be compromised.  I let the stain dry for two days instead of one – I wanted to be sure that it would be dry for this next part!

It was time to transfer images on to the spoons. I found some really cute images of different veggies on the internets and printed them out on regular weight paper with my printer properties set to photo quality. My X-ACTO was the perfect tool to cut the tiny veggies away from the bulk of the paper.

veggies

I laid the freshly cut veggie pics (pun intended again) out on the spoons to be sure I had the configuration I wanted.

Veggie Plant Marker DIY

Then I used Mod Podge photo transfer medium to get the images off of the paper and on to the spoons. When using transfer medium, keep in mind that your images will be reversed! If you’re transferring words you’ll have to flip them in photoshop or some other program before printing them out. The transfer goo is super cool. First you paint a fairly thick layer directly on your image, thick enough to where you can no longer see the picture. I painted about 1/16″ of goo onto each tiny veggie. You then carefully lay your picture down where you want it to be transferred and softly smooth out any bubbles. Then you wait. At least a full 24 hours.

Mod Podge Photo Transfer Medium
Once the 24 hours had passed, the next step was to reveal the images. The directions say to wet the paper and firmly rub it with your fingers. The paper comes off and what’s left behind is a sturdy version of your image that has an almost vinyl-like texture. The images transferred beautifully! I was not as careful applying the medium as I should have been, though. There were a few dots of dried goo outside of my images. I just carefully scraped those off with my X-ACTO. The spoons were almost done!

DIY Wooden Spoon Vegetable Plant Markers

I just needed to protect them from our crazy North Texas weather… Problem was, I didn’t get the photos transferred until the night before Mother’s Day. For shame. So I planned to present them to my mom in their current state and spray them with sealer after, so that the protective finish wouldn’t be ruined by my presentation. I used a cute little white and grey planter and decorative rocks to display her sweet new veggie signs. Both items were $1 each at the dollar store! Woot woot!

DIY Wooden Spoon Plant Markers

On the day, I gave them to Mom and then sheepishly explained my incomplete present faux pas. A little later got busy finishing the spoons up. I hadn’t used Helmsman Spar Urethane before but I’d read several positive reviews for it online so I thought I’d give it a go. Like with any spray paint or sealer, or tool for that matter, always follow the manufacturer’s instructions and protect yourself as much as you can! I always wear eye protection, a respirator mask (like this one), gloves and clothing that I am not attached to when I’m getting my spray paint on. I would be mega sad if I got paint stains on my favorite summer shorts! I was really pleased with the Spar Urethane. Even though the dry time is around 5 days (thanks for the help, humidity) the end result is worth it! They are super durable now! Disclaimer though – the sealant does not protect against red heeler puppies. Bummer.

Red Heeler

Puppy Chewed Plant Marker

Check the spoons out in their new habitats!

Wooden Spoon Plant Marker - Bell PepperWooden Spoon Plant Marker - Hot PeppersWooden Spoon Plant Marker - Potato

My mom can tell her plants apart without them but that’s not as much fun as looking at these super cute markers!

Did anyone else DIY a gift for their Mom or another special woman in their lives for Mother’s Day? Or do you just want to gush about how awesome your Mama is? Do tell…