Category Archives: Crafts

Two-Tone Storage Crate

I love a quick and easy Sunday afternoon project.  This one was cheap, too, so… Trifecta!!!

Here’s a thing I did to get more organized in my bathroom.  My bathroom is REALLY small, so believe me, I need all of the storage and organization I can get.

two tone bathroom storage crate

I bought two little crates at a thrift store for 25c each.  They were bare wood, and frankly, a little boring.

two tone bathroom storage crate

I took some stain that I had lying around (Varathane American Walnut) and stained the outside.  One coat, no fuss.

two tone bathroom storage crate

Then I used a careful hand and a paint sample that I bought a couple of years ago (Valspar Sweet Mint) to paint the inside. Two coats, minimal fuss.

two tone bathroom storage crate

The dark stain mimics my floors and the light, blue-green paint hue matches one of the colors in my shower curtain.  I love it!

two tone bathroom storage crate 040 done

Side note: I invoked my red sticker rule and bought that Nate Berkus rug at Target for $10.98!  Pretty, pretty.

two tone bathroom storage crate

My little crates are perfect for facewash, lotion, body spray and the like.

I already had all of the supplies for this project, so, it felt “free” to me.  But, you could probably re-create this for less than $20.  All you need is a couple of storage crates, wood stain and paint!

Do you have a cute way of organizing things in your bathroom?  I’d love to see… Link in the comments section!

xo,

J

Advertisement

diy Owl Clock

Happy birthday, sweet baby sister!  Bad big sister alert: your birthday was four months ago.  Sorry, baby sister.  Good big sister alert: I gave you almost exactly what you asked for!

Don’t worry, friends, I actually did give my sister a gift on her birthday.  I didn’t have time (there’s a clock joke) to finish this project for her by her birthday, so I got her a shirt that she wanted to tide her over until her real gift was finished.  She’s extremely patient.

One sunny day last August, my sister called me as I was relaxing by the pool.  She says to me “You need to carve an owl clock for me for my birthday!”. “Ha!”, I exclaimed, “I am not a skilled woodcarver, I will do no such thing!”.  But I tucked the idea into my brain, and after some thought, I came up with this little guy.

diy owl clock

You can apply this procedure to any shape, really.  I’ll tell you how I did it.  You can come up with your own clock design, ok?

All the things

  • Basswood sheet (most craft stores sell them)
  • Clock mechanism and face (also at most craft / hobby stores)
  • Template for clock design
  • X-acto knife
  • Cutting board
  • Acrylic paint
  • Paint brushes (I used foam)
  • Clear sealer
  • Dremel
  • Dremel saw blade
  • Dremel griding kit
  • Drill

Template:  I picked a cute lil owl via google image search (that didn’t seem too detailed or complicated) and printed it out.  Then I used an x-acto knife to cut the excess paper around the owl.

001 - owl template

I traced him on to a sheet of basswood.  It’s a little bit stronger, sturdier and heavier than balsa but still lightweight.

diy owl clock diy owl clock

Delay:  Then my sister came over and I hid all of the evidence of what I was making for her.  It would stay hidden for the next four months.  Between the super cold weather, and working extra long hours at work, I just never found the time (ha!) to finish it… Until last weekend when the temperature jumped to the high 60’s.  Yay for project weather!

Cut It Out:  I clamped the basswood sheet to this ikea bench my really fancy work bench and fitted my dremel with a saw blade.  There are easier ways and better tools to cut shapes out of basswood – I’m certain of it.  But I don’t have those tools, so I worked with what I had.

diy owl clock diy owl clock

The dremel saw blade is NOT for precision cutting.

diy owl clock

But, I knew this going into it, and was ready with my dremel grinding attachments to smooth the edges.

diy owl clock

Smooth It: Basswood sheets generally come pretty smooth, but I did opt to smooth the piece even further with 150 grit sandpaper and then fine steel wool.  The steel wool removes all sanding dust and any remaining microscopic lumps and bumps.  An unnecessary step, maybe, but I think it makes a huge difference.

Drill it:  I drilled a hole in the middle of the owl’s belly so the clock mechanism could be attached after his paint job.  To find the center of his belly, I folded my template in half length-wise, and then folded only his belly width-wise.

diy owl clock

A little tap of a nail to make a mark where I wanted to drill the hole…

diy owl clock

A zap with my 1/4″ drill bit, and bam.  Owl belly button.  Don’t mind how rough he looks, this is his backside, which will be against the wall.  His front side is much smoother.

diy owl clock

I used a 1/4″ drill bit for the hole because that was the size of the hand shaft on the clock mechanism I bought.  If you’re making your own clock, make sure you match the size of your hole to the shaft on your mechanism.  Guys, that last sentence went south really fast…  Anyway…

Paint It:  A few coats of brown for the “feathers”.

diy owl clock

I do not have a precise painting hand for detail work, so I used my x-acto to cut my template and taped it on like a stencil to paint the eyes and belly of the owl.

diy owl clock diy owl clock

Same concept for the eyes.

diy owl clock diy owl clock diy owl clockdiy owl clock

And then I used a q-tip for the whites of the eyes (also for the beak and talons but I guess I don’t have a pic of that part – #blogphotofail)

diy owl clock

Clock It:  Two coats of clear sealer and a clock mechanism later, and… Owl Clock!

diy owl clock

Happy birfday leetle seester.  I hope your owl clock was worth the wait.

seester

So whooooo are you guys diy-ing birthday gifts for?  Sorry, friends, I tried to make it through this post without an owl joke, but, it just didn’t happen.  #bloggerpunprobs

xo

DIY Tabletop Leaning Shelf Photo Display

I’m back in blogland after a bit of a hiatus…  SO. MUCH. YES.

Without getting too detailed I’ll address why, because it makes sense to me to do so, and I’m the one running this show.  Suffice to say the one formerly referred to as “the fella” and I decided to go our separate ways.  The simple facts are that it didn’t work out, and that’s very sad, and we wish each other all the best in life.

Why is that relevant?  Much of my content up until now includes references to him and it’s weird to just stop talking about it and not explain why.

Also, I’m not going to make up a fake story as to why I’m currently staying with my parents (thanks again M and D) because I don’t feel like it.  #keepingitreal

So while I’m on the hunt for a new place, some of my next few posts will probably be set in my parents’ backyard, which has ample space for project execution!  Seriously dudes… This is about 1/5 of their yard…

diy leaning photo display shelf for instax mini 8

So lets get to it.  One of my favorite toys ever is my Instax Mini 8 camera.  There’s something so magical and special about the fact that each picture I take with this camera is completely unique and can’t be reproduced in the way that digital photography can.  And I totally love watching the photos develop – so much fun!

diy leaning photo display shelf for instax pics

PS this post isn’t sponsored, but if Fujifilm wants to send me some goodies I’ll flip my stance on that quick-style.  Wink wink, nudge nudge.

I’d been displaying most of my instax pics in a clothesline-esque format in my cubicle at work until recently.  ‘Scuse the bad phone pic please.

diy leaning photo display shelf for instax pics

Here’s how I made a super cute display shelf for them…  And how you can, too.

diy leaning photo display shelf for instax pics

Supplies

  • 8′ long piece of quarter round
  • 16″ W x 25″ H x .75″ D pine board
  • electric sander
  • hand saw
  • steel wool
  • wood glue
  • clamps
  • paint / paintbrush

Many times when an diy idea – a diydea? – pops into my head, I take to the old school pencil and paper method to really think all of the steps through and make sure my measurements aren’t off.  Real scientific stuff.

diy leaning photo display shelf for instax pics

My shelf didn’t end up being as wide as originally imagined, but I couldn’t find any lumber that was reasonably priced that would work for a 25″ wide board.  I stuck with 25″ high, though, because Instax pictures are 2 1/8″ W x 3 5/16″ H and by placing my 0.5″ quarter round every 5″ on the board I’m left with 4.5″ of shelf space.

The back board is part of a 0.75″ x 16″ x 36″ Craft Master’s, pre-cut, stain grade project panel.  I’ve used them before on both my bench and my nightstands so I feel like I can vouch for them.  They come in tons of sizes and are good quality.  I had a helpful hardware store guy cut it from 36″to 25″ H and then took it home and gave it a good all-over sanding.

diy leaning photo display shelf for instax mini 8

I also rounded the edges with my sander, and sanded an angle onto the back bottom edge of the board to assist with all the leaning this shelf will do.  It would have been super nice to create this angle with a compound miter saw, but since I do not have one nor do I have access to one, I had to improvise.

diy leaning photo display shelf for instax pics

diy leaning photo display shelf for instax pics

I gave the board one last sanding with steel wool (which leaves a velvety soft finish) and then wiped it down with a damp towel.  Then I marked where I’d put my ledges – every 5″ from the bottom.  The method I used to make sure my ledges were level was to mark little dots on each long side every 5″ inches from the bottom, and then use a yard stick to draw a straight line across, connecting both dots.

diy leaning photo display shelf for instax pics

I cut my quarter round using this hand saw

diy leaning photo display shelf for instax pics

After using a reciprocating saw did this

diy leaning photo display shelf for instax pics

Obligatory Interjection from the Safety Police: Do NOT use a reciprocating saw to cut quarter round.  It’s a damn mess.  Also, never use a rusty hand saw.  For anything.  Don’t.  Just because I make a bad decision in diy desperation doesn’t mean you should too.

I used Titebond interior grade wood glue to attach the ledges to the board, clamping the sides as I went along.

diy leaning photo display shelf for instax pics

diy leaning photo display shelf for instax pics

Titebond dries really quickly, but I left the board clamped overnight to be safe.

The quarter round I bought was the straightest piece I could find, but there was still a bit of bowing so I caulked all of the seams to make everything as smooth as possible.

diy leaning photo display shelf for instax pics

diy leaning photo display shelf for instax pics

Then, because the sides of the quarter round were a tad rough, I hit them with the electric sander real quick.

Homestretch – painting!  I didn’t prime this time (hey, that’s a rhyme).  All of my primer is packed in a box and I didn’t want to buy new, or wash my brush multiple times.  And I’m not super upset about the prospect of the wood grain creating a little bit of texture under the paint.  Gotta pick your diy battles, friend.

diy leaning photo display shelf for instax pics

I used a little Valspar sample (Greek Tapenade) laced with a couple of ounces of Floetrol, which reduces brush strokes.  In person this color is like a subdued citrine with hints of avocado.  So. Much. Color. Love…

diy leaning photo display shelf for instax pics

The first coat always looks like hell.

diy leaning photo display shelf for instax pics

But coat number two looked awesome!

diy leaning photo display shelf for instax pics

It didn’t even need a third coat and because it’s not going to get heavy use, I didn’t feel the need to seal it with anything.  How cute did this thing turn out?!

diy leaning photo display shelf for instax pics

diy leaning photo display shelf for instax pics

I’ll post a pic of it in my cubicle after I get it in to work tomorrow :).

Until next time, friend… Do you have an instax camera?  How do you display your instax pics?  Do tell…

String Art – a “How [not] To”

Here lately, I’ve been doing this thing on Fridays that I call “a craft + a craft”, where I do a craft while drinking a craft beer. As evidenced here: a cuff bracelet + a Dogfishhead 60 Minute IPA.

a craft + a craft

It’s a nice little way to unwind from the work week.  Recently it inspired a friend of mine to post a craft + a craft of her own: string art and a Goose Island Bourbon County stout.  Which in turn inspired me to do some string art of my own.  Ah the circle of life.  Or something like that.

Anyway if you’re on pinterest you’ve seen, like, a fazillon string art pins.  I feel like maybe its a diy blogger hazing technique right of passage to make one of these bad boys.  So here’s the story of the first (and likely last) time I made string art.

diy string art

Supplies

  • scrap pine wood
  • wood stain (I used Varathane American Walnut)
  • cloth to apply stain (old, clean socks work wonders)
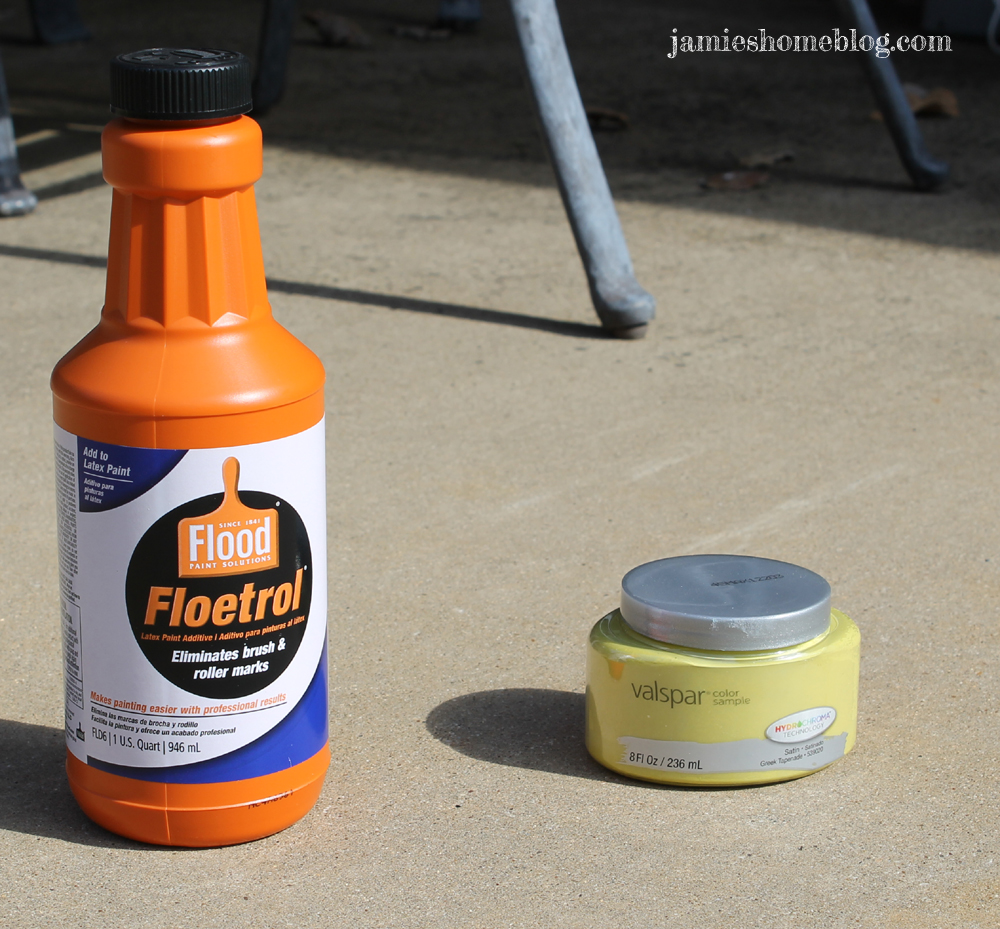
  • paint (I used latex, but acrylic would work too)
  • sponge craft paint brush
  • hammer
  • like, three 2 oz boxes of wire nails (I used size 1 x 17 which refers to the length in inches x gauge)
  • embroidery floss
  • Alene’s fabric fusion glue

Oh, I know I say this a lot, but one thing you really need for this project is patience.  I am super happy with my string art, but it took several days to finish.  I really didn’t consider how long it would take to hammer 321 (yeah, that many) nails into a board, close together, in a specific design.  It’s tedious work and can be really tiring on the eyes.  And I happened to make a grand total of seven tiny-huge mistakes while making this dern thing.

huge mistake

That being said, if you wanna know how it’s done, read on friend.

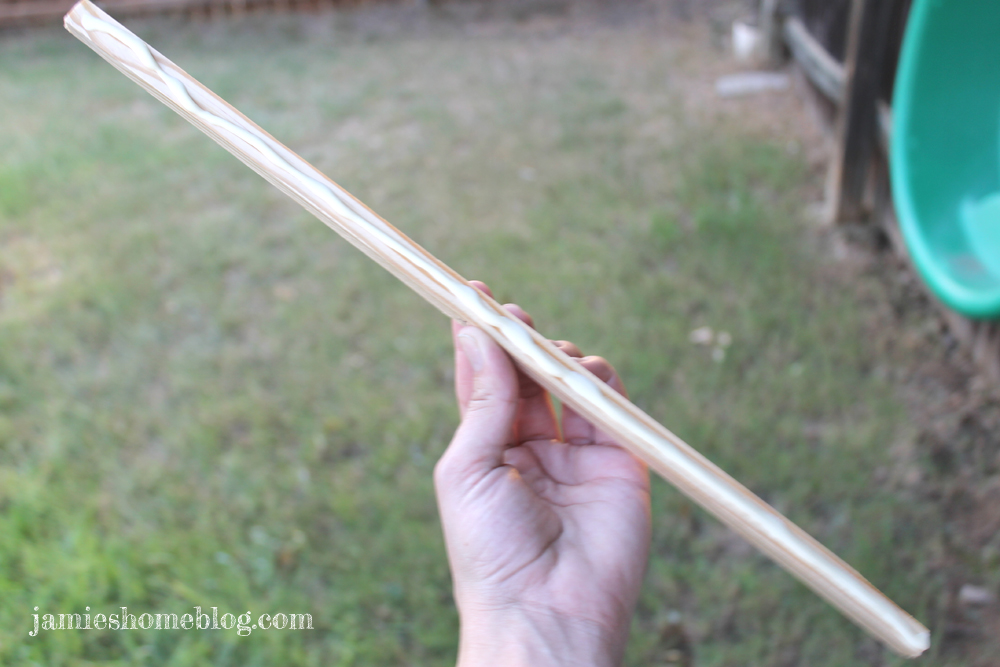
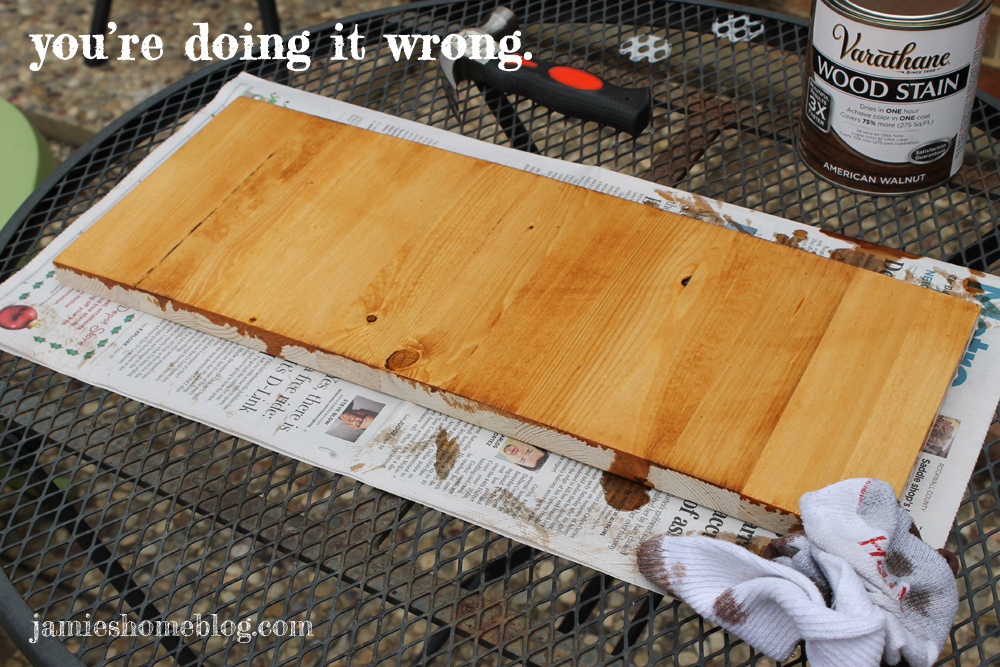
First, I took a scrap piece of wood I had and stained it.  Incorrectly (mistake number one).  You know how the can says shake well?  Do that.  Or you’ll end up with this.

diy string art

diy string art

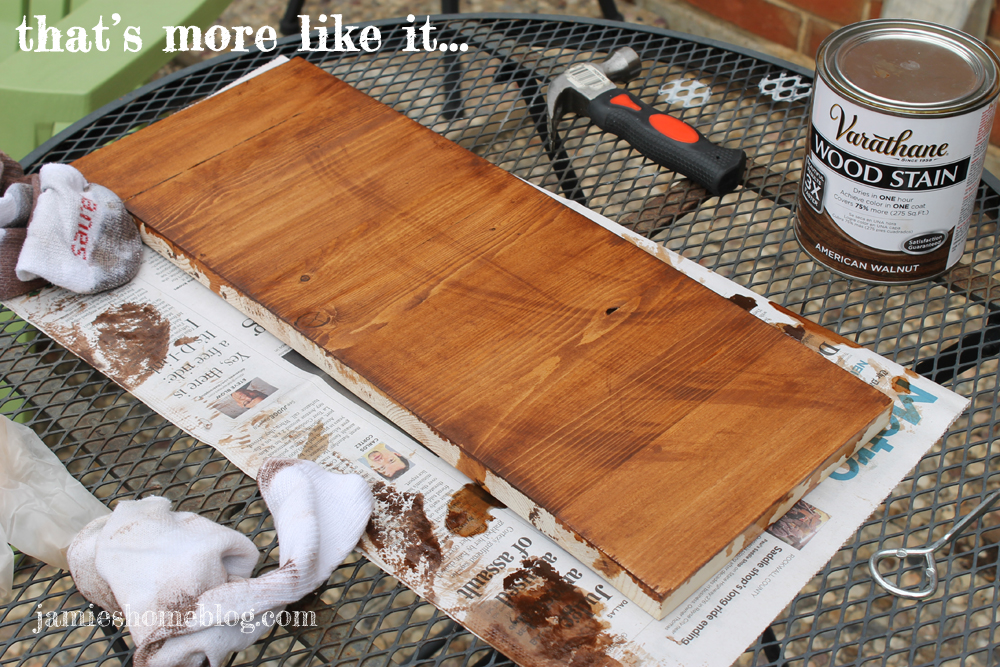
I tightend the lid back on the stain and shook the heck out of it.  Then opened her back up and stained the board correctly.

diy string art

If you’ve never stained wood before, trust me, it’s easy.  Make sure you read and follow all instructions (including the ones for safety) but the gist of it is that you liberally apply stain to your wood, let it sit for a few minutes to penetrate and then wipe off the excess.

diy string art

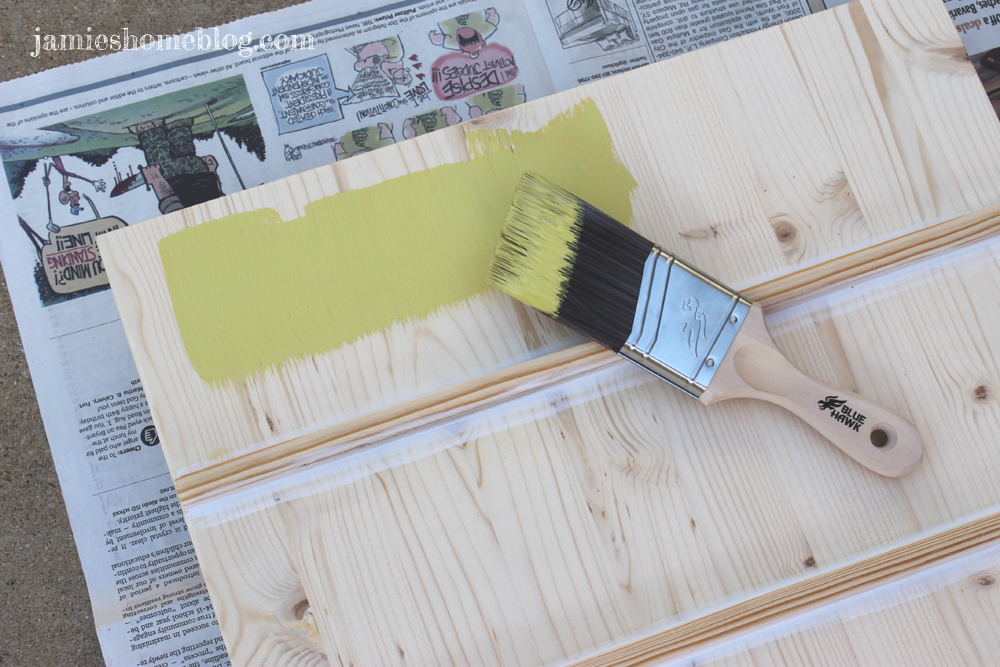
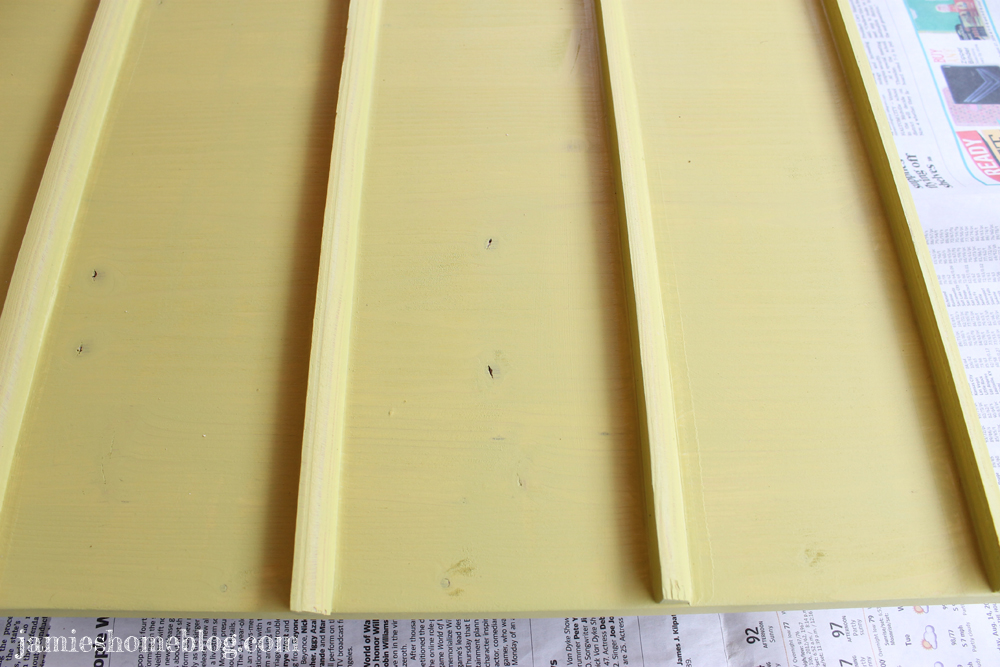
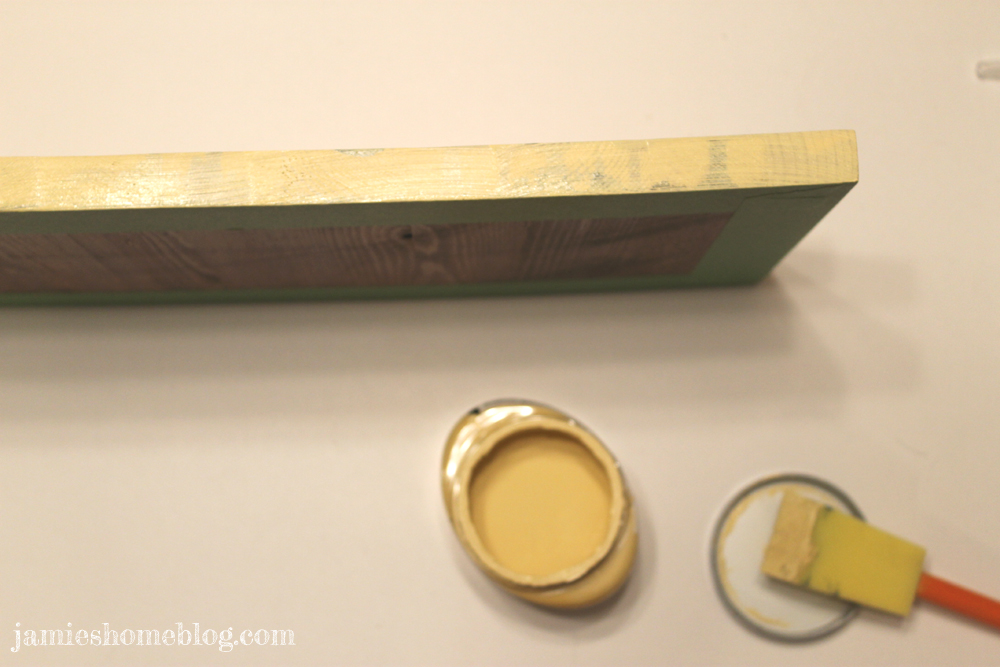
The next thing I did was to paint the sides so they didn’t look sloppy with stain.

diy string art

diy string art

I also painted the back.  I know no one is going to see it, but if it were left unfinished, I would know and it would undoubtedly drive me nuts.

diy string art

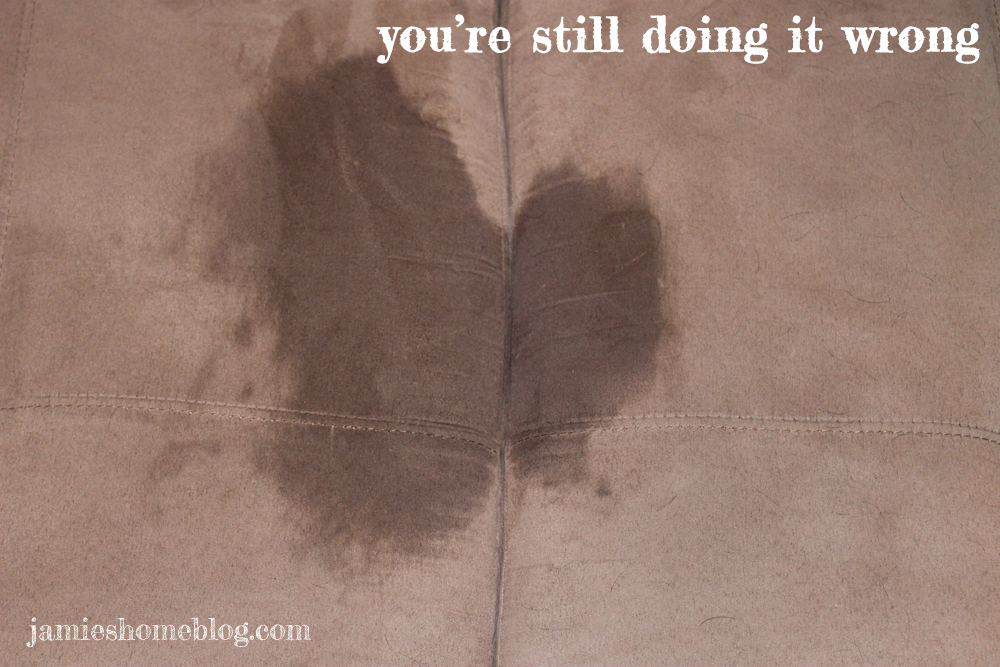
I used latex paint leftover from my stripey art (Valspar Delightful Moon if you’re curious) and did it standing in my living room (mistake number two).  When it dropped onto my couch and got wet paint on two of the cushions, naturally I started spewing four letter words and skittering around my kitchen in a panic.  The fella hooked me up with a wet rag and I think we got all the paint up.  The fella is pretty cool under pressure.

diy string art

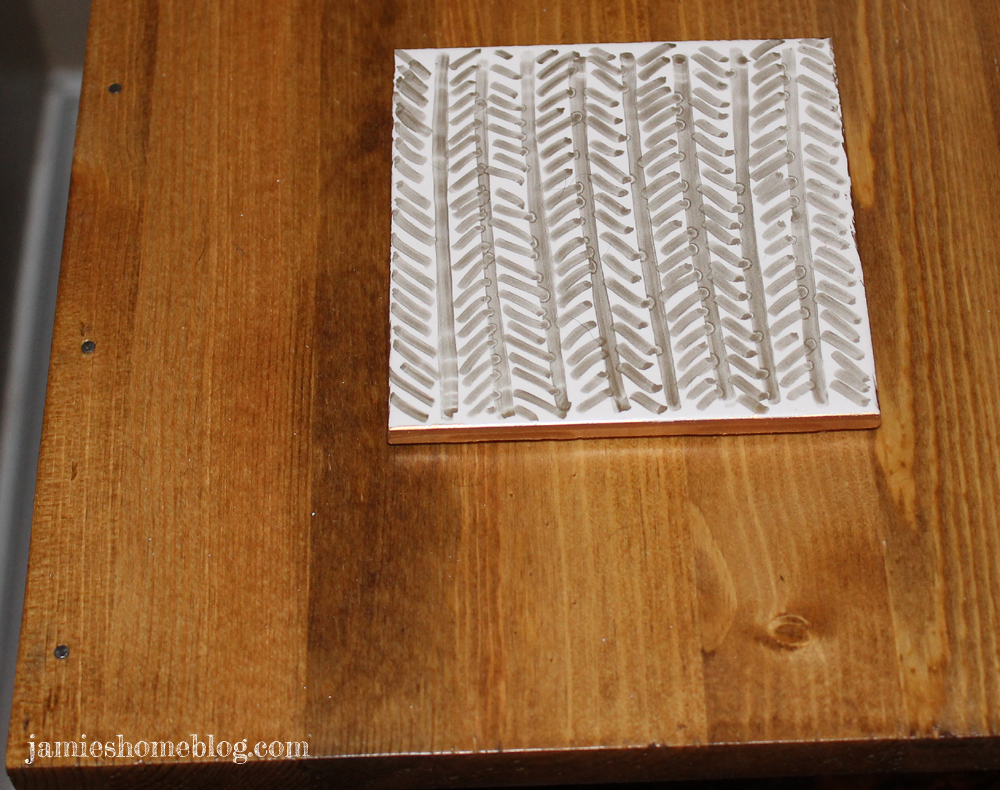
A couple of days later, the paint was dried and I was emotionally prepared to come back to this project – or so I thought.  I used regular computer paper as my template and a yard stick as a guide to be sure everything was level.

diy string art

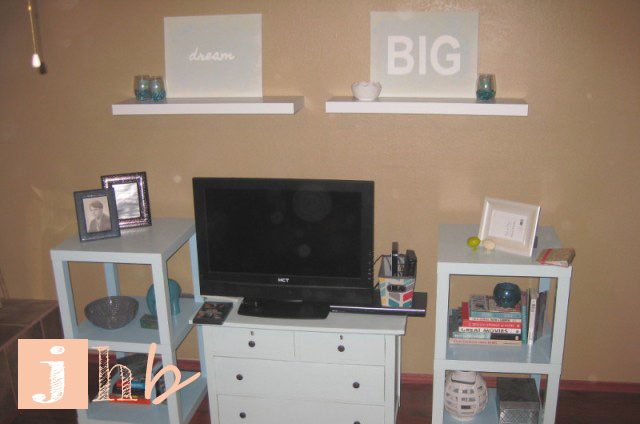
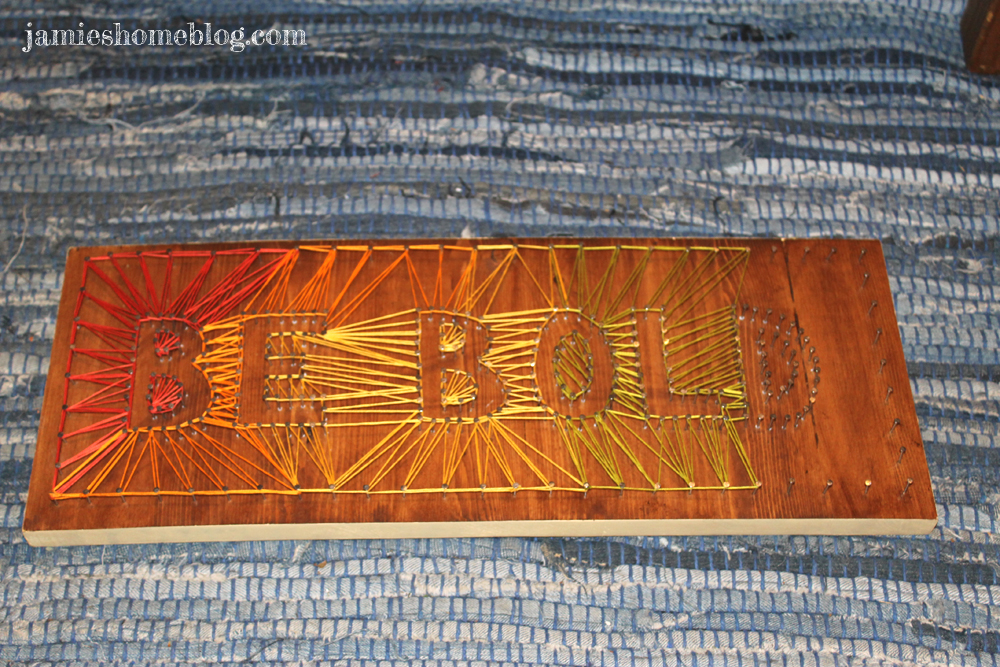
I chose the phrase “BE BOLD” because evidently, I like my wall art to be bossy…

dream BIG

Media Stand Entertainment Center DIY

SI. OUI. YES.

diy rustic wood sign

carpe diem

DIY Floating Glass Frames and Smart Phone Art

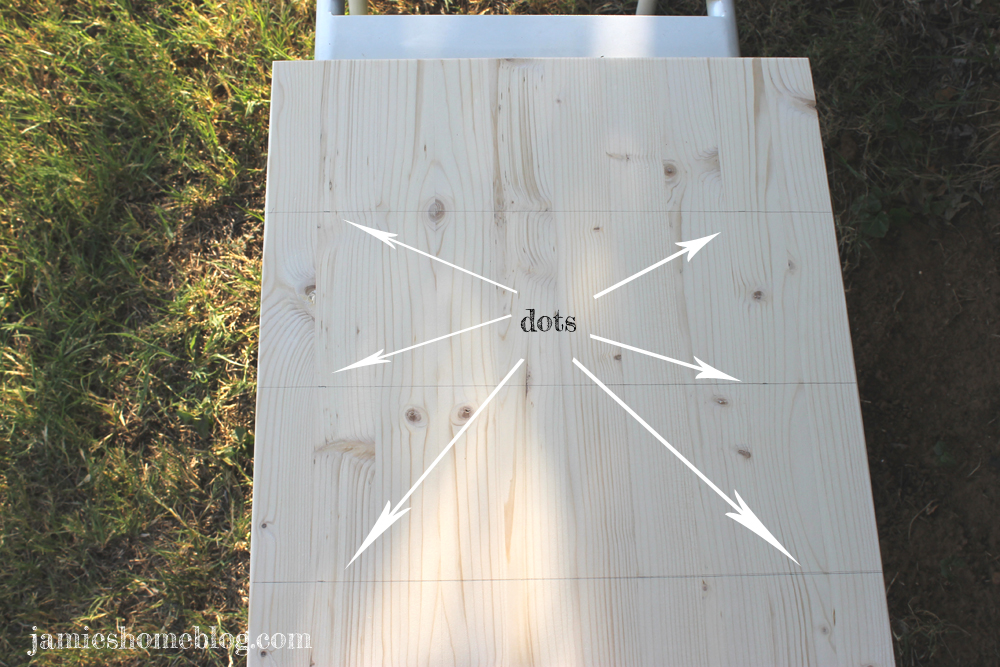
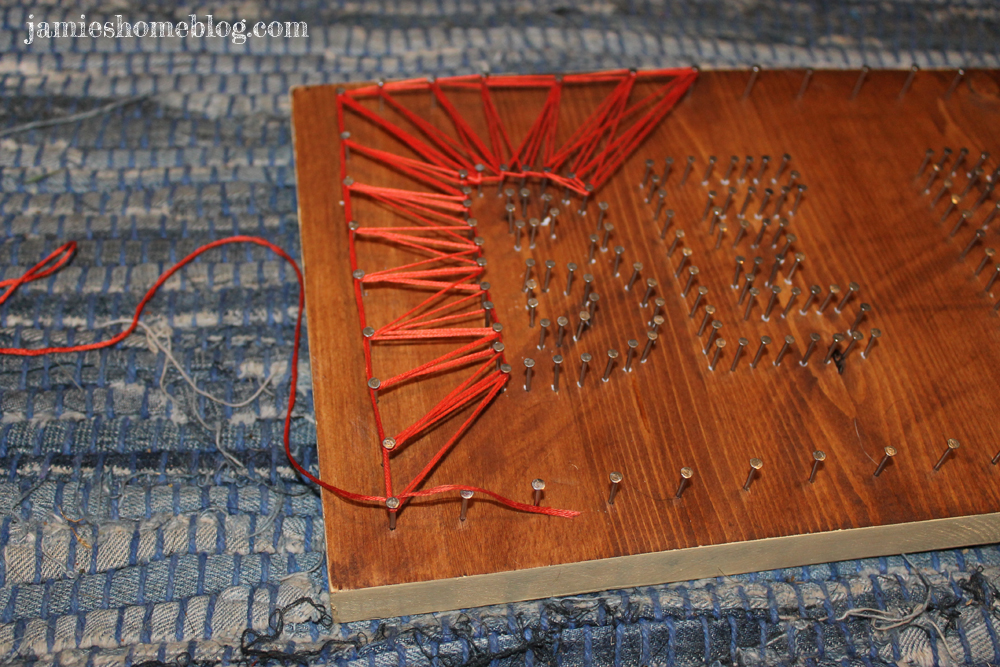
I taped the template to the board and got to work with my nails.  I worked from each letter’s corners inward so I could be sure everything was spaced evenly.  Did that even make sense?  Here, look at this picture.

diy string art

I did that for like an hour plus.  Until I got to this point and ran out of nails.  Always make sure you have enough nails (mistake number three).  It looked like I had so mannnny when they were in the box, y’all.

diy string art

I went to the hardware store to get more, without bringing one of them with me to compare (mistake number four).  I grabbed a few boxes of 1 x 17 wire brads and made my way home.  But I didn’t need wire brads.  I needed wire nails.  And the difference between the brads and the nails is that the head of the brad is much smaller than that of the nail, meaning what I bought didn’t match what I had already used.  More four letter words.

Does it get easier?  I wish the answer were yes.  Once the brads had been exchanged for nails I kept hammering away.  I hammered in the mornin’.  I hammered in the evenin’.  All over thi… sorry I’m getting off track and realize that my Mom is probably the only person reading this who will appreciate those last few sentences.

After all the words were nailed in I carefully ripped my paper template away from the nails.

diy string art

diy string art

There were still a few scraps stuck to the nails, but they came up easily with tweezers.

diy string art

It was at this point that I realized that I hadn’t yet attached my saw-tooth hanging brackets to the back (yes, mistake number five).  So I clenched my teeth, flipped the board over in my lap and hammered in the brackets while the words BE BOLD dug into my thighs.

diy string art

I used two brackets, one for each corner, since I noticed way too late (mistake number six) that my board was slightly bowed in the center.

I flipped it back over and got started on the border nails.  I used washi tape as a guide to make sure my line was straight.  I again used the technique of starting in the corners and moving to the center.

diy string art

Then the labor was over!!!  Lies.  But this last part goes fast, I promise.

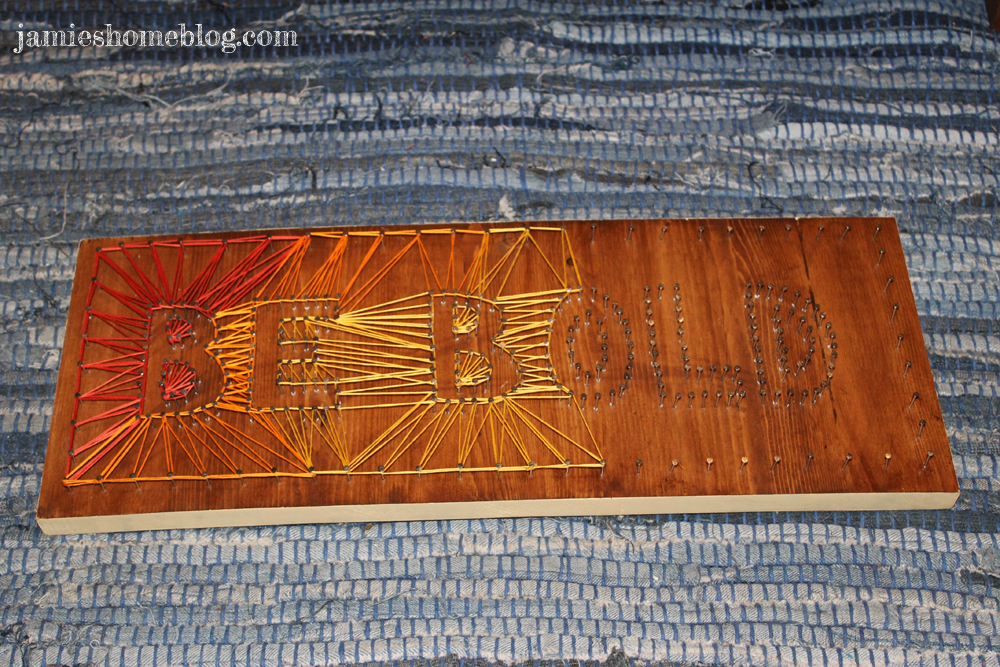
I used five different colors of embroidery floss and decided to go in rainbow order.  I tried to keep a sunburst pattern going the whole time and each time I finished with a color, I tied the string off and then dabbed fabric fusion glue on it to make it extra secure.

diy string art

diy string art

diy string art

diy string art

diy string art

diy string art

Oh and the seventh and final mistake?  I missed a spot and had to tie an extra bit of orange on.

diy string art

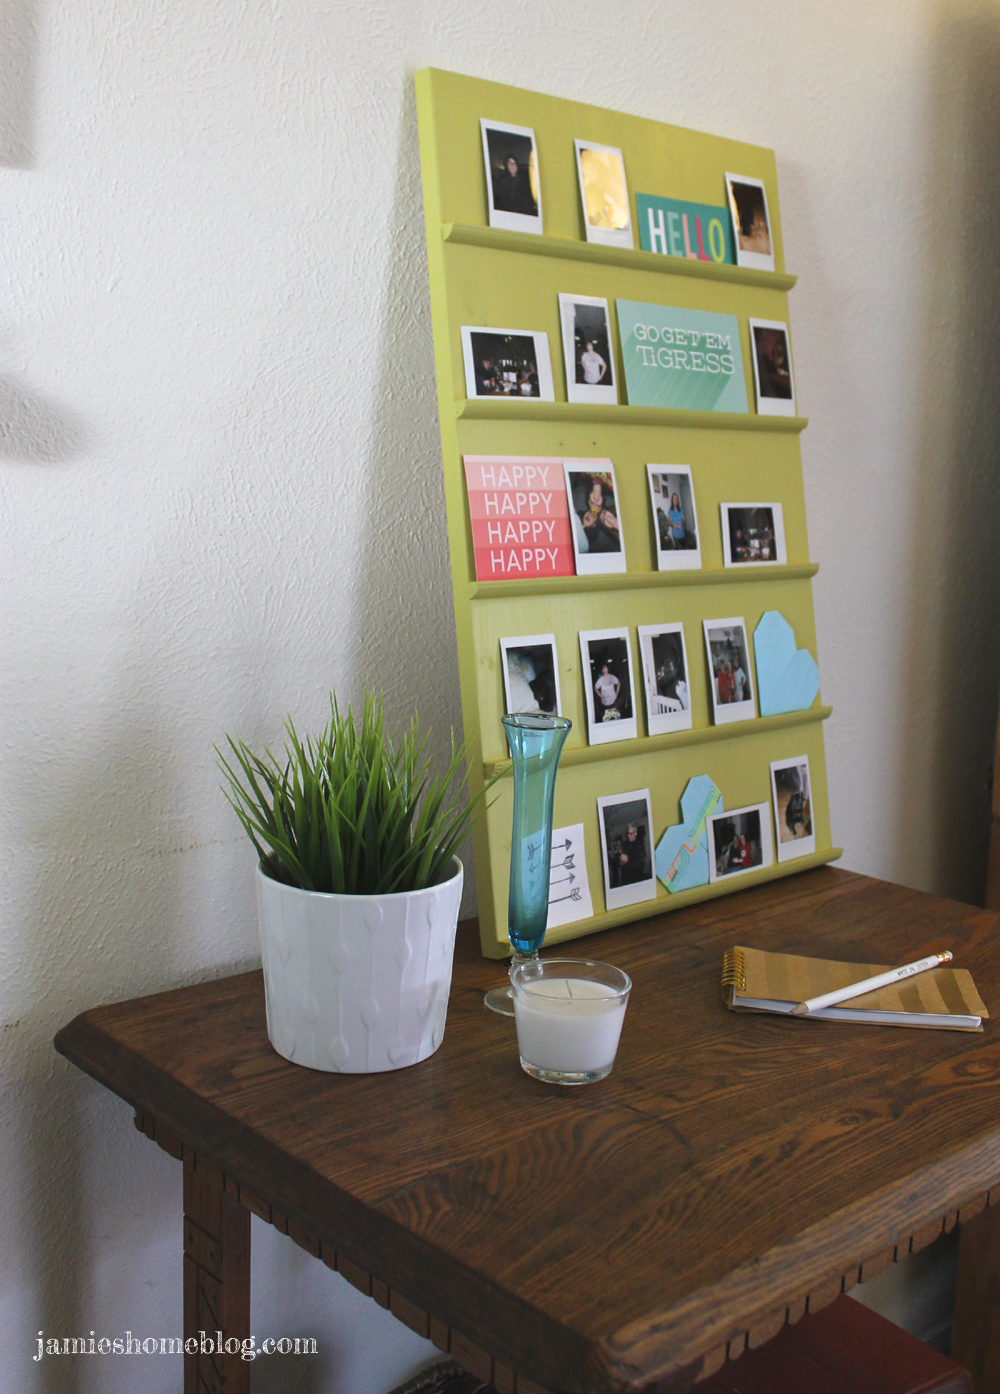
All in all, I LOVE my string art.  It looks super cute.  But will I be trying it again any time soon?  Hell no, that’s what Etsy is for.

diy string art

Did I convince you never to make your own string art?  Or maybe you’re ready to take it on and prove me useless in this avenue of crafting?  Do tell…

DIY Coasters and Rent House Hunt Musings

It’s been a minute since I’ve posted…  All kinds of interesting (to me) things happening at jhbhq.

My efforts last week were focused on the fella, who had a little visit to the hospital after suffering severe dehydration on a particularly tough day at work.

He spent a few days there, and as soon as he got well enough to be out and about, we were on the search for a rent house.  So far, not so great.  We’ve seen some really cute houses but there’s always some sort of deal breaker… Like this house, a 3 / 2 at an affordable price (with a pool!!!) that had updates and was super cute… with a great little breakfast nook…

rent house breakfast nook

lots of natural light… and no stove top…  yeah, seriously.

sans stove

See that vent hood with a counter underneath it?  Weird, right?  So… No go.

Then there was this really cute house with foundation issues and horrendous carpet.  Also a 3 / 2.  I didn’t get pictures of anything here except for the chandelier in the outdoor workshop.  Maybe a fancy meth lab?

workshop chandy

We saw one that was pretty promising (designer paint colors, tile flooring throughout etc).  But it’s a 2 bedroom, the second of which is 10 x 10.  Yeah.  I don’t think we fit in there.  Sad face.

All of the others that we have seen have had various benefits and drawbacks but we just haven’t found “the one” yet.  No matter.  There’s time yet.  For now I’m in with a fun little craft.

After I made our headboard I was on a pattern kick in the bedroom and decided to make some coasters.  This little lady needs a cool glass of water at her bedside, and she shant be getting water spots on the nightstands she worked so diligently to make.

diy ceramic tile coasters

Supplies:

  • Ceramic tile
  • Felt
  • Hot glue gun and accompanying glue sticks
  • Sharpie
  • Acrylic spray (I used this)
  • Liquid gold leaf

diy ceramic tile coasters diy ceramic tile coasters

I’ve actually used pretty much this same method several times before – Shannon even wrote about some that I made on her blog a couple of years ago before I started my little corner of the internets.

diy ceramic tile coasters

Here’s the quick and dirty…

I started by cutting felt slightly smaller than my tile to protect my tables from being scratched.  I used hot glue to stick ’em to the underside of the tiles.

diy ceramic tile coasters

Then, a little liquid leaf on the edges.  Fancy.

diy ceramic tile coasters

The original plan was for me to paint the design on top of the tile but evidently the liquid variety of gold leaf doesn’t like to adhere to glossy, non-porous ceramic tile.  Meh.  Metallic gold Sharpie to the rescue!  I just free handed a chevron / herringbone esque design.

diy ceramic tile coasters

Then, two coats of my acrylic water resistant spray and these bad boys were ready to protect my nightstands from their nemesis – condensation.

diy ceramic tile coasters

diy ceramic tile coasters

Since you’re wondering, I totally never ALWAYS drink water from stemless wine glasses.  Pure class.

Anyone else making crafty creations?  Or maybe you’ve got some strange house hunt stories of your own?  Do tell…