
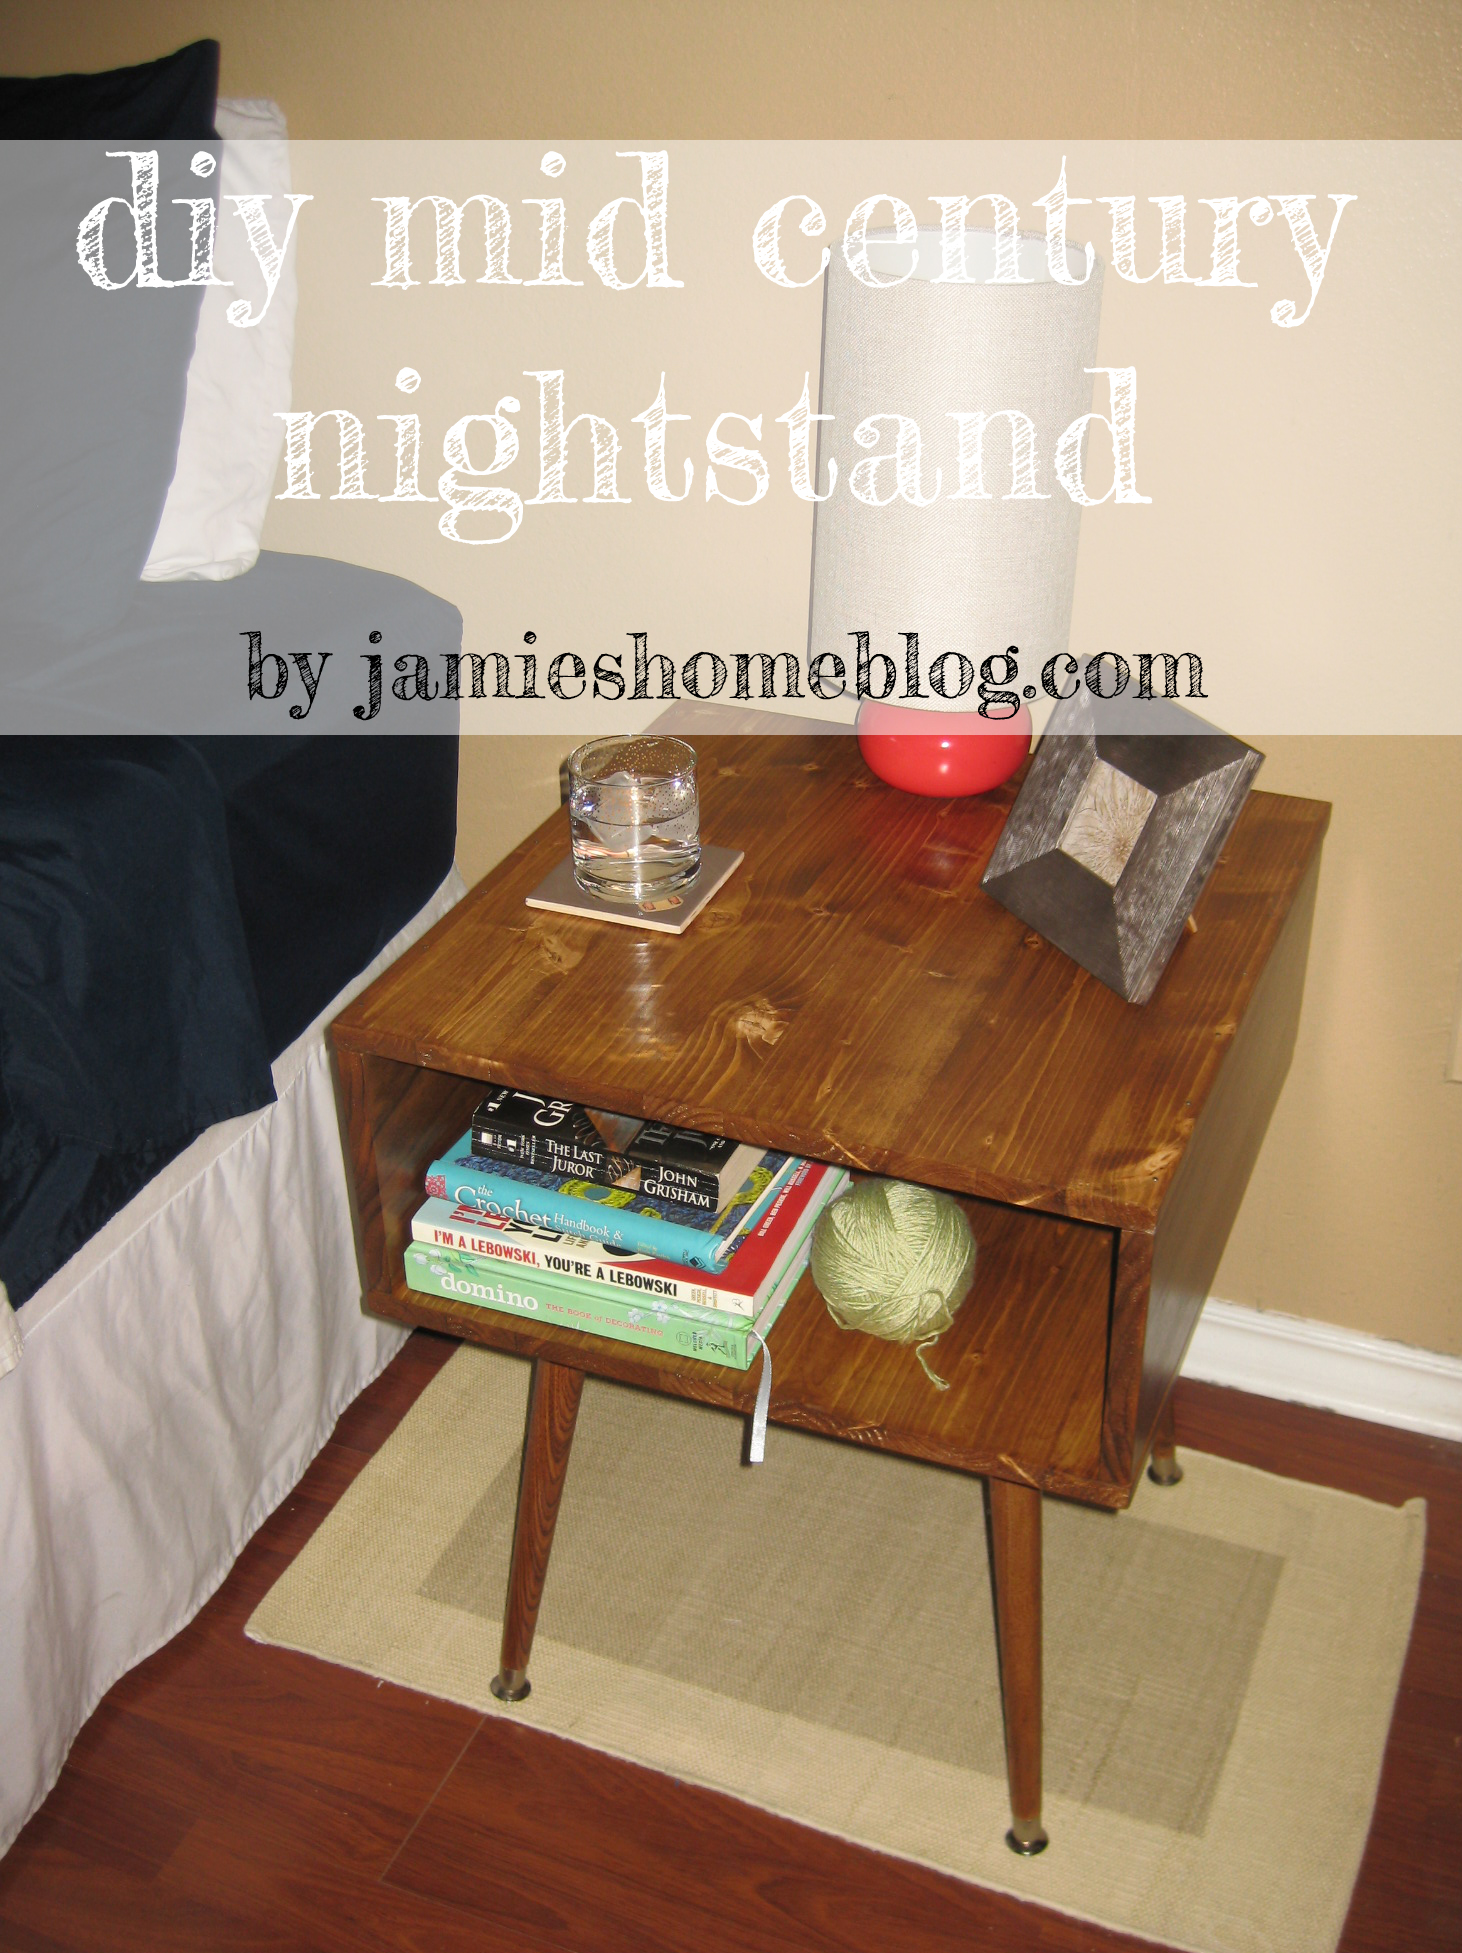
For the last couple of years, our nightstand situation has been pretty sad. We’ve been using two mismatched tables of similar sizes that were way too short for our bed and matched zero things in our room. For about 18 months, I searched craigslist, garage sales, flash sales and flea markets for an affordable matching pair, to no avail. So I finally took matters into my own hands and made some my dern self!
I mean look at our old ones. The brown one is a hand me down that needs some TLC and the black one is a $5 goodwill purchase. They’re so sad I didn’t even give them a thorough cleaning before taking this picture… #keepinitreal

Each of them could be restored / refinished / fixed up somehow and be functional and cute, which I may just do one day. But they won’t live in my bedroom. They’ve been pushed to the side for our new mid-century style nightstands! So here’s how I did it…
Wait – first, you should know that you’ll see lots of safety tips in this post. I used power tools and chemicals when I made these bad boys, and feel a moral obligation to tell you not to cut your fingers off, sand your hand, or breathe in nasty fumes. So you’ll have to live with that.
Anytime I take on a big project like this, I like to plan it out on paper. It usually starts with a shabby sketch of what I want the end result to look like, and that’s followed by a series of measurements, math problems, and budget notes. See?
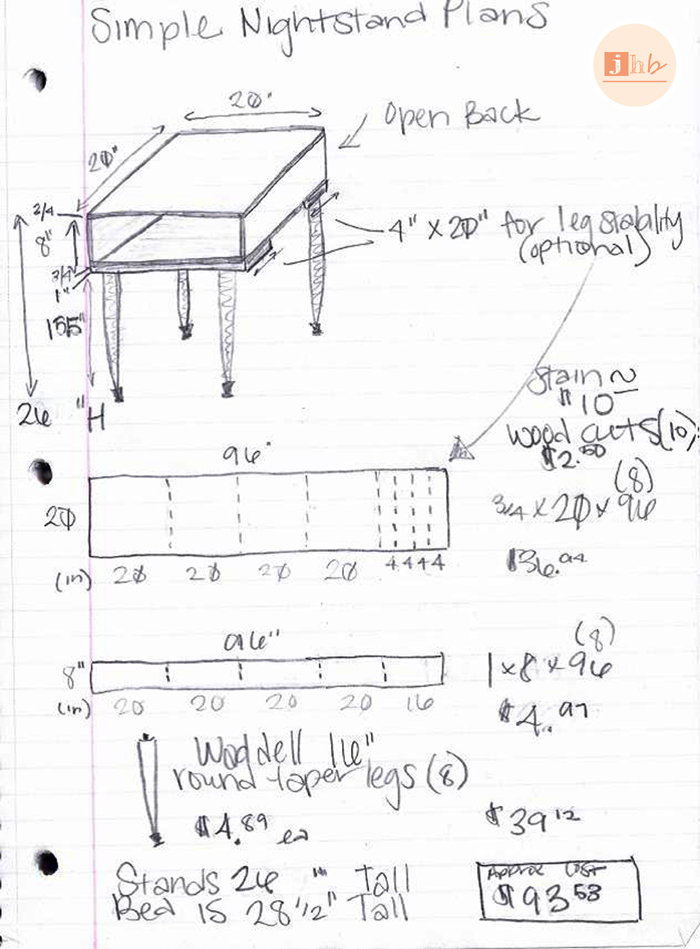
I ended up modifying my plans a little bit… As you’ll see in this post. Also, I have pretty bad handwriting but since you’re polite I know you’ll look past that…
Here are the materials I used for each table:
- (2) 20″ x 20″ x 3/4″ pine boards
- (2) 20″ x 8″ x 3/4″ pine boards
- (4) 16″ tapered legs (by Waddell Manufacturing)
- (4) angle top plates for the legs (also Waddell)
- (8) 1/4″ x 1 1/4″ dowel pins
- (28) 17 gauge x 1″ nails
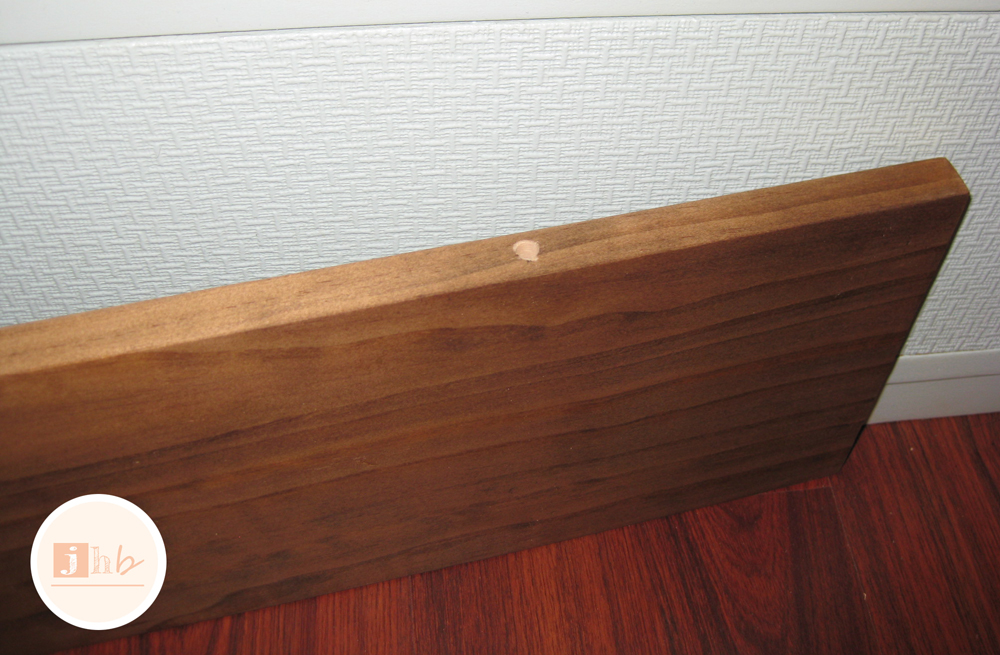
Each board got an all over sanding to clean up some of the rough spots.


As one should, I started with coarse sandpaper and worked my way up to extra fine, using my Black and Decker hand sander. Here’s where the safety police drop in for a second…
Always be sure you follow manufacturers instructions and take ALL safety precautions when using power tools. When I use my hand sander, I wear thick rubber gloves, my eyes (goggles), my ears (earplugs) and a dust mask.

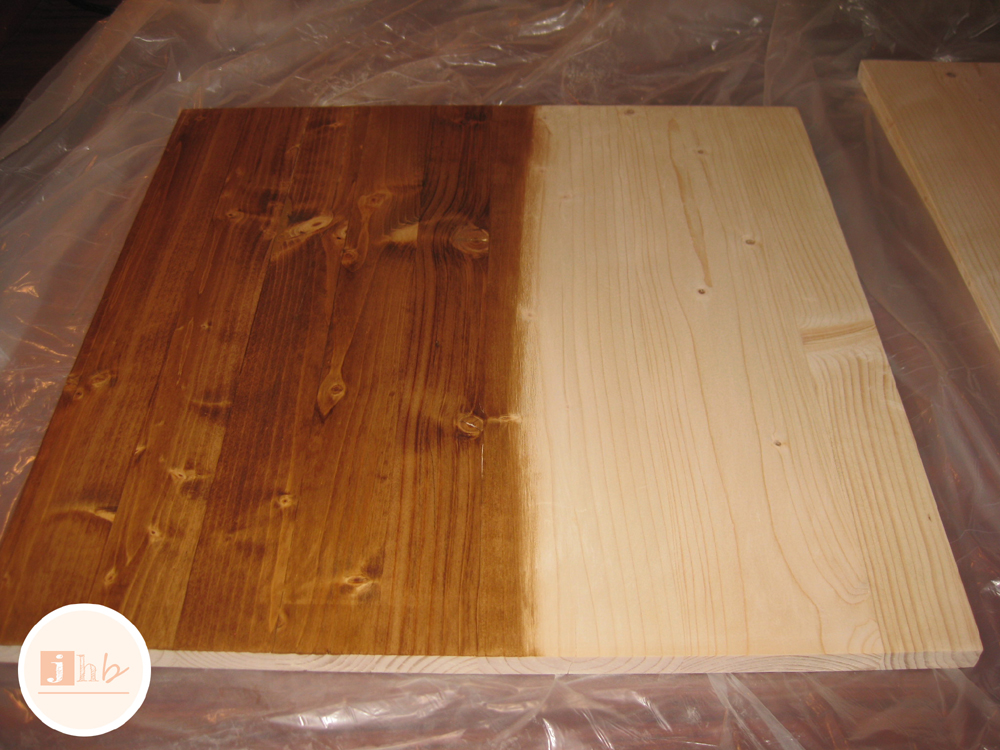
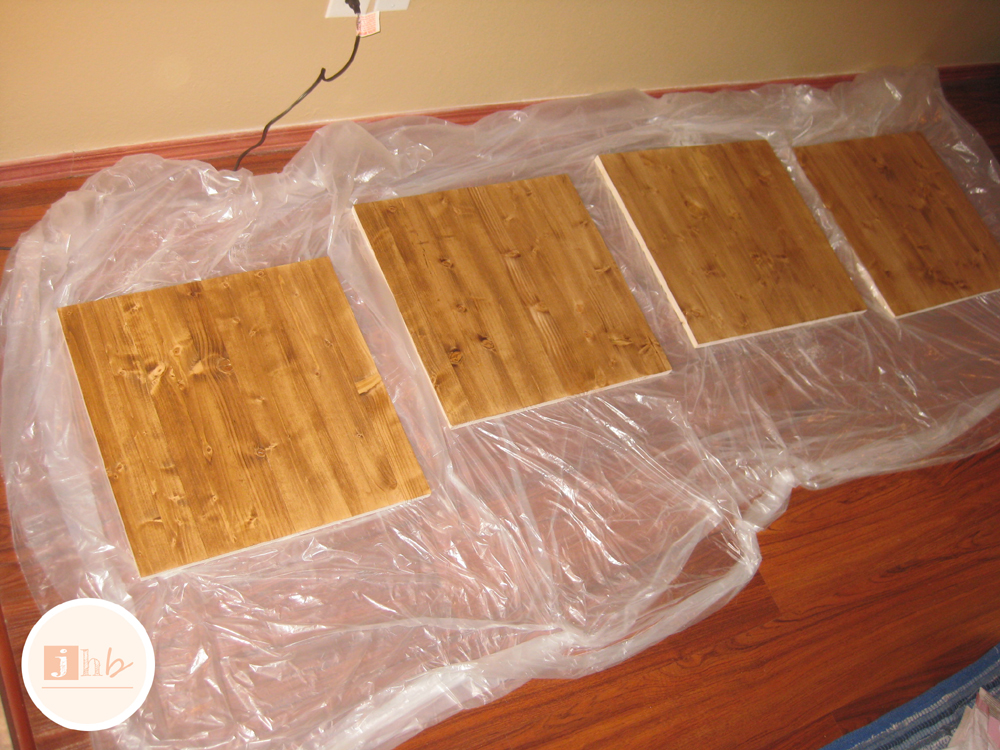
I was originally going to try my hand at Minwax Polyshades with these guys, but when I got to the hardware store, I saw a discounted container of Watco Danish Oil in a pretty Dark Walnut and went for it. I’d heard good things about it before and was eager to try it out.

Danish Oil is serious stuff, folks. Again, always follow the manufacturer’s instructions when you use this or any other varnish. This stuff can spontaneously combust (yes you read that right) if you dispose of your rags incorrectly. So read the package, and then read it again and then mind what it says, k? And for pete’s sake protect your eyes and hands when you use this stuff.

I loved working with the Danish Oil. You only need two coats of it, and it leaves a beautiful finish. It soaks in more rapidly than stain, and you have to use a bit more elbow grease, but there’s none of that wipe-off nonsense happening. Not nearly as messy as stain!


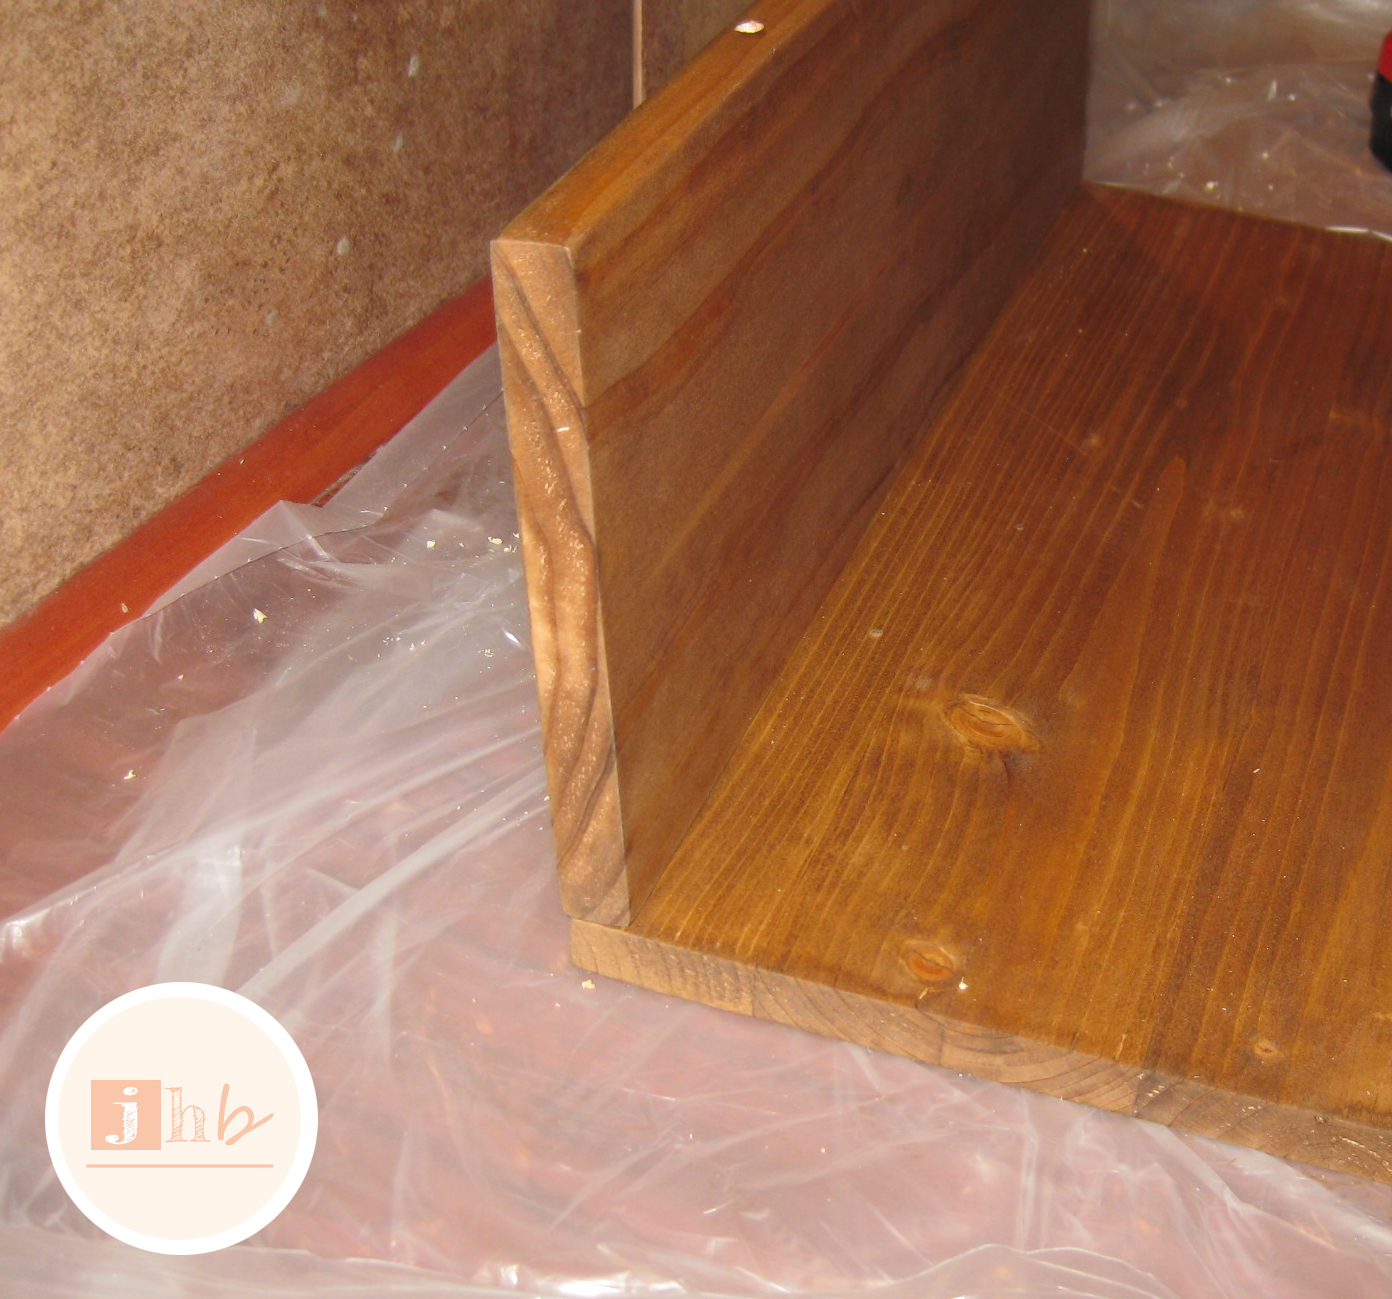
Once the Danish Oil fully cured, it was assembly time! Dowel pins helped to keep the cubby space in place before I nailed it together. To accomplish this, I busted out my drill.
The safety police are back! Use protection when you use power tools! Follow your manufacturer’s instructions! I wear my eyes AND heavy duty rubber gardening gloves when I use my drill. Safety is sexy!
Wish me luck as I try to explain this… Using a 1/4″ bit, I drilled four holes on the top surface (the inside surface?) of the bottom board. Two on each side, the first was 5″ from the front edge and the second was 5″ from the back edge.

Then I drilled holes in the bottom of the side boards again at 5″ from the front and 5″ from the back. From there I was able to stick the pins in the holes, which held the side at a right angle to the bottom.
I used a tiny dot of gorilla glue on the ends of the dowel pins for extra security.
I repeated the same process with the top, so it would be held in place securely when it was time to nail everything together.
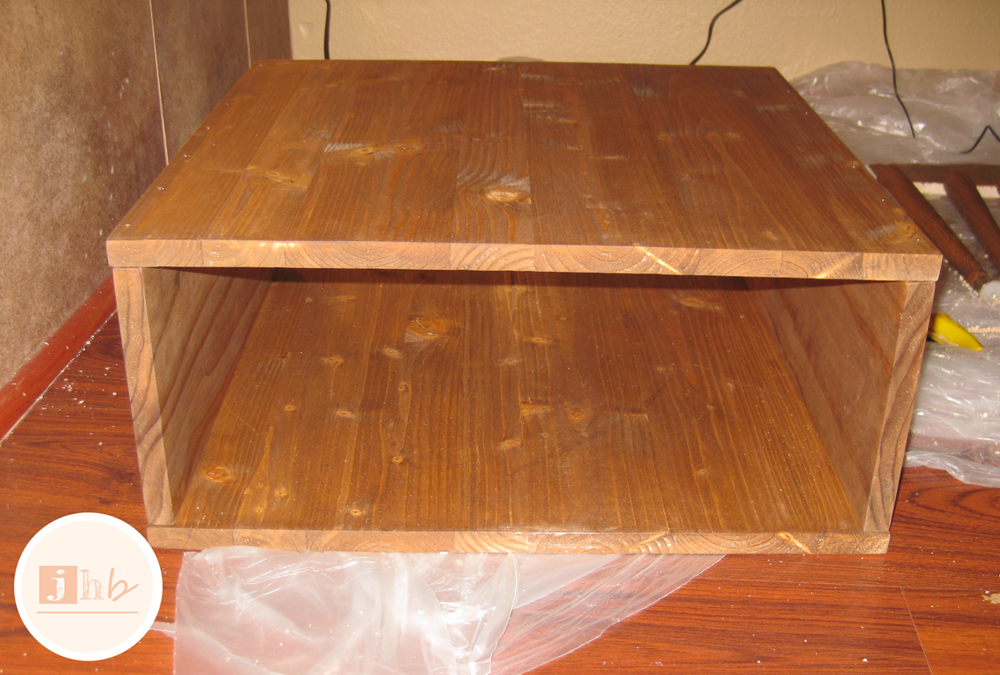
I used 14 nails on the top and 14 nails on the bottom to secure the top and bottom to the sides. The nails when in 1″ from the front edge and were spaced 3″ apart, so each side got seven nails.


I went for angle top plates as opposed to flat top plates so that the legs would have that slanted, tapered look that’s so iconic to mid century furnishings. I secured the top plates to the bottom of the cubby space about 2 1/2″ from the sides so the legs wouldn’t stick out well beyond the edges of the table.

Three coats of Polycrylic later, this little guy was ready to take his place in our room!


Now let me be real with y’all for a minute… As I was nailing the top board in on one of the nightstands, the board split. Womp womp.
See how the board I laid on top of it doesn’t lay flush in the middle (white arrow)? That’s because the 20″ x 20″ board it’s sitting on is split all the way down the length of it on the inside and is hanging by a thread (yellow arrow). Major sad face.
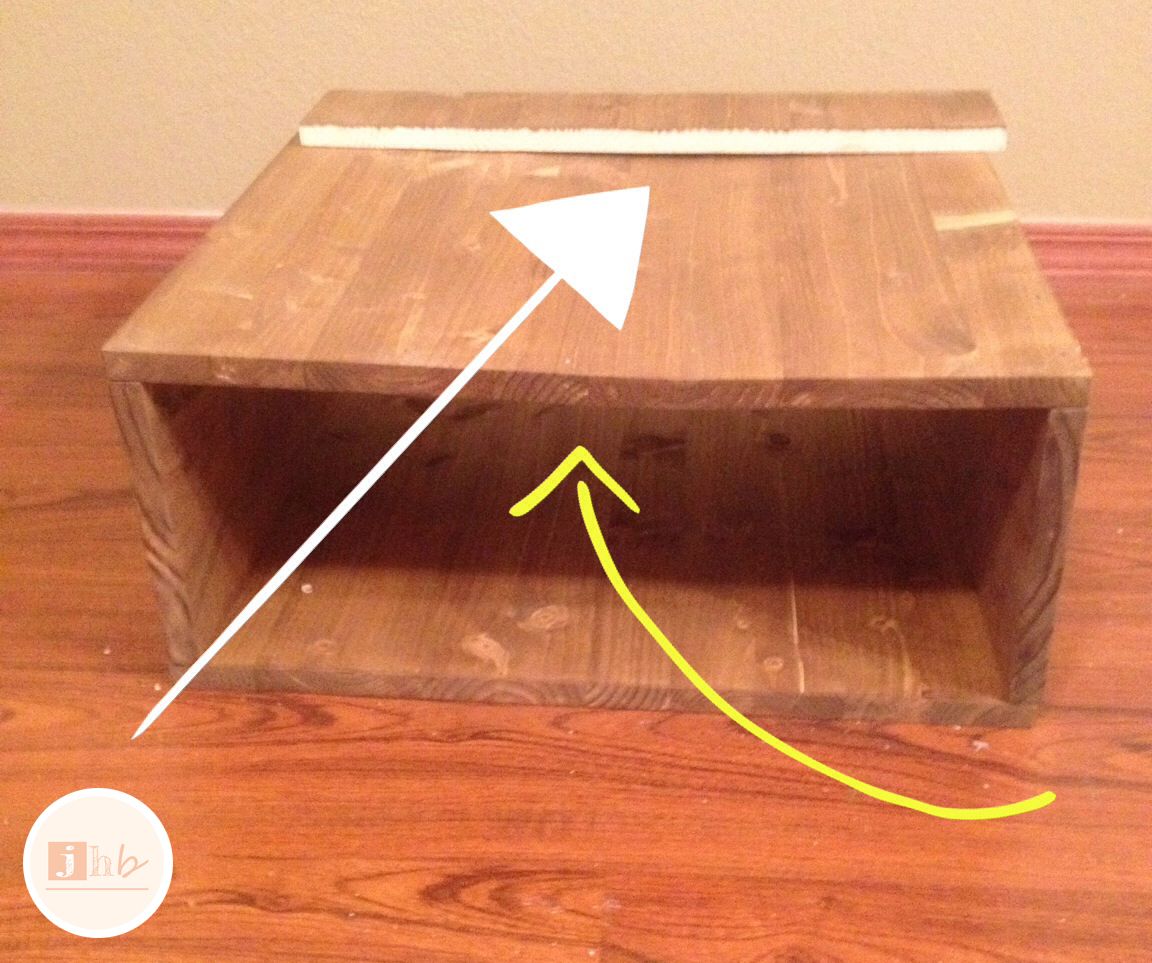
I had a little cry about it, and then took a few days off from the project to focus on other things and clear my mind. The truth is, I noticed the crack as I was sanding it, and thought that if I handled it extremely carefully it would be ok, especially once I got some Polycrylic on it. The crack was so small that I couldn’t even get wood filler into it. Sadly, it didn’t survive. You can’t win them all, though.
DIYing wouldn’t be any fun if there weren’t bumps along the road. I like challenges and the nightstands were one of the bigger ones I’ve taken on recently. I’ve bought new boards to replace the broken cubby, and am excited to complete the second nightstand soon, hopefully successfully!
But enough about all that, here’s a good ol’ before and after for ya:

I think it turned out great! Exactly as I had it in my head. Nice and simple with a mid century modern vibe. Way better than it’s predecessor! We just got a new duvet during West Elm’s online bedding sale, so I’ll post an updated picture when that comes in (it’s on backorder right now – boo).
So what about you guys? Have you built your own nightstand or table? Or maybe you had a huge setback like I did? Did you cry, too (humor me)? Do tell…

That’s seriously beautiful, I would pay good money for one of those! Awesome job
Thank you so much!!
Pingback: Make an Adorable Night Stand! | For Women
Pingback: Make an Adorable Night Stand! | DIYmazing
Pingback: Hablas Español? Parlez-vous Français? | jamie's home blog
Pingback: DIY Canvas Drop Cloth Textile Headboard | jamie's home blog
OMG… i just found your site and i love it! i have a similar midcentury style nighttable that i got at the thrift store for $15 but i LOVE that you made your own. its AMAZING!!!!!!!!!!!!!!!!!!!!!!!!!!!!!!!! 🙂
laura
http://www.artandsoulcreativeco.blogspot.com
Hi Laura! Thank you so much for your kind words! Seriously a little jealous that you found a legit mc night stand for $15!!! I never have that kind of luck!
I was reading through your site and I really love it. Your art is great! The Better Together series is seriously genius! Looking forward to reading more art + soul posts 🙂
Pingback: DIY Coasters and Rent House Hunt Musings | jamie's home blog
Pingback: DIY Tabletop Leaning Shelf Photo Display | jamie's home blog
Hello there! Do you know if they make any plugins to assist with Search Engine Optimization? I’m trying to get my blog
to rank for some targeted keywords but I’m not
seekng very good results. If you know of any pease share.
Thanks!
Would you say it’s necessary to use nails on the top and bottom surfaces? I want to have a clean nail-less look but I’m nervous it won’t hold up with just dowels and Gorilla Glue. Please let me know! Thanks, Hillary
Hi Hillary! Good question! Gorilla Glue holds pretty tight on wood but I think the nails give it a fair amount of extra strength. I can’t say for sure, but I think you’ll be ok with just dowels and Gorilla Glue. If you try it, please let me know how it turns out! Thanks for stopping by!
xo,
Jamie
Pingback: Diy Easy Nightstand | Furniture | House Inspiration
Pingback: Diy Modern Nightstand | Furniture | Home Ideas
Pingback: Color Blocked Patio Table Tutorial | jamie's home blog
I love the design! You are so talented!
Thank you, Hannah, you are too kind! These took a fair amount of effort, but I loved making them and they’re still holding stong!
It looks like they would have!!! When they turn out so great though it makes it all the more worth it 🙂
Fantastic nightstand! I’m having trouble finding pine boards this size. The closest I’ve come is a cutting board that will need to be cut down. Please let me know if you have any other suggestions. Thanks!
Thank you, G! I found my boards at Lowes, and they actually cut them down for me. It was really helpful, as I didn’t own a saw at the time. Most stores where you can buy lumber will do a few simple cuts for a low price (my Lowes does .25c per cut or something). You may also find larger wood squares at a craft supply, however, they may charge a premium as most of these come fully sanded and finished so they’re ready for stain/varnish etc. Hope this helps! Would love to know how your project turns out!
Pingback: A DIY Budget Bedroom for Under $500 - Found in Philadelphia
Pingback: 50 Free DIY Nightstand Ideas & Plans - Lemon Slide
Pingback: DIY Mid Century Modern Style Nightstand – Decorate with Dora – Home & Garden
Pingback: Wood Plans Dog Crate – wood plan