Category Archives: Photography

DIY Halloween Costume: Cliche Instagram Girl

Happy Halloween dudes and dudettes!

I made my own costume again this year and it was the shhh****.

We all have at least one of those friends on instagram.  Posting her pumpkin spice lattes, nutella snacks, selfie after selfie.  In the parlance of our times, a Basic B%!$#.  Calm yourself, I didn’t make up the term.

Halloween is a chance to be someone or something that you’re not.  So I went as a Basic B%!$# Cliche Instagram Girl for Halloween.  And it was cheap, and fast, and easy.  Unlike me.  This costume, for me, required a shirt and a prop.  You ready?

DIY Supplies:

  • Cotton T-Shirt (I used a men’s mossimo size M – so comfy!)
  • Cardboard
  • Spray Paint
  • Letter Stencils
  • Newspaper
  • Foam core poster board
  • Colored “holiday” plastic wrap
  • Tape

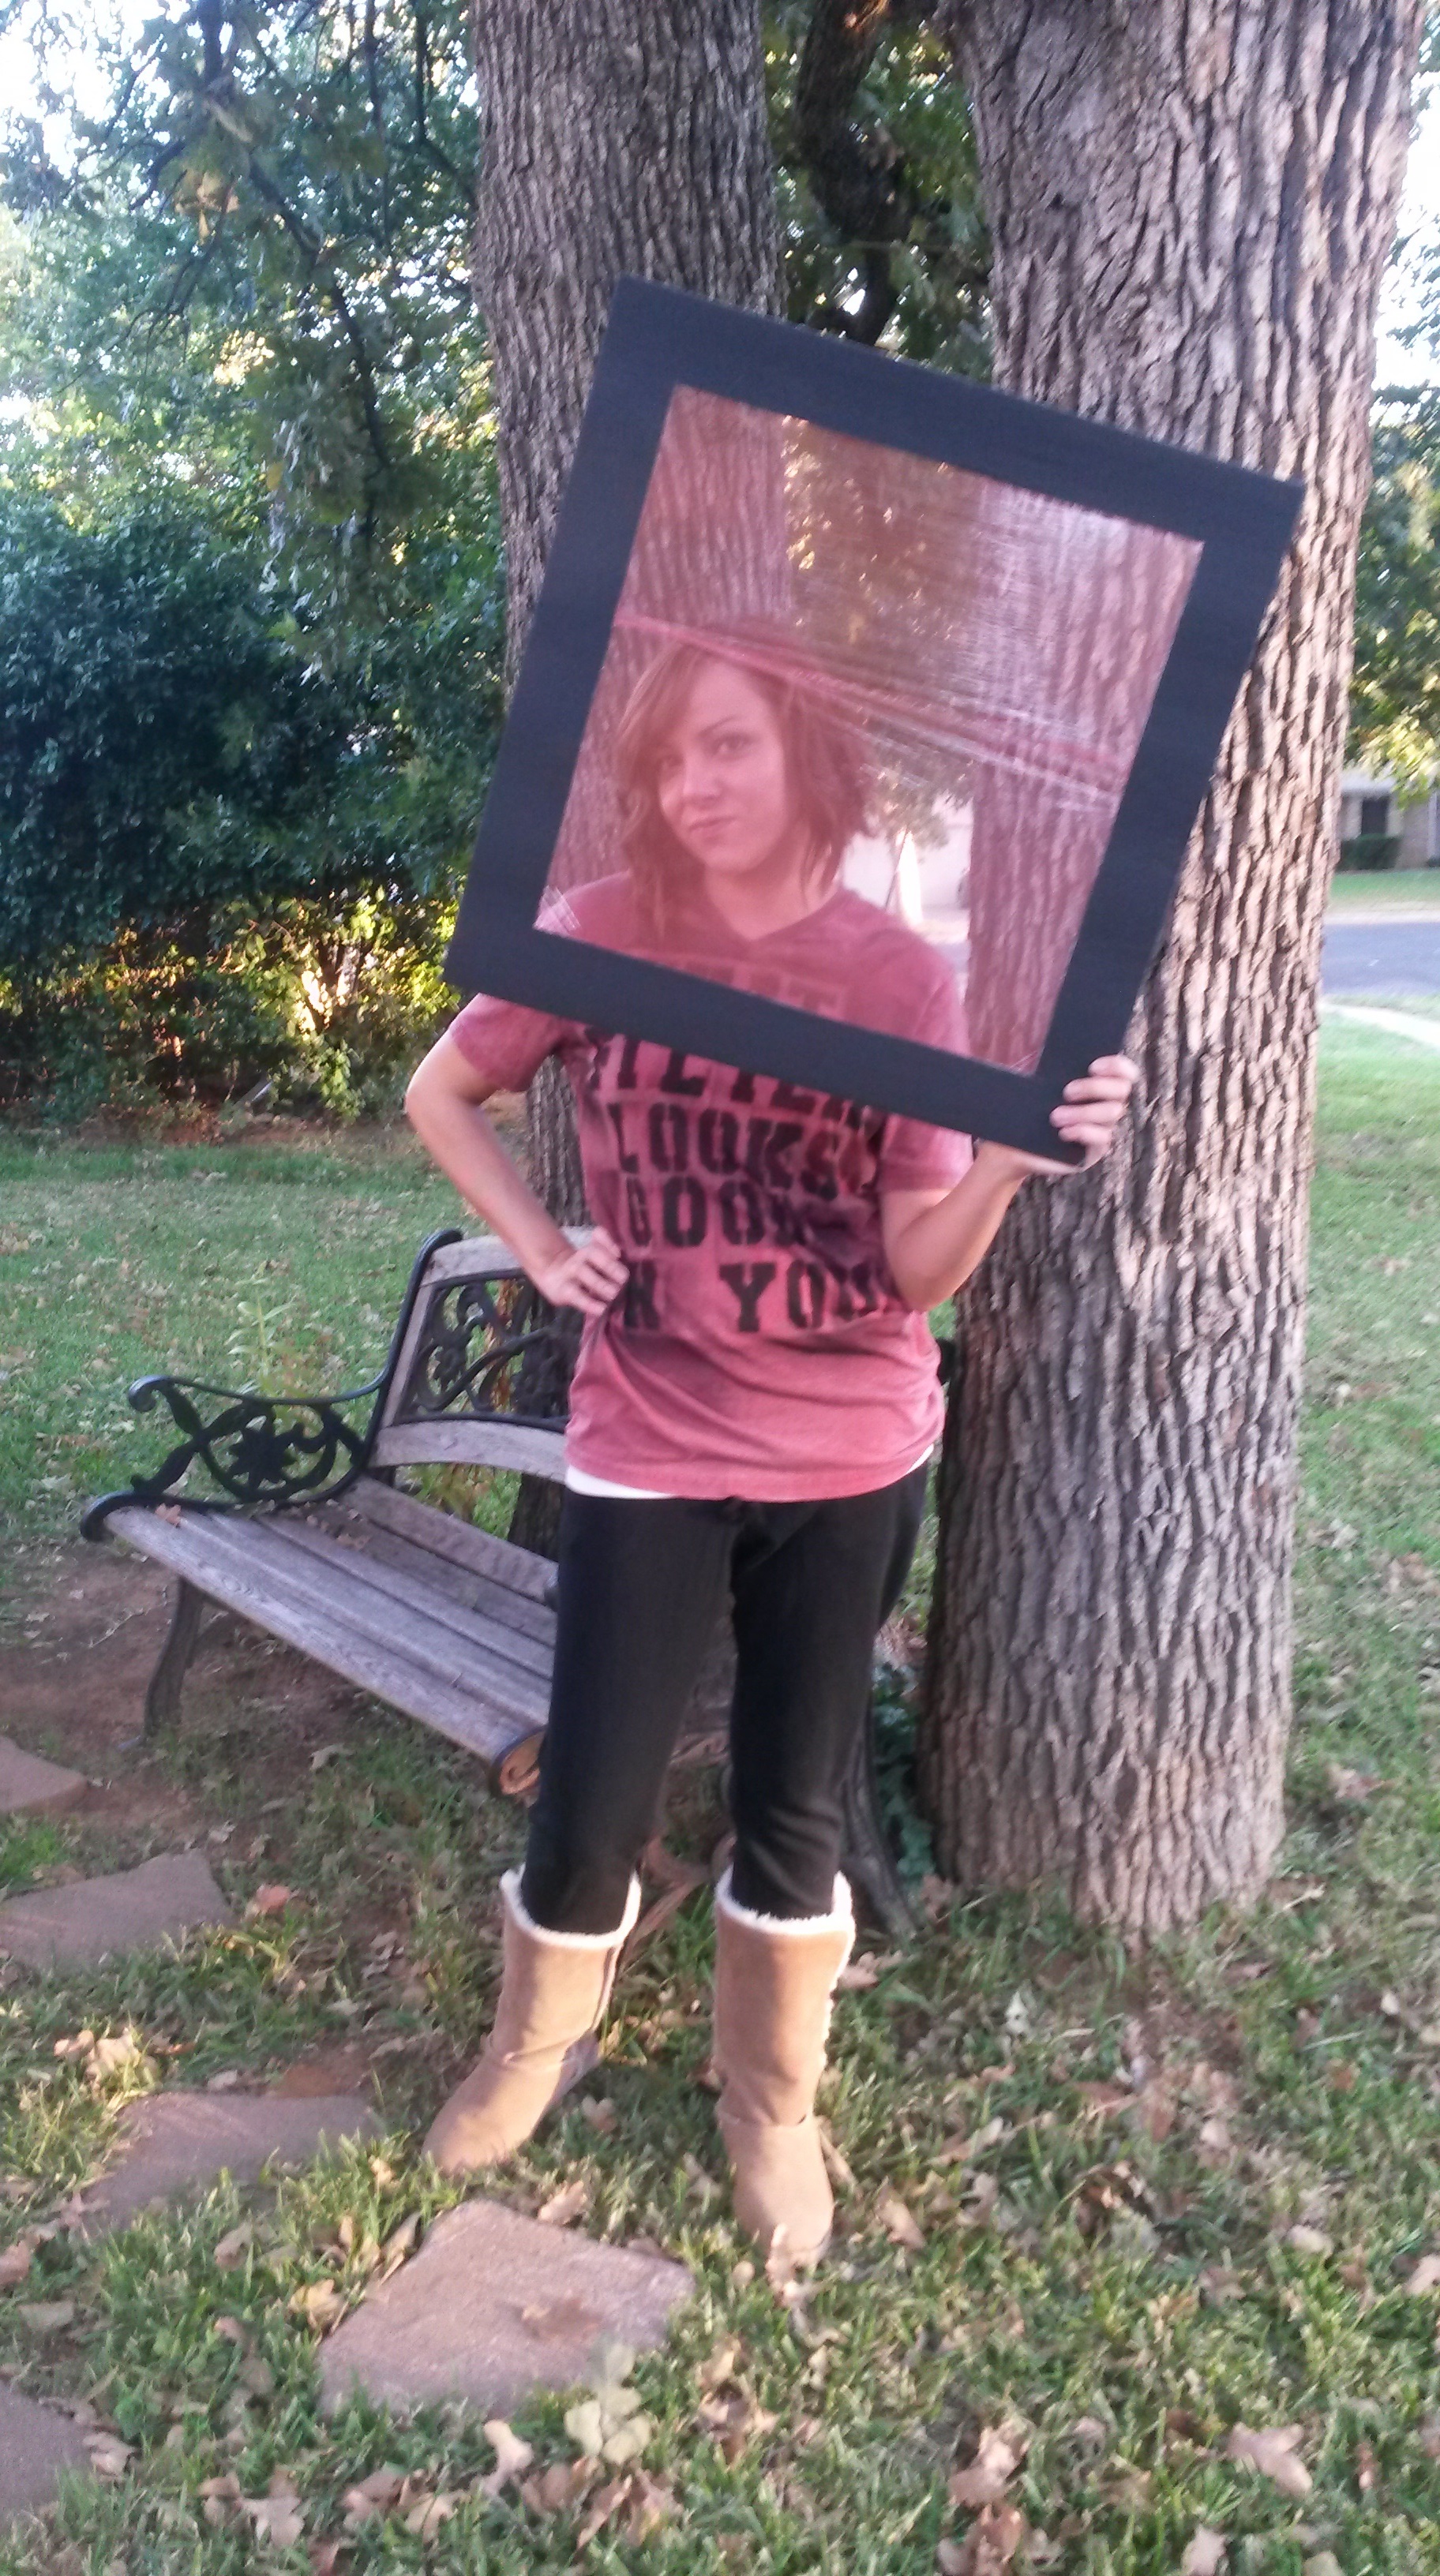
First: the outfit.  Skinny sweats, Uggs (faux and borrowed), and DIY’d t-shirt.  I chose the phrase “THAT FILTER LOOKS GOOD ON YOU” for my tee.  Because c’mon, Basics, you know that’s #truth!

The process is pretty straightforward.  I used a little cardboard t-shirt thing to keep my spray paint from leaking through the shirt.  I also used several pages of newspaper to protect my work surface, and to protect my shirt from too much over spray on the other letters on the stencils.

Anytime I do a project that involves lettering, I like to start my stencil or template in the middle of my surface to get things as centered as possible.  This takes some planning since you’re writing things out of order.  I recommend writing your phrase out on paper to use as a reference, just in case.  That way you don’t misspell something and facepalm.  My result with this tee wasn’t 100% centered but the choppy-ness (real word alert) really lends itself to the grungy-hipster-graffiti feel I was going for.

No one needs to see tons o’ progress pictures of how I did it, so I made a fun little gif for you.   You’re welcome, friends!

how to spray paint a shirt

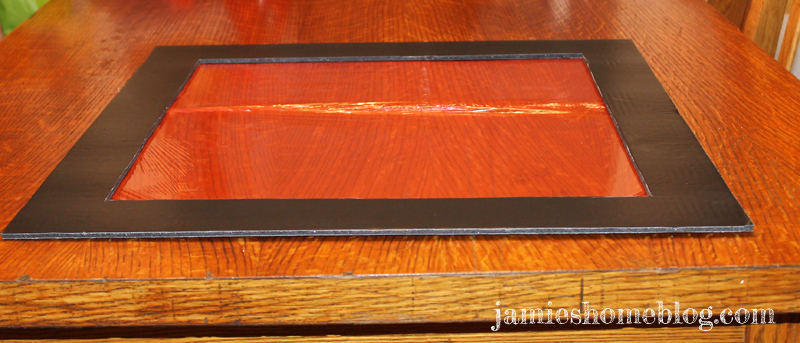
Second: the prop.  What Basic instagram post is complete without a filter and frame, #amiright?!

This part was even easier than the shirt.  I cut a piece of black foam core board into a square and then cut a smaller square into it.  I’m going for the Mayfair filter / frame combo here, Basics.

diy instagram costume diy instagram costume

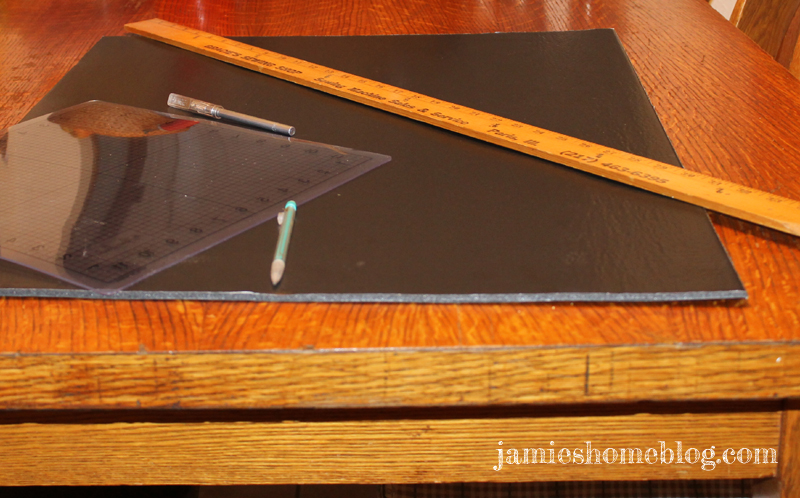
Then I taped red “holiday” plastic wrap to the back to create those subtle Mayfair pinkish tones we all love.

diy instagram costume diy instagram costume

That’s it, friends.  Done.  Selfie’d.  Grammed.

diy instagram halloween costume


This better win me a PTO day at our costume contest at work…

Pro Tips:

  • Don’t get offended by this blog post if you’re guilty of Cliche Instagram Girl posts.  This costume is a satire and I am most certainly guilty of some of the Basic Behavior I’m poking fun at.  See: pic in top left-hand corner.
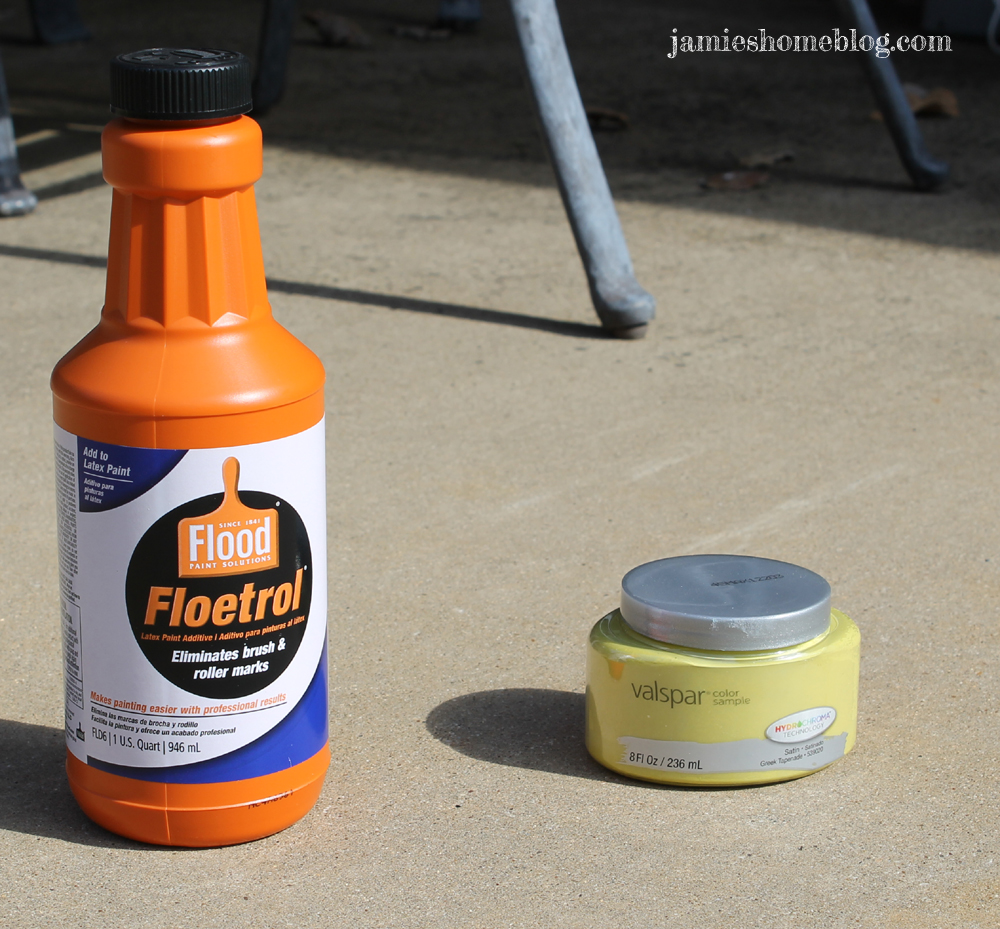
  • Use Valspar flat spray paint.  They have that “any angle” spray can, which is ideal when you’re working on a flat surface and need to spray from directly above.
  • When you’re done spray painting your shirt with whatever design, use newspaper edges and your paint to create a look of over-spray on a large stencil.  It makes the whole thing more cohesive.
  • Wear disposable gloves or get spray paint on your hands.  Your choice.
  • Treat yourself on Halloween.  I’m not much for candy so I’m going with an adult bev or four.
  • Boo!

xo

DIY Tabletop Leaning Shelf Photo Display

I’m back in blogland after a bit of a hiatus…  SO. MUCH. YES.

Without getting too detailed I’ll address why, because it makes sense to me to do so, and I’m the one running this show.  Suffice to say the one formerly referred to as “the fella” and I decided to go our separate ways.  The simple facts are that it didn’t work out, and that’s very sad, and we wish each other all the best in life.

Why is that relevant?  Much of my content up until now includes references to him and it’s weird to just stop talking about it and not explain why.

Also, I’m not going to make up a fake story as to why I’m currently staying with my parents (thanks again M and D) because I don’t feel like it.  #keepingitreal

So while I’m on the hunt for a new place, some of my next few posts will probably be set in my parents’ backyard, which has ample space for project execution!  Seriously dudes… This is about 1/5 of their yard…

diy leaning photo display shelf for instax mini 8

So lets get to it.  One of my favorite toys ever is my Instax Mini 8 camera.  There’s something so magical and special about the fact that each picture I take with this camera is completely unique and can’t be reproduced in the way that digital photography can.  And I totally love watching the photos develop – so much fun!

diy leaning photo display shelf for instax pics

PS this post isn’t sponsored, but if Fujifilm wants to send me some goodies I’ll flip my stance on that quick-style.  Wink wink, nudge nudge.

I’d been displaying most of my instax pics in a clothesline-esque format in my cubicle at work until recently.  ‘Scuse the bad phone pic please.

diy leaning photo display shelf for instax pics

Here’s how I made a super cute display shelf for them…  And how you can, too.

diy leaning photo display shelf for instax pics

Supplies

  • 8′ long piece of quarter round
  • 16″ W x 25″ H x .75″ D pine board
  • electric sander
  • hand saw
  • steel wool
  • wood glue
  • clamps
  • paint / paintbrush

Many times when an diy idea – a diydea? – pops into my head, I take to the old school pencil and paper method to really think all of the steps through and make sure my measurements aren’t off.  Real scientific stuff.

diy leaning photo display shelf for instax pics

My shelf didn’t end up being as wide as originally imagined, but I couldn’t find any lumber that was reasonably priced that would work for a 25″ wide board.  I stuck with 25″ high, though, because Instax pictures are 2 1/8″ W x 3 5/16″ H and by placing my 0.5″ quarter round every 5″ on the board I’m left with 4.5″ of shelf space.

The back board is part of a 0.75″ x 16″ x 36″ Craft Master’s, pre-cut, stain grade project panel.  I’ve used them before on both my bench and my nightstands so I feel like I can vouch for them.  They come in tons of sizes and are good quality.  I had a helpful hardware store guy cut it from 36″to 25″ H and then took it home and gave it a good all-over sanding.

diy leaning photo display shelf for instax mini 8

I also rounded the edges with my sander, and sanded an angle onto the back bottom edge of the board to assist with all the leaning this shelf will do.  It would have been super nice to create this angle with a compound miter saw, but since I do not have one nor do I have access to one, I had to improvise.

diy leaning photo display shelf for instax pics

diy leaning photo display shelf for instax pics

I gave the board one last sanding with steel wool (which leaves a velvety soft finish) and then wiped it down with a damp towel.  Then I marked where I’d put my ledges – every 5″ from the bottom.  The method I used to make sure my ledges were level was to mark little dots on each long side every 5″ inches from the bottom, and then use a yard stick to draw a straight line across, connecting both dots.

diy leaning photo display shelf for instax pics

I cut my quarter round using this hand saw

diy leaning photo display shelf for instax pics

After using a reciprocating saw did this

diy leaning photo display shelf for instax pics

Obligatory Interjection from the Safety Police: Do NOT use a reciprocating saw to cut quarter round.  It’s a damn mess.  Also, never use a rusty hand saw.  For anything.  Don’t.  Just because I make a bad decision in diy desperation doesn’t mean you should too.

I used Titebond interior grade wood glue to attach the ledges to the board, clamping the sides as I went along.

diy leaning photo display shelf for instax pics

diy leaning photo display shelf for instax pics

Titebond dries really quickly, but I left the board clamped overnight to be safe.

The quarter round I bought was the straightest piece I could find, but there was still a bit of bowing so I caulked all of the seams to make everything as smooth as possible.

diy leaning photo display shelf for instax pics

diy leaning photo display shelf for instax pics

Then, because the sides of the quarter round were a tad rough, I hit them with the electric sander real quick.

Homestretch – painting!  I didn’t prime this time (hey, that’s a rhyme).  All of my primer is packed in a box and I didn’t want to buy new, or wash my brush multiple times.  And I’m not super upset about the prospect of the wood grain creating a little bit of texture under the paint.  Gotta pick your diy battles, friend.

diy leaning photo display shelf for instax pics

I used a little Valspar sample (Greek Tapenade) laced with a couple of ounces of Floetrol, which reduces brush strokes.  In person this color is like a subdued citrine with hints of avocado.  So. Much. Color. Love…

diy leaning photo display shelf for instax pics

The first coat always looks like hell.

diy leaning photo display shelf for instax pics

But coat number two looked awesome!

diy leaning photo display shelf for instax pics

It didn’t even need a third coat and because it’s not going to get heavy use, I didn’t feel the need to seal it with anything.  How cute did this thing turn out?!

diy leaning photo display shelf for instax pics

diy leaning photo display shelf for instax pics

I’ll post a pic of it in my cubicle after I get it in to work tomorrow :).

Until next time, friend… Do you have an instax camera?  How do you display your instax pics?  Do tell…

Project Arrested Development

Anyone who has known me personally for more than a half-hour probably thinks that this post centers around what I deem to be the best television show in the history of ever (based upon the post title).  Put down your forget-me-now’s hermanos, because that is most definitely not the case.

Here’s the story of some old film rolls, that were lost for 14 years, and the one girl who had the guts to develop them.  Its… Project… Arrested Development!

developing old film

The back story here isn’t complicated – I had several rolls of film and disposable cameras sitting in a box for about 14 years.  I consulted a coworker (who is also an accomplished photographer) on whether or not they could be developed.  She told me as long as they weren’t exposed to harsh elements that I should go for it.

I went for it.  With a few of the rolls, that is.  Two of the disposable cams had exposures left on them, so I’m using them up now to see if I can get some cool fades / light leaks on the pics I take.  I’m sure I’ll post about that at some point.

Anyway, the real humor in this story, friends, is that even 14 years ago I seemed to have a propensity to curate my environment and preserve its memory in photographs (hey, just like I do on this blog!).  I feel like I’ve maybe improved, even if just a little.

I now present to you my room – at age 15.

Here’s the entry.

developing old film

You can’t see it?  Let me bring you in closer.  This is where my friends wrote all kinds of notes to me.  An analog “facebook wall” of sorts…

developing old film

And no wall is complete without photos… and pockets from jeans that are hopefully no longer being worn.

developing old film

Stickers are so en vogue…

developing old film

As is Freddie Prinze Jr…

developing old film

But lets actually move into the room, shall we?  Hey Jame, I think your finger is on the lens…  Wait is that Freddie Prinze Jr again?

developing old film

Here’s a weak wide angle of my bunk beds… Please make sure you notice the HUNDREDS of Beanie Babies on the shelf… (it was the late 90s, early 2000s… what?!)

developing old film

Hello wall gallery… I think I see someones faaaavorite band in there!  Also – fun fact – I still own that trunk table!  And it still looks the same as in this picture.  BAD DIYer, BAD!

developing old film

Oh in case you guys didn’t know, I like Blink-182 a little bit.  I almost typed “used to” in that last sentence haha…  I don’t like lying to you guys.

developing old film

And seriously, did I put a bumper sticker on a perfectly good wood dresser?!  For shame.

No teen room is complete without a desk at which you never always did homework, right?  Please direct your attention to the top right hand corner of the below photo, wherein you’ll find a cartoon I drew of me and my future husband, Mark Hoppus of Blink-182.

developing old film

Oh and because I’m not finished having a sense of humor about my 15 year old self, here’s me that next Christmas, where I received tube lights to hang over the whiteboard I got (both of which I relentlessly begged for).

developing old film

And the whiteboard?  Well I wanted to make sure EVERYONE got a sweet, sincere Christmas message as the first thing I wrote on it apparently…

developing old film

Pure class.  Stick that in your #TBT and smoke it.  I’ve got more pics of my bedroom after we painted over the green and the wall writing (but not over my Blink posters!)… but those are for another day.

Have you ever developed an old roll of film?  Did your parents let you scribble on your walls?  Are you a fan of ARReSTeD DeVeLOPMeNT?  We should be friends… Do tell…