Category Archives: DIY

Rockin’ Around the Christmas Tree

That may not be the most original blog post title in the world but I’m ok with that.

All of my blogger friends are showing off their Christmas trees and that’s a bandwagon I’ll happily jump on!  Although I’m pretty late with it… I’ve had my tree up since the 1st!  This blogger has been busy this Christmas season!

This is the first year that the fella and I have had a full size tree.  We  opted for a faux, pre-lit tree because, well, it was free.  It was a hand-me-down from his cousin and we were happy to take it off of his hands.  But we had an issue with the lights.  See I just prefer white lights on my Christmas tree.  And this year, I’m feeling the whole gold, silver, white combo.  This pre-lit tree had bright candy-colored lights zip tied all over it.  The fella, though, he’s such a trooper.  He spent about four hours cutting each and every last zip tie off of those branches for me.

clipping lights from a pre-lit tree

Sorry ladies, he’s taken.  🙂

Turns out, the colored lights didn’t work anymore anyway so it had to be done.  And I’m really glad my fella spent all that time doing it!  I owe him big time.

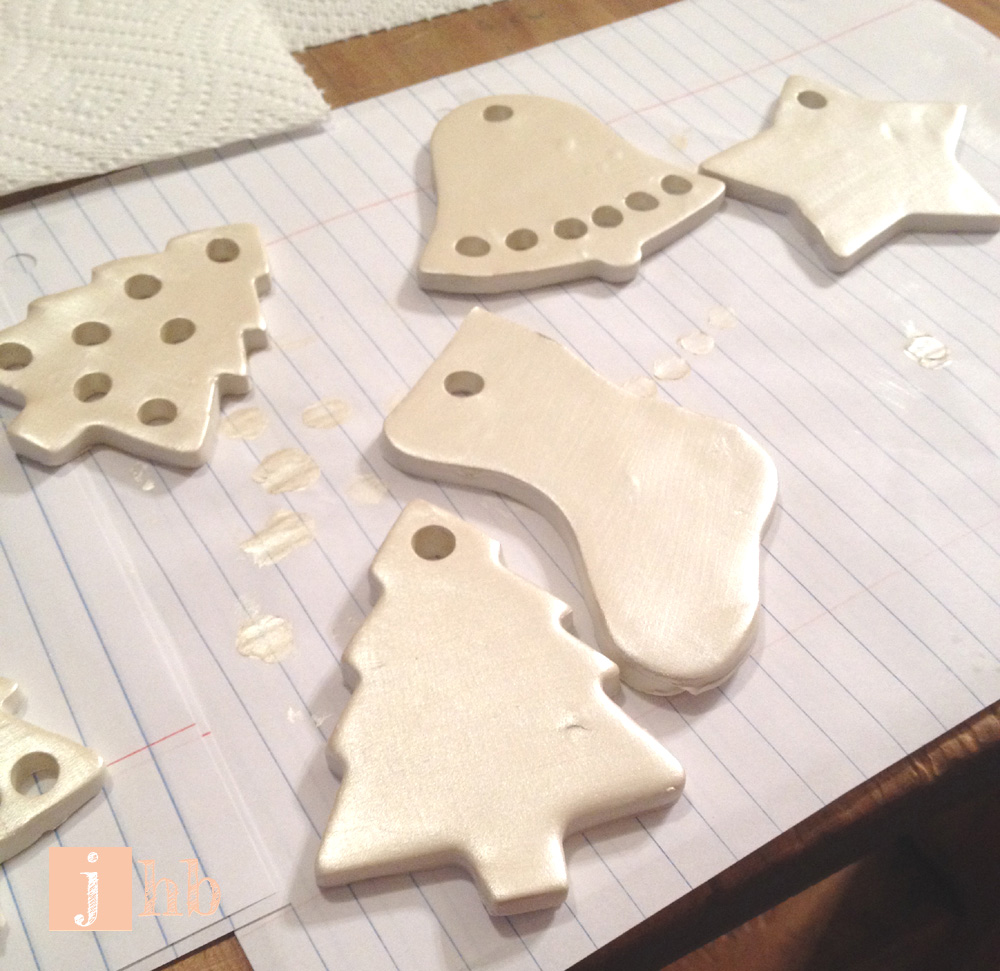
Now, since we haven’t had a large tree before, we were lacking in the ornament department.  I was going to make a fancy salt or cornstarch dough a la Pinterest, until I found a big ol’ brick of clay in my craft stash.  Good enough for me!

Sculpey Clay

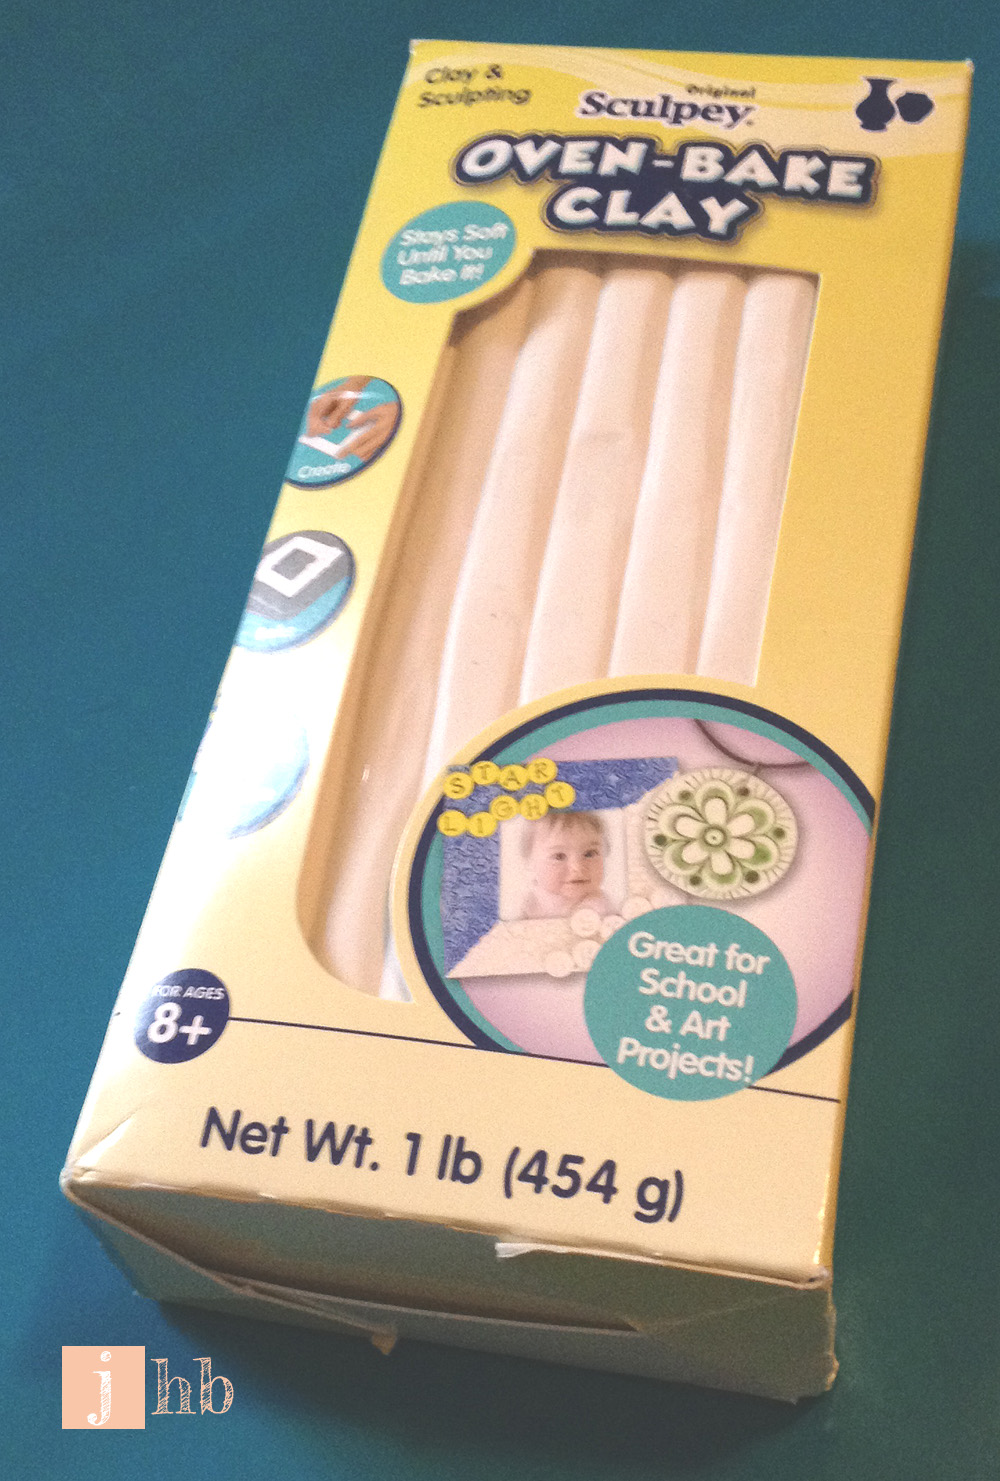
I just rolled it out and used my Wilton Christmas cookie cutter set to make some fun, festive shapes.

Ornaments Made From Clay

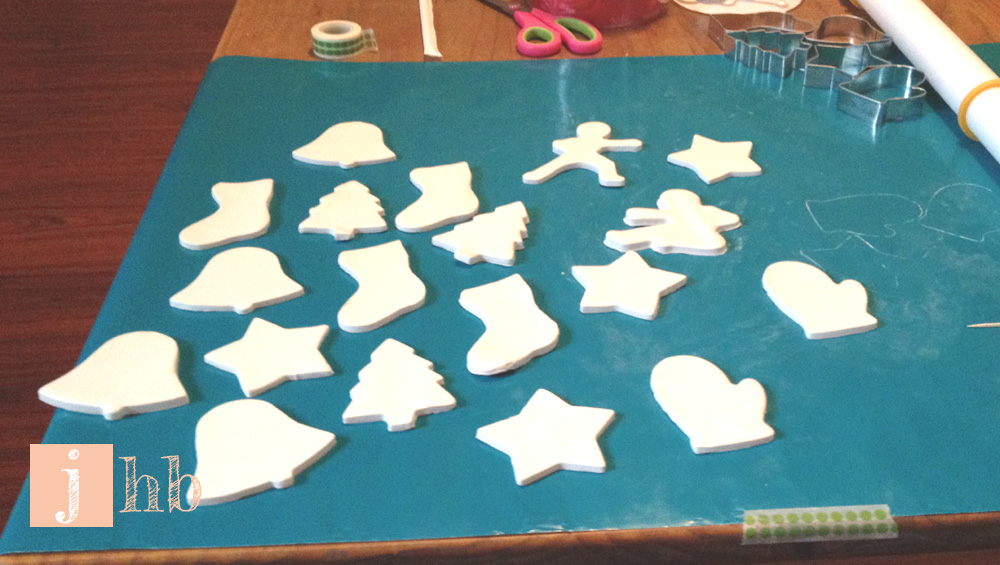
I used a drinking straw to poke holes in them for string (plus some extra holes for fun), and then baked them according to the instructions on the package of clay.  Notice the fella threw in a ninja or two that he made with our Ninja Bread Men cookie cutters….

Baking Clay Ornaments

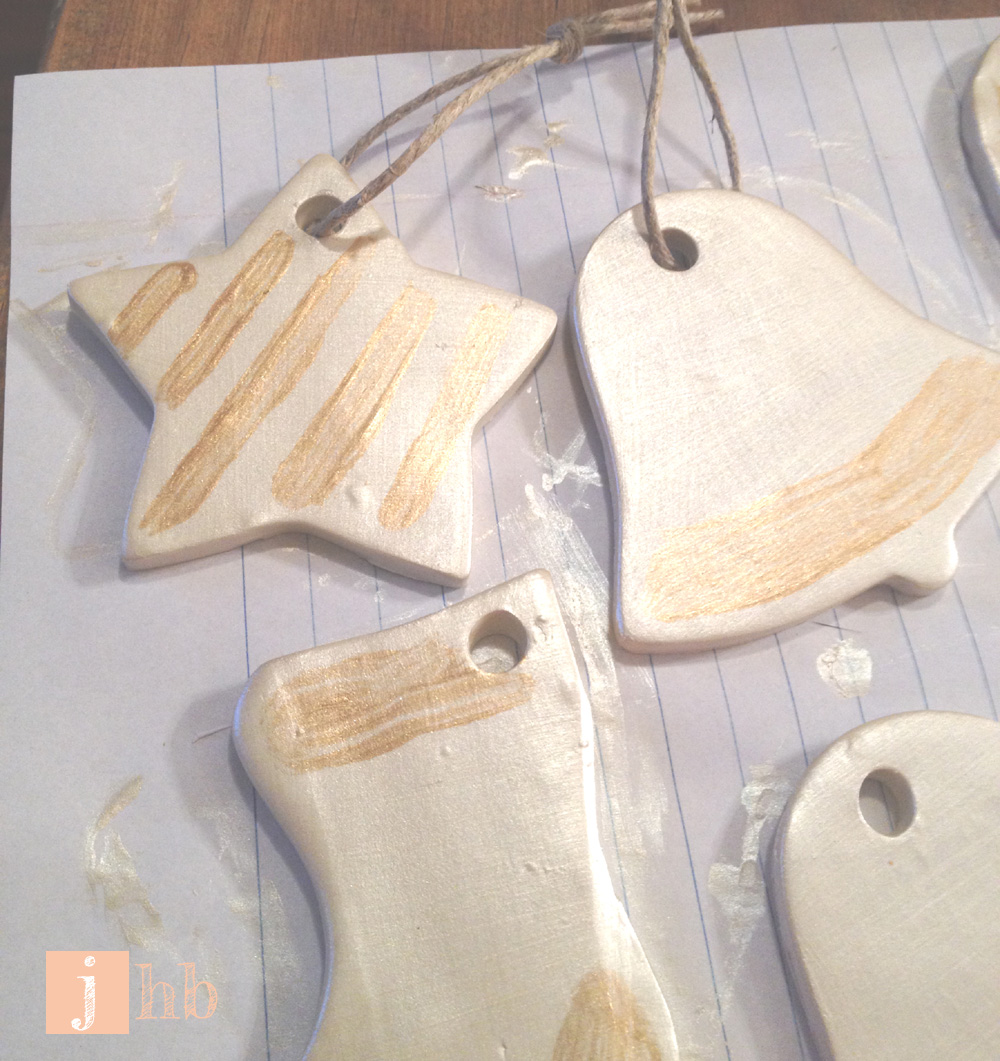
When they cooled they were ready for a coat of a pretty pearlescent acrylic paint.  The color I used is called champagne and I love it for that.

Ornaments Painted Champagne

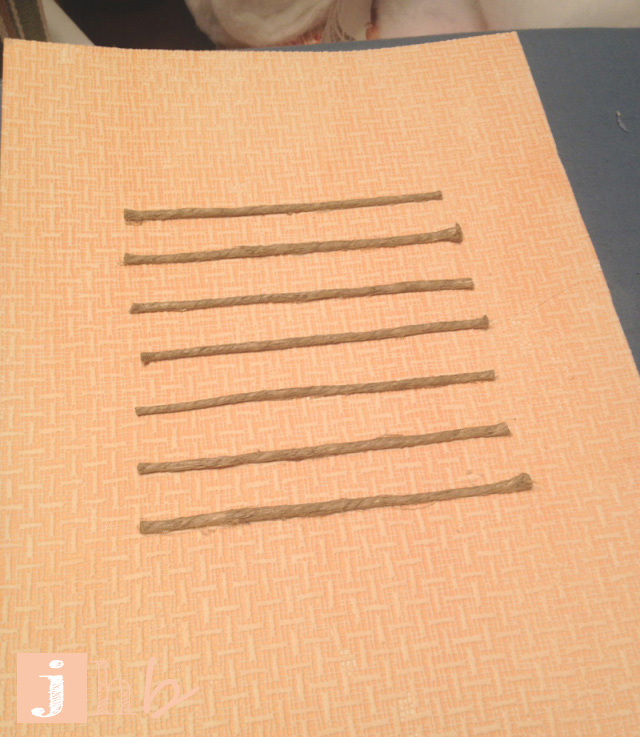
Some of them got a little “bling” in the form of my Martha Stewart glaze in Medallion.  Then I tied on some twine and these babies were ready to go!

DIY Painted Ornaments

I also hung some charcoal and silver orbs and of course our special ornaments.  The special ones are those with sentimental value, like the ones the fella and I picked up on our last two trips to New Mexico.  This is the one we snagged this year!

Ornament from New Mexico

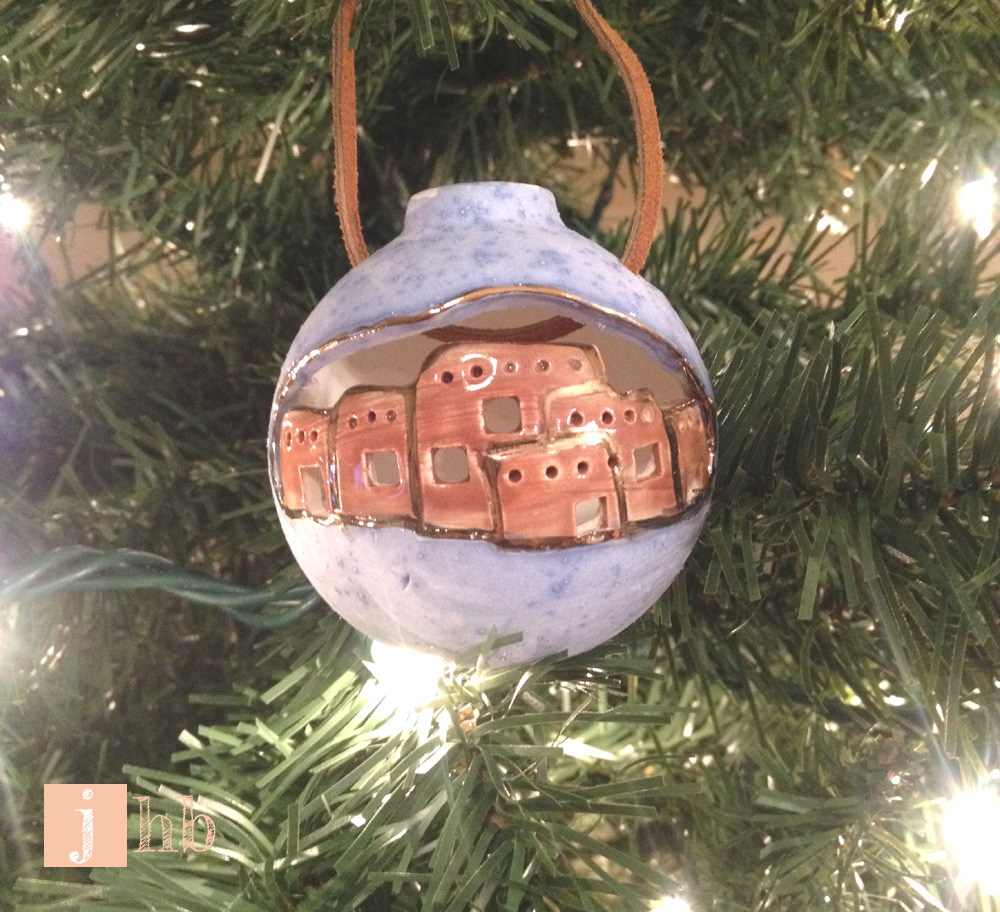
I think that state is quite possibly my second favorite in the US, behind the great Lone Star State, which I call home.

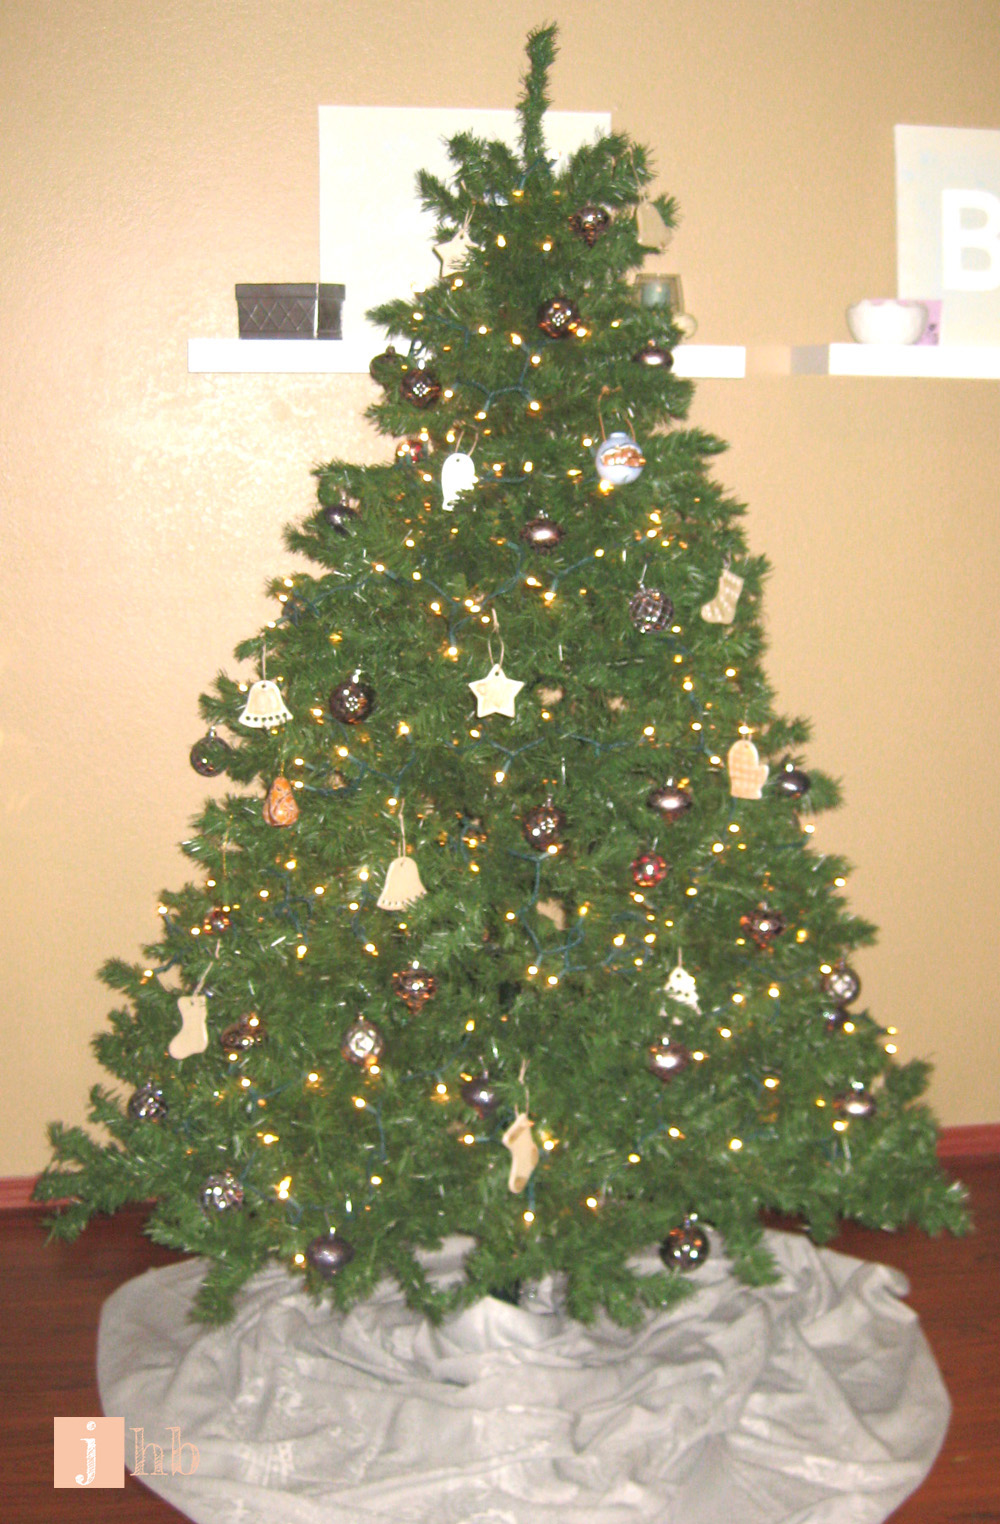
My homemade ornaments are a bit more kitschy than I prefer, but I like them all the same.  And I love our first full size faux tree.  I illustrated our tree adventure in this Flipagram which is soundtracked by the always fabulous She & Him.  I seriously LOVE that app.  This is the best picture I could get of the tree, since its in a corner of our living room that gets zero natural light.  I like how it turned out though.  Needs ribbon and a topper, but I seriously haven’t even had time for it!

jhb Christmas Tree

I’ve been working on all kinds of Holiday projects around here, and I hope to post about them this week!  I’ve been crazy busy preparing gifts around here!

Anyone else get stuck de-lighting a pre-lit tree this year?  The fella would love to know that he’s not the only one who had to suffer.  Do tell…

How to Hang Curtains Like MacGyver

UPDATE: Welcome to jhb!  Thanks so much for stopping by!  This method worked really well for hanging curtains in my rental without damaging the walls.  If you want to see how the removal went, click HERE!  If you’re installing your curtains, read on for instructions friend!

First, chew a piece of gum.  While chewing, use duct tape to fashion floor length curtains.  Find a piece of plumbing pipe longer than the width of your window.  Affix your duct tape curtain to the plumbing pipe using more duct tape.  Spit out your gum, tear it in half, put some on each end of the plumbing pipe and attach it to the wall.  Boom.  That’s how MacGyver would hang curtains in my situation.  See, the condo that the fella and I live in was built in 1983.  And like most condos built in the early 80s, we have… a mirrored wall.  Here it is in all its glaring, shiny, mirrored glory.  Note that this photo was taken previous to me purchasing my sectional and also previous to the last two living room rearrangements.

Mirrored Wall in Condo

One of the two small windows in our living room is surrounded by this massive mirror.  Into which I cannot drill holes for window treatments.  Convenient.  Our landlord is a saint, but I’m pretty sure taking a sledgehammer to the mirrored wall would be on his no-no list.  Plus, who needs all that bad luck, anyway?  So my task was to figure out how to hang curtains on a wall I couldn’t drill into.  And though MacGyver’s version sounds lovely, I’m not sure it would match our decor.  So here’s how I did it…

*Disclaimer: as with the rest of my posts, this post is NOT sponsored.  I just want to write about products that I love, use and have success with!

My curtain rods, mounting hardware and finials all came from IKEA.  For each window – one rod, a pair of mounting brackets and the finials came to the grand total of $7.47 pre-tax.  So for both windows, I spent $16.17.  Can’t beat it!  And how cute are these finials?!

IKEA finial

Here’s where it got real complicated for me.  I went out and got the 3M Command hanging strips that hold up to 16 lbs.  The ones that work like velcro.  These guys.

Command Strips

I’ve used them before on heavy frames and they work wonders.  I attached the strips to the brackets and the wall according to the instructions, then I waited two days before touching them to let the adhesive set.  I put my curtains on my rods and then carefully rested the rods in the brackets.  And 15 minutes later, the strips separated and the whole thing came crashing to the floor.  Sad face.  My curtains are a really breezy, thin linen, so I really don’t think they weigh 16 lbs (even combined with the rod and finials), but I guess gravity got the better of the Command strips because down they came.

I knew there had to be another way… Enter Alene’s turbo tacky glue…

Alene's Turbo Tacky Glue

I thought it might have enough strength to keep the strips from separating, but also be pliable enough to make removal easier.  I figure if its a little stubborn when I take them down, I can take a box cutter to the tacky glue.  The strips are destroyed when you remove them anyway.

So all it took was a little bead of tacky glue down the length of the strip and a firm press into the wall.

Bead of Glue

I waited a couple of days before putting the curtain rod on the brackets, just to be sure that the tacky glue had set and was completely dry.  I very gingerly put the curtain rods into the brackets and much to my excitement, they stayed up!

Curtains Hung with Command Strips

Imagine me doing a happy dance in my living room while the dog tries his best not to feel embarrassed of me.

Turkish Embarrassed

So far its been a month and I haven’t had any issues with the system not staying put.  I’ll definitely post an update if that changes.  But I’m glad that its a success thus far!  Now I’m thinking I may want to dye my curtains or otherwise give them some sort of upgrade.  Right now they’re just plain linen but I’d love to give ’em some character.  Commencing brainstorm session…

Curtains Hung with Command Strips

So that’s how I hung curtains on a wall that cannot be drilled into.  Pretty great, right?  Anyone else have a creative way to hang curtains without drilling holes?  I’d love to hear other folks’ ideas or workarounds for a situation like this!  Do tell…

Fancy File Cabinet

Folks, just about everything at our place gets a paint job if it holds still long enough.  And that includes a dinged up old metal file cabinet!  The fella and I found this baby on Craigslist for a cool $25.  MUCH cheaper than buying brand new.  And of course I gave it a little style and sass with color-blocking!

File Cabinet Before Makeover

The seller actually has a huge warehouse full of school and office surplus in used condition.  There were tons of neat items that filled me with nostalgia and memories, but the only item that was a practical purchase was the file cabinet. We could have used it as is, but I couldn’t stand to look at its sad, drab face. So I gave it a face lift!  Before I started, I put the cabinet on risers, which are actually just leftover table legs from my LACK Hack project…  This way the cabinet wont stick to the trash bag plastic drop cloth once its painted.

IMG_5418

Before painting, I took the hardware off. I’m not an expert in file cabinet assembly, only organizing the files in it. So before I removed the handles, latches and label holders, I used the highly scientific method of taking a picture of the latch mechanism, so I’d know how to put it back on when the time came. I’m a genius.

HON File Cabinet Latch Mechanism

I applied a couple of small strips of Frog Tape over the holes from the hardware to protect the inside of the cabinet from paint drips.  I also covered the lock with Frog Tape to prevent rogue paint swipes from messing it up.  I didn’t want to remove it, for fear I’d mess it up and render it useless.

File Cabinet Painting Precautions

If you’ve read any of my other posts (thanks!) you’ll know that Zinsser B-I-N is my go-to primer. For Pete’s sake, that stuff sticks to air. No kidding. So this file cabinet got a coat of the ol’ B-I-N.

Priming a File Cabinet

And then there was the boring wait for the primer to dry. I have this habit of adding more dry time to whatever the manufacturer’s instructions state. I live in North Texas and the humidity here is pretty much a year-round thing. Better safe than sorry I say.

After the longer than usual wait is the fun part… Painting! This file cabinet sits in our guest room / office. It lives with a gold shelf (can’t wait to share that project on here) a white writing desk and a guest bed with green and white bedding. The room is no where near where I want it to be. Baby steps. But I am a tiny bit closer with this little project!  I’ll pause while you enjoy the schematic I sent to the fella to give him an idea of what I wanted the cabinet to look like.

Schematic for File Cabinet Makeover

To achieve the diagonal line, I used a yardstick and pencil to trace a line from the top right-hand corner to the bottom left-hand corner.

IMG_5434

The paint I used was some that I actually already had on hand. It was part of the Lowe’s Color Studio 2013 Spring Palette.

Valspar Polar White and Sweet Mint

Polar White / Sweet Mint

I just happened to be at Lowe’s shortly after they were released and bought samples of a few of the colors. Same thing happened when the 2013 Summer Palette came out… I can’t help it! The samples are inexpensive and go such a long way!

So the “bottom half” got two coats of Polar White, then I taped over my pencil line, and the “top half” got two coats of Sweet Mint.  There were about 24 hours worth of dry time between each coat, since this was done on weeknights after work.

Progress on Painting a File Cabinet

And what about the hardware? Well they got the gold spray paint treatment!  No progress pics of that but the gist is that I cleaned ’em, spray primed ’em and gave ’em several light coats of gold spray paint.  I gave the whole thing two coats of polyurethane (I use Minwax) and let it dry for… You guessed it… a couple of days longer than the manufacturer’s instructions suggested. Then I popped the hardware back in (thanks to my handy photo that showed me how to reconnect the drawer latches).

Voila! A pretty, pretty color-blocked file cabinet!!

File Cabinet Redo After

I thought the fella would hate it, I mean it is a bit feminine, but I think he’s just happy to have a place to organize his paperwork (those Air Force guys, they have a LOT of paperwork).  I love how pretty it turned out.  And I still have about half of each paint sample left over for future projects!  I’m tellin’ ya, those things go a LONG WAY.  Here’s a side by side so you can see how glorious it looks after a little TLC.

Before and After File Cabinet

I’ll admit, I’m a bit nervous about the paint chipping, since the metal surface of the cabinet is zero percent porous, but I have faith that my trusty B-I-N is up to the challenge of keeping the paint in place. I’ll definitely post an update if the paint starts to come up.

In the meantime – anyone else taking steps to a more organized life or visiting giant warehouses full of cafeteria tables and science lab equipment? Do tell…

Craigslist Catch: Mid Century Dresser

One of my favorite pastimes is browsing Craigslist for secondhand furniture. If you put in the time, use the right search terms and exercise patience, you just might get lucky enough to get your hands on a gem! And so it was for me with my most recent Craigslist Catch.

I’ve been searching Mr Craig’s List for some quality Mid-Century pieces for our bedroom for months now, and haven’t had much luck. Most of it has been out of my budget and the pieces that I could feasibly afford we’re either way too far away or gone by the time I replied. The Atomic Era, she’s popular. But recently the stars aligned. See, both of the fella’s jobs require uniforms (meeeow) which means he has tons of shirts and undershirts. And someone in the house won’t let go of any of her concert shirts and painting clothes. Yeah that’s me. Anyway, the fella gave the green light to look for another dresser on Craigslist and lo and behold:

Mid Century Modern Dresser

I know its a muddy pic, but isn’t she wonderful?! The sleek lines… The original hardware… And my newly found furniture source let this beauty go for only $160!

Turkish (head of quality control in our household) tells me the dresser passed all of his quality tests, so obviously it’s a keeper…

Turkish Conducts Quality Testing

Now what to do with it?  It’s wood veneered.  I really would like to stain it but since its an older dresser I’m afraid of killing the veneer by sanding, even if I go verrrry easy on it.  I’ve been playing around with the idea of painting it green.  Remember that fabric I bought for the bench that didn’t fit?

Retro Style Fabric

I used it for something else in the room, and that’s what steered my brain to green.  Here are the three main colors in the room.

Current Bedroom Colors

And here are the colors I’m currently crushing on.

Greens for Dresser

I’m on vacation as I type this, so I have plenty of time to mull it over in my brain.  I’m just really loving that a green hue is fitting to the style of the piece and also ties in with that great fabric!

Anyone out there have any thoughts?  All opinions are always welcome!  And who else has a story about a Craigslist Catch?  I know I’m not the only one who spends an hour a day on that site.  Do tell…

MORE Wall Art?!

Yep, I have more wall art to talk about!  We have LOTS of wall space too, so this is definitely not the last post to be written on the subject here at Jamie’s Home Blog…

Between the mixture of bachelor and bachelorette furnishings that my fella and I combined when we moved in together, and the lack of wall decor or even a headboard, our bedroom wasn’t much to look at.  As I’ve said before, apologies for the muddy iPhone pics…

Bedroom Before

One day, while I was not at all sitting in a meeting, I doodled this:

Doodle of Dream Bedroom

Recognize the bench?  That drawing was the idea I had for our room.  Simplicity with a touch of mid-century.  And this is the story of the wall art in that doodle. One face-melting hot sunny Texas day, my Mom and I went garage sale hoppin’.  Well, first we went to this great little hole in the wall fabric shop that had no air conditioning.  We were basically surrounded by fabric insulation in a smallish room on a 100 degree day… and it was only about 10am at this point.

Obstacles of Fabric

Fabric Store

But I digress… At one of these garage sales we visited I came across six 8.5″ x 12.5″ frames priced at $2 per.  I offered up $10 they were mine!  I’m sure I could have haggled her even lower but I had a $10 on me so that made it easy.  The art wasn’t my style but that hasn’t ever stopped me from purchasing useful frames for sure!

Frames / Weird Flower Art

I lucked into finding some Krylon Coral Isle at my local Jo-Ann.  I’m not sure that color is regularly sold in my area.  I looked for it at several locations of a big retailer that carries Krylon (you know, the dreaded “W”) and didn’t find it!  So you better believe I bought all three cans that were on the Jo-Ann shelf!  I demonstrated my love for the color with this fancy Instagram.

Krylon Coral Isle on a Frame

You know how the process works… Spray a coat of primer (I prefer Zinsser BIN) and several light coats of paint.

Krylon Coral Isle on Frames

Then it was time to make the art!  I still have tons of leftover Allen + Roth basketweave textured wallpaper from my dresser project.  I affixed it to poster board with spray adhesive and then cut it to fit my frames, using the original art as my template for size.

Creating Wall Art

I had some trouble deciding what color these wallpaper / posterboard “mats” should be.  I’m a very visual person so I did the below “mock up” to give myself an idea of what the final product should look like.  Don’t worry, the twine taped on the paper makes sense in a minute.

Wall Art Color Decision Making Process

The peachy coral in the center at the bottom was the winner!  I mixed acrylic paint with water (and a little mod podge for some sheen) and used a simple sponge brush to paint it on.

Acrylic Paint, Water and Mod Podge

Paint Mixture on Wallpaper

Once they were dry, I hot-glued pieces of twine equal lengths apart in the middle of each mat.

Twine on Textured Wallpaper

Now the fun part!  I popped them into the frames and hung them over our bed using a laser level.  Please excuse the poor lighting in my poor iPhone pics.  A photographer, I am not.

Bedroom

To be honest – I wasn’t that crazy about them at first but they’ve really grown on me.  They have a sort of calming and serene quality – perfect for a room where we mainly rest!  I’m feeling good about my progress thus far in this room, that’s certain.

Bedroom Progress

Is anyone else getting good deals at the thrift shop?  Who has made something that they didn’t like initially, but have come to love over time?  Do tell…