Category Archives: Decor

An Outing: Fort Worth Vintage Market Days

This past Saturday, my mom and I attended Fort Worth Vintage Market Days, which is actually about 45 min south of Fort Worth in Alvarado.  Neither of us had been before so we weren’t sure what to expect.  It was at the Diamond W Arena, which is basically a rodeo complex.  When we walked in, there were two booths selling clothing and jewelry in front of some cattle roping event going on.  Cue nervous laughter and glances between Mom and me.  I think my exact quote was “Uhm, what did we get ourselves into?”.

Cattle Roping Diamond W Arena

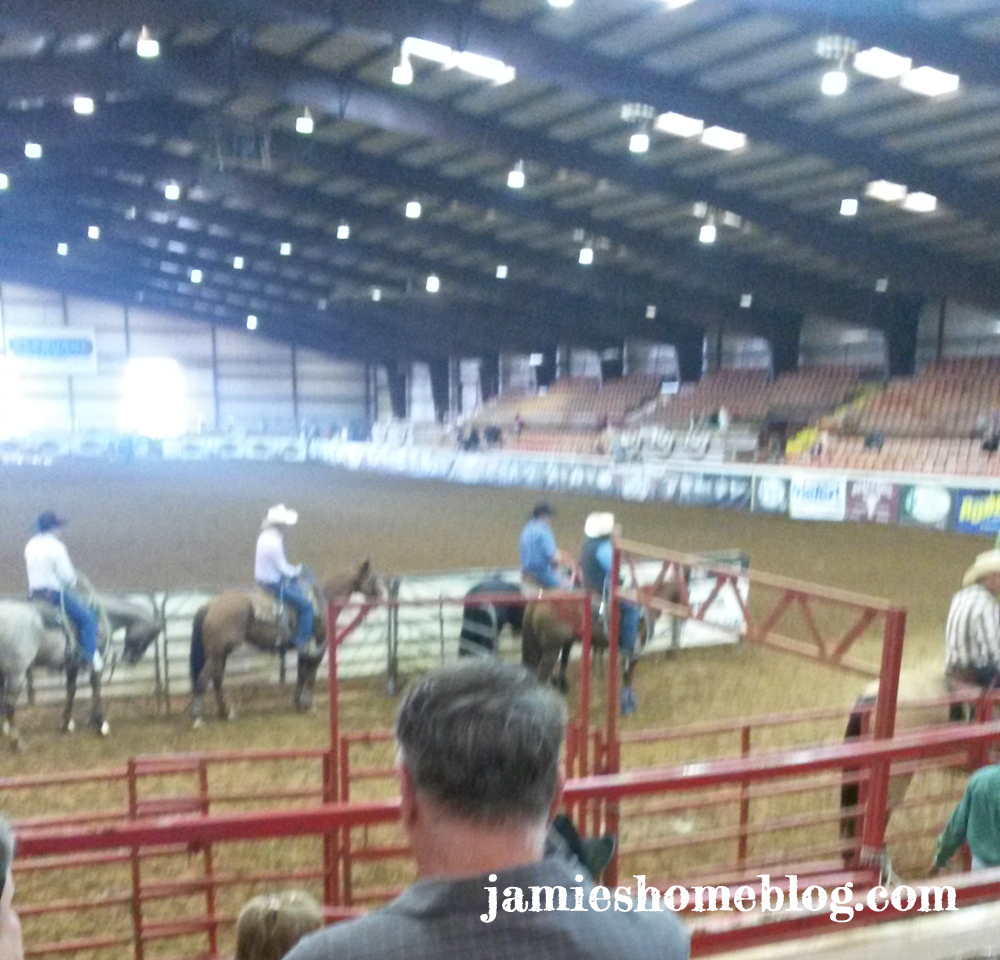
It’s a good thing we decided to walk around the complex because tucked back behind the cattle roping arena was a maze of booths filled with tchotchkes, edibles, furniture and vintage finds.  To be honest, it was a bit overloaded with “shabby chic” goods.  Definitely not my favorite look, but it’s wildly popular these days and is to be expected in a rural area at a rodeo complex, right?  In any case, there were lots of oddities and awesome finds, and I snapped some phone pics to prove it to ya!

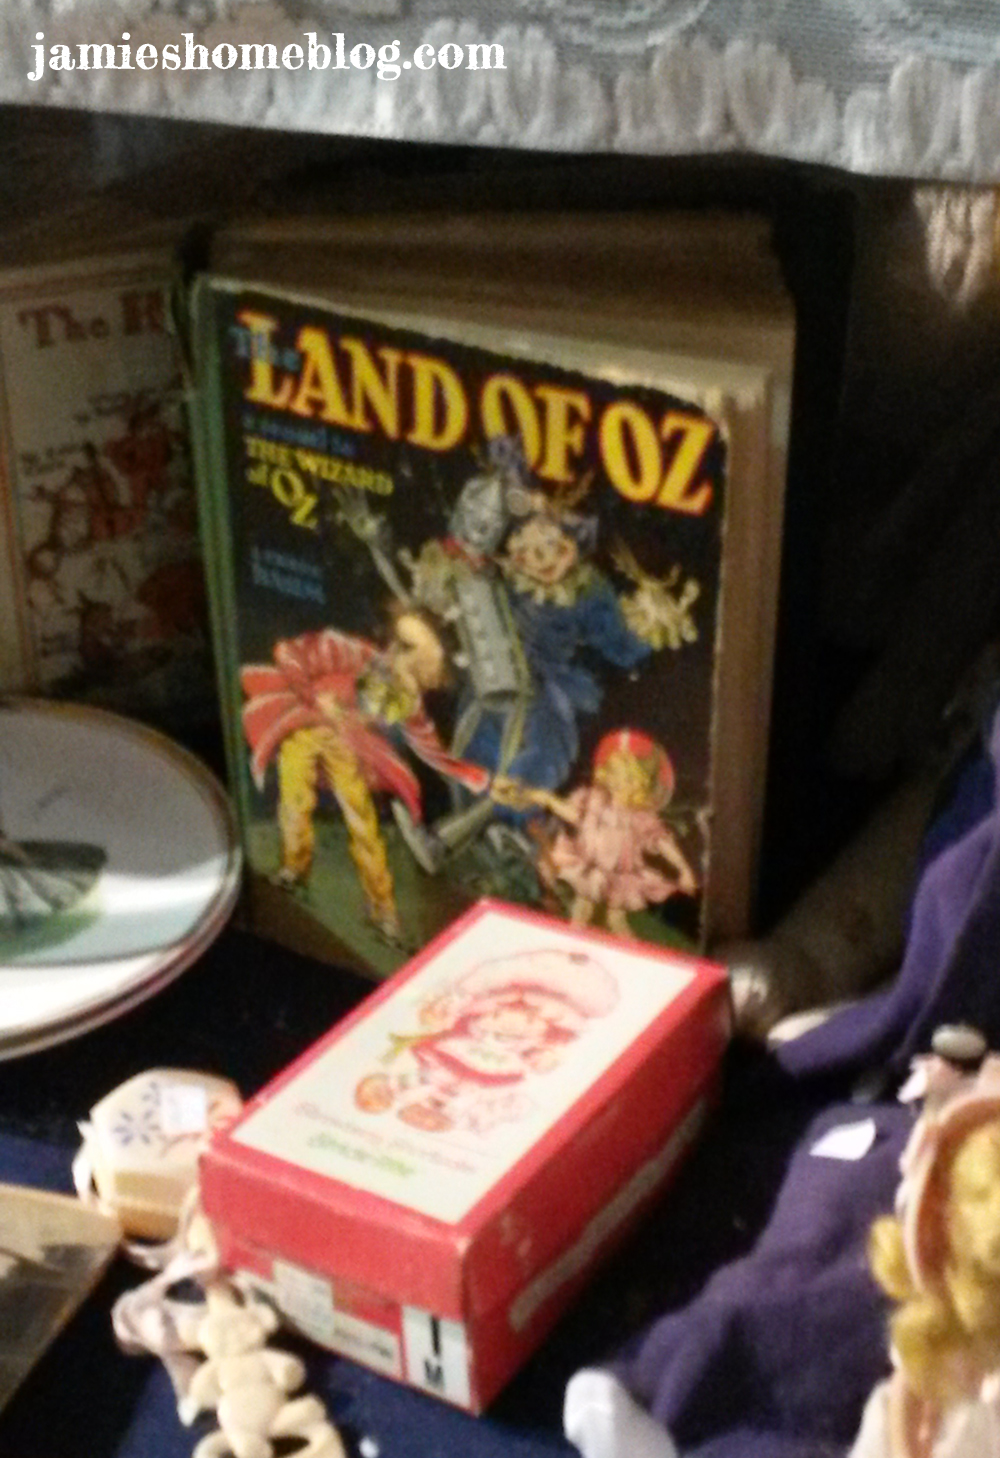
There were lots of vintage books:

Land Of Oz Book

Fort Worth Vintage Market Days

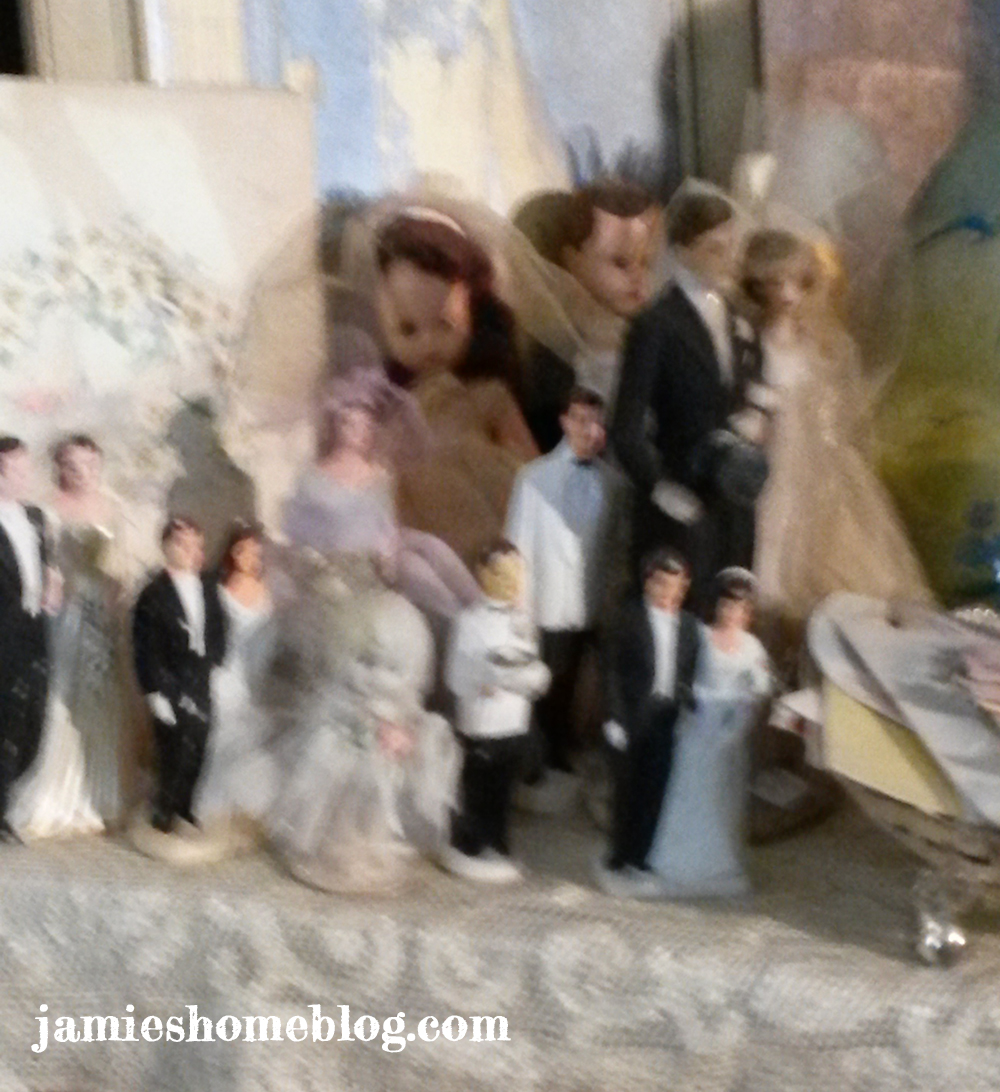
A bunch of strange and fun kitsch…

Like this group of wedding cake toppers:

Fort Worth Vintage Market Days

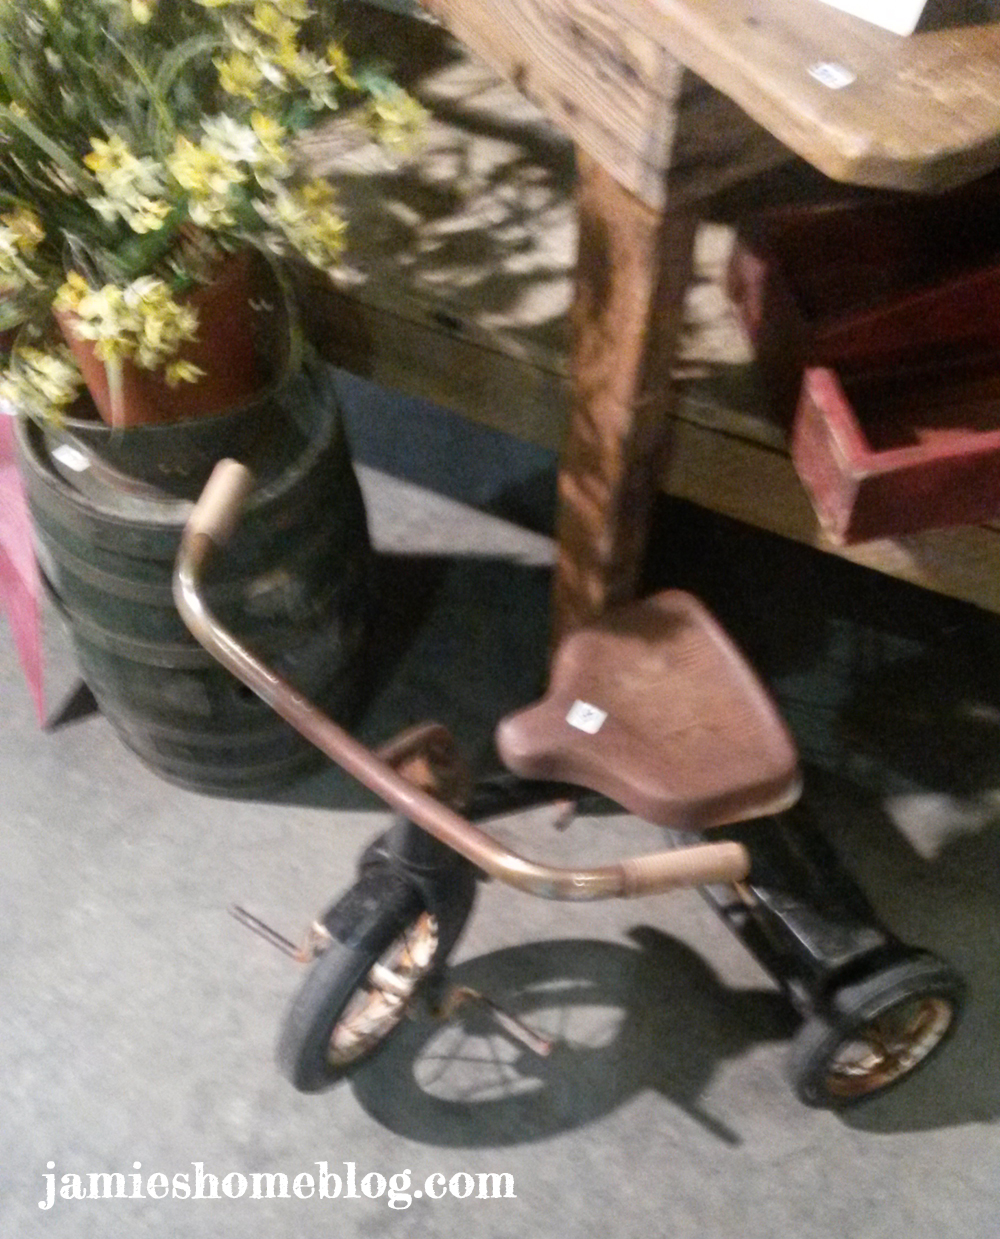
And this rusted trike:

Fort Worth Vintage Market Days

We saw hand made decor, toys and household items…

Like this sign:

Fort Worth Vintage Market Days

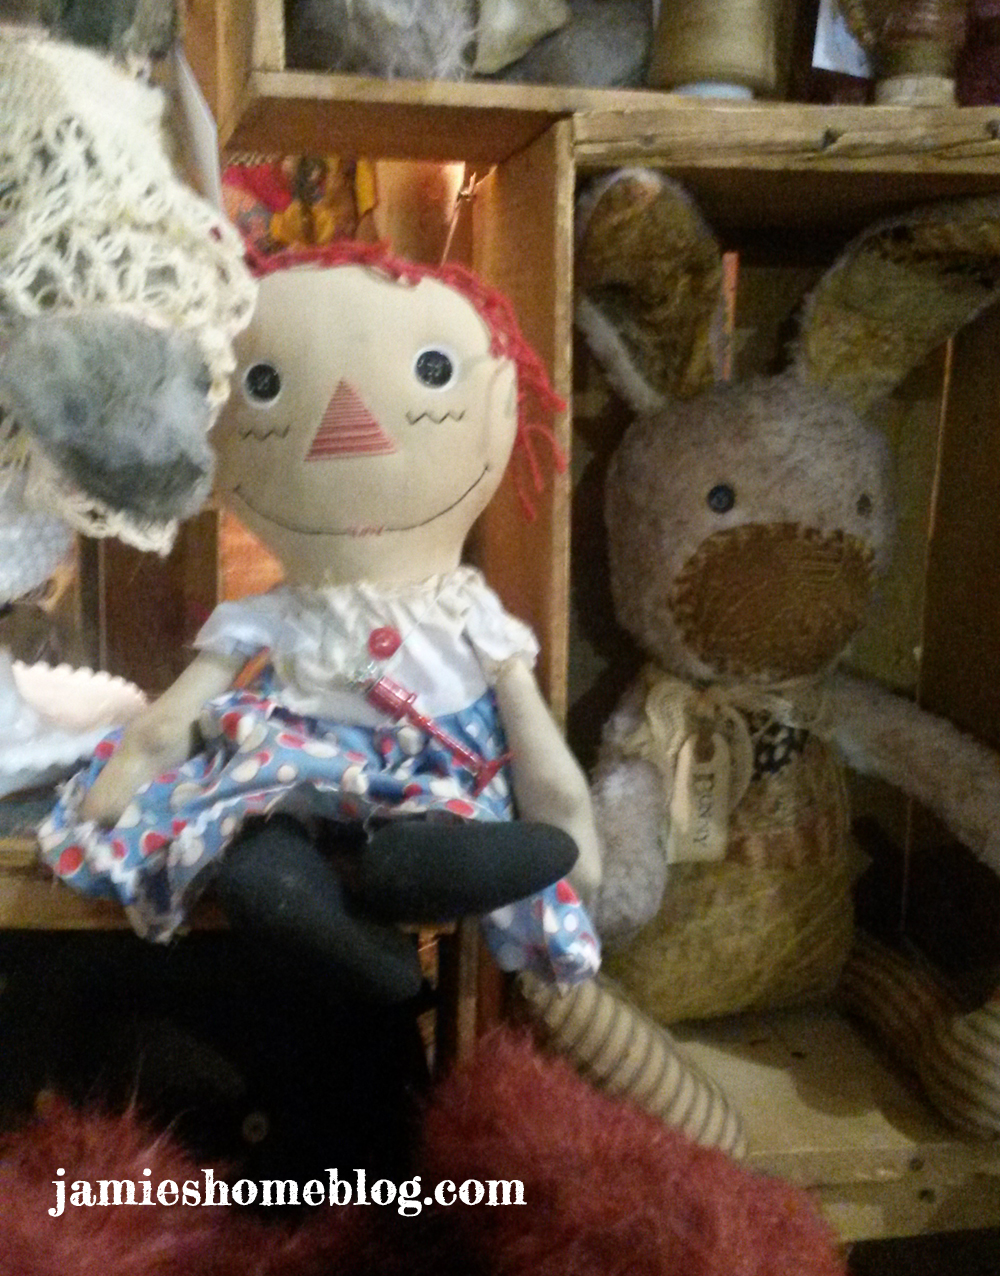
Raggedy Ann (a childhood favorite of mine):
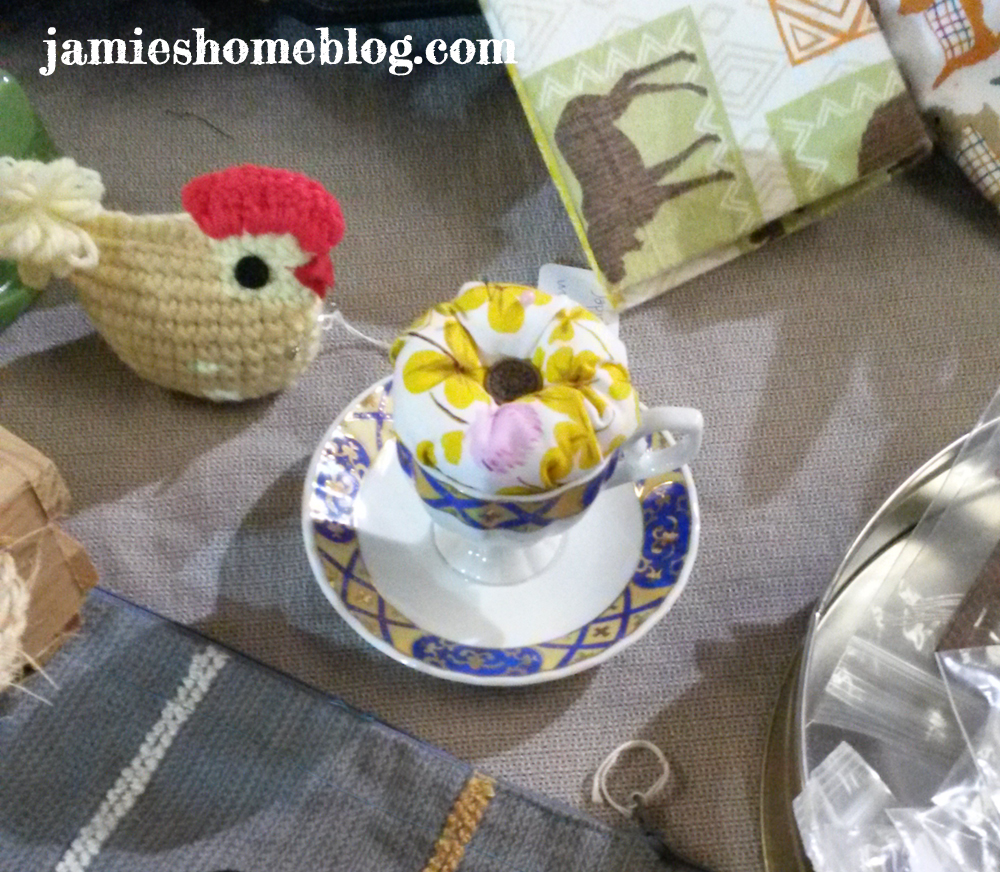
Fort Worth Vintage Market Days

Teacup pincushions:

Fort Worth Vintage Market Days

Letter stamped cheese knives:

Fort Worth Vintage Market Days

And an old stamp set:

Fort Worth Vintage Market Days

Lots of pendant lights…

Like this leafy one:

Fort Worth Vintage Market Days

And this slice of fried gold.  Look at how sexy he is:

Geometric Pendant

It took every ounce of self control I possess not to take that guy home with me, but since I don’t have my landlord’s permission to change out any of our light fixtures, I just couldn’t justify the purchase.  So depressing.

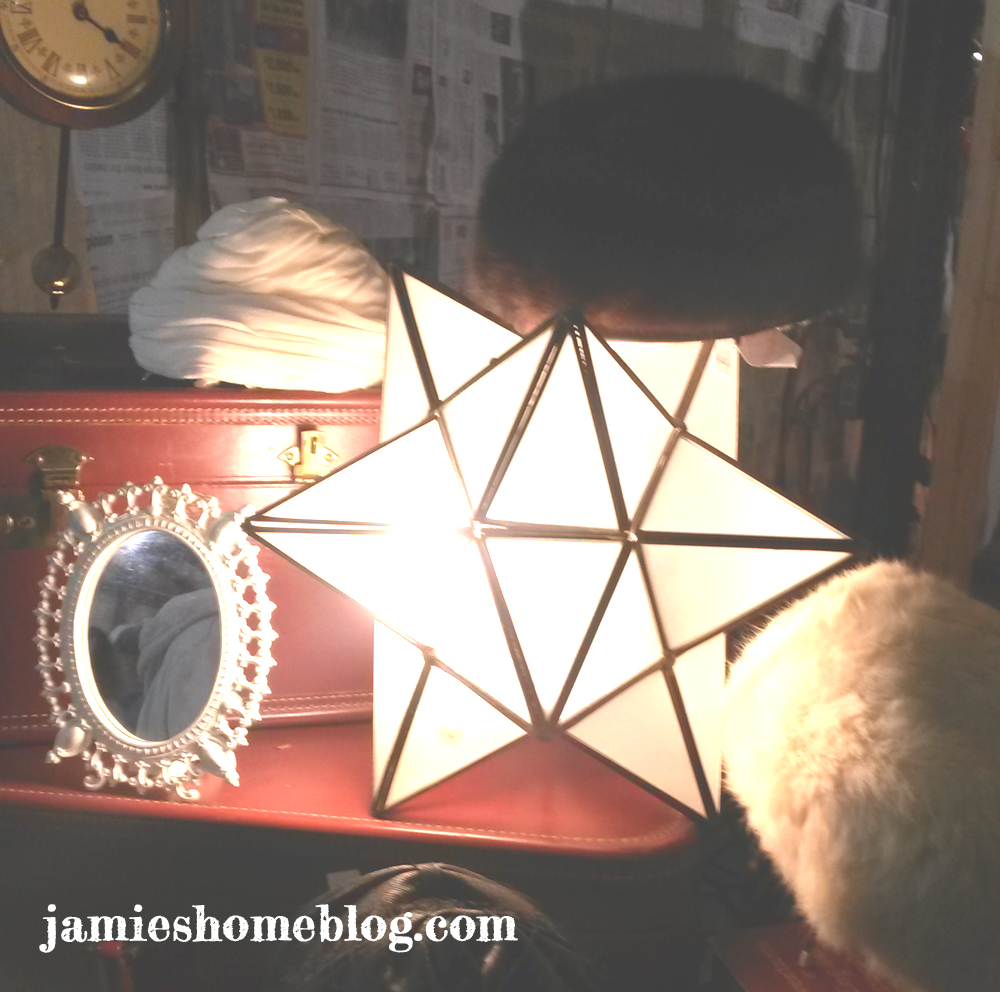
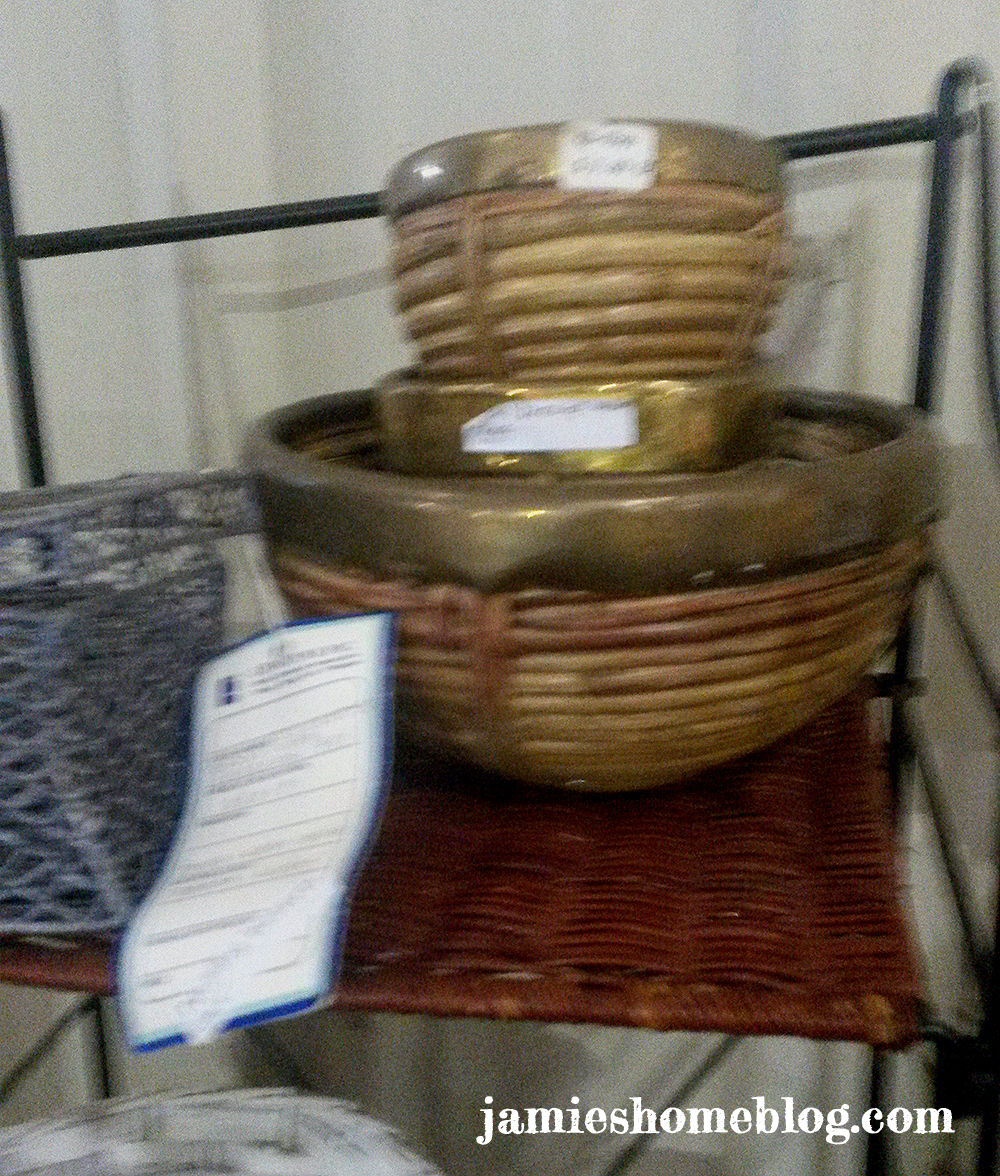
Of course there was tons of vintage decor…

Like these wicker bowls with brass rims:

Brass and Wicker Bowls

A box of old light bulbs:

Lightbulbs

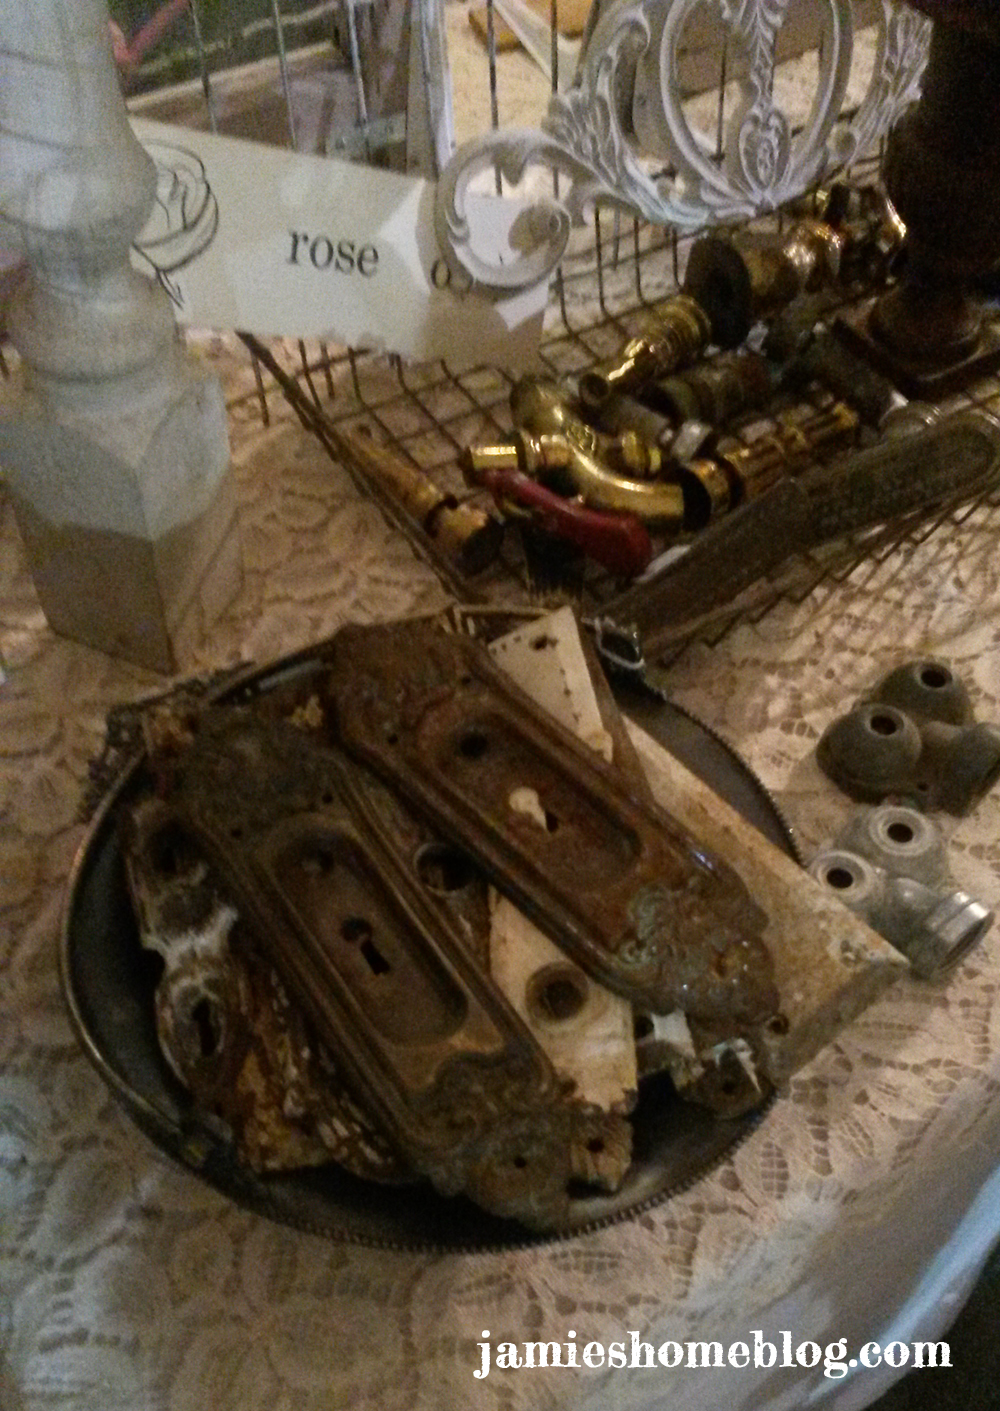
Antique keyhole covers:
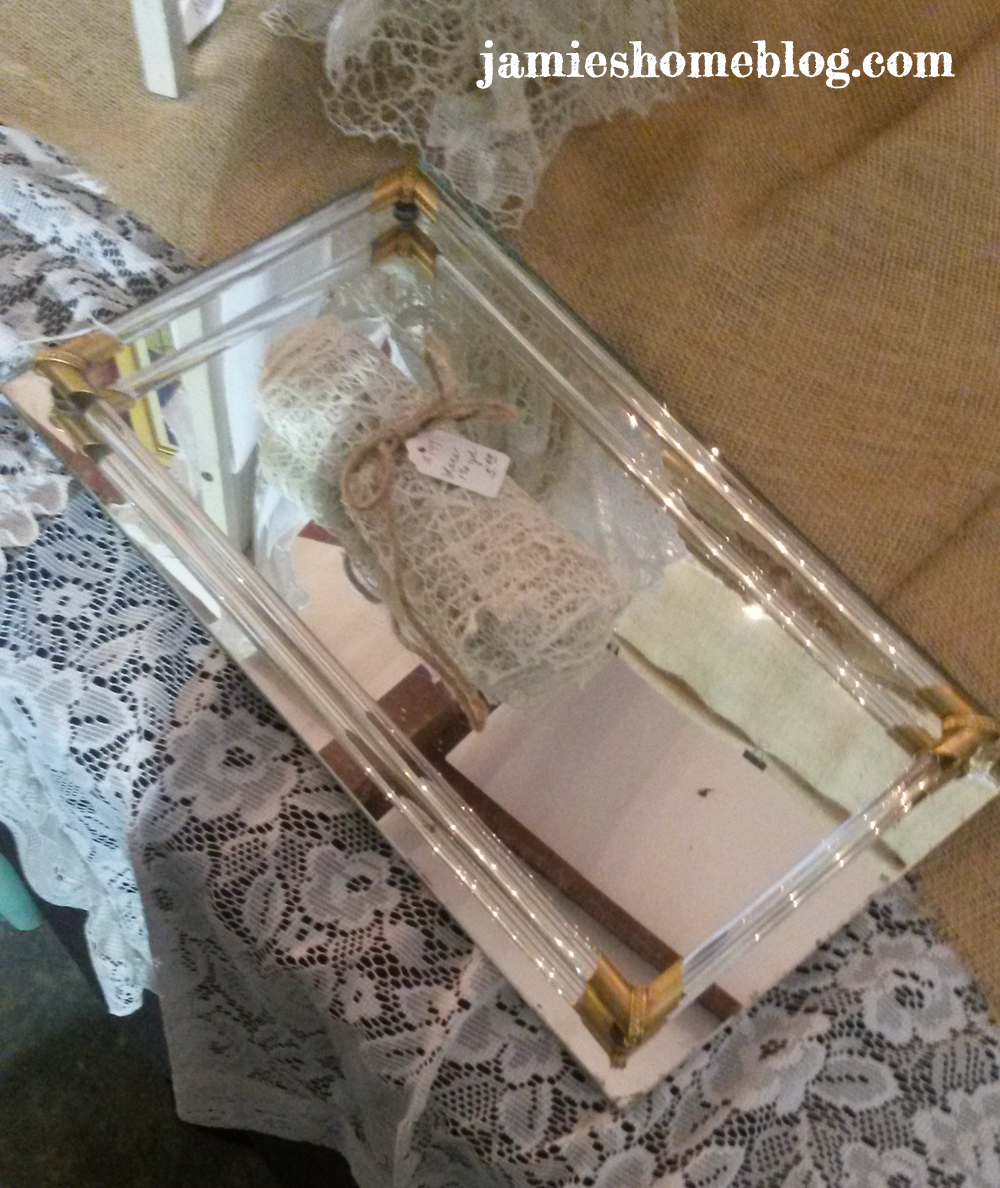
Fort Worth Vintage Market Days

Trinket trays:

Fort Worth Vintage Market Days

And this precious little brass clock:

Fort Worth Vintage Market Days

There were lots of interesting pieces of furniture.

I was particularly taken by this punched tin pie safe:

Fort Worth Vintage Market Days

And this sewing chair:

Fort Worth Vintage Market Days

Which doubled as sewing storage:

Fort Worth Vintage Market Days

My mom fell in love with a wine table.  It has a cubby to store 9 wine bottles, a drawer and a removable serving tray.  After a bit of negotiation it was hers, and she was happy to pose for me with her new piece.

Fort Worth Vintage Market Days

My favorite part of going to events like this is seeing old and sometimes obscure objects…

Like this typewriter:

Fort Worth Vintage Market Days

This salon hairdryer:

Fort Worth Vintage Market Days

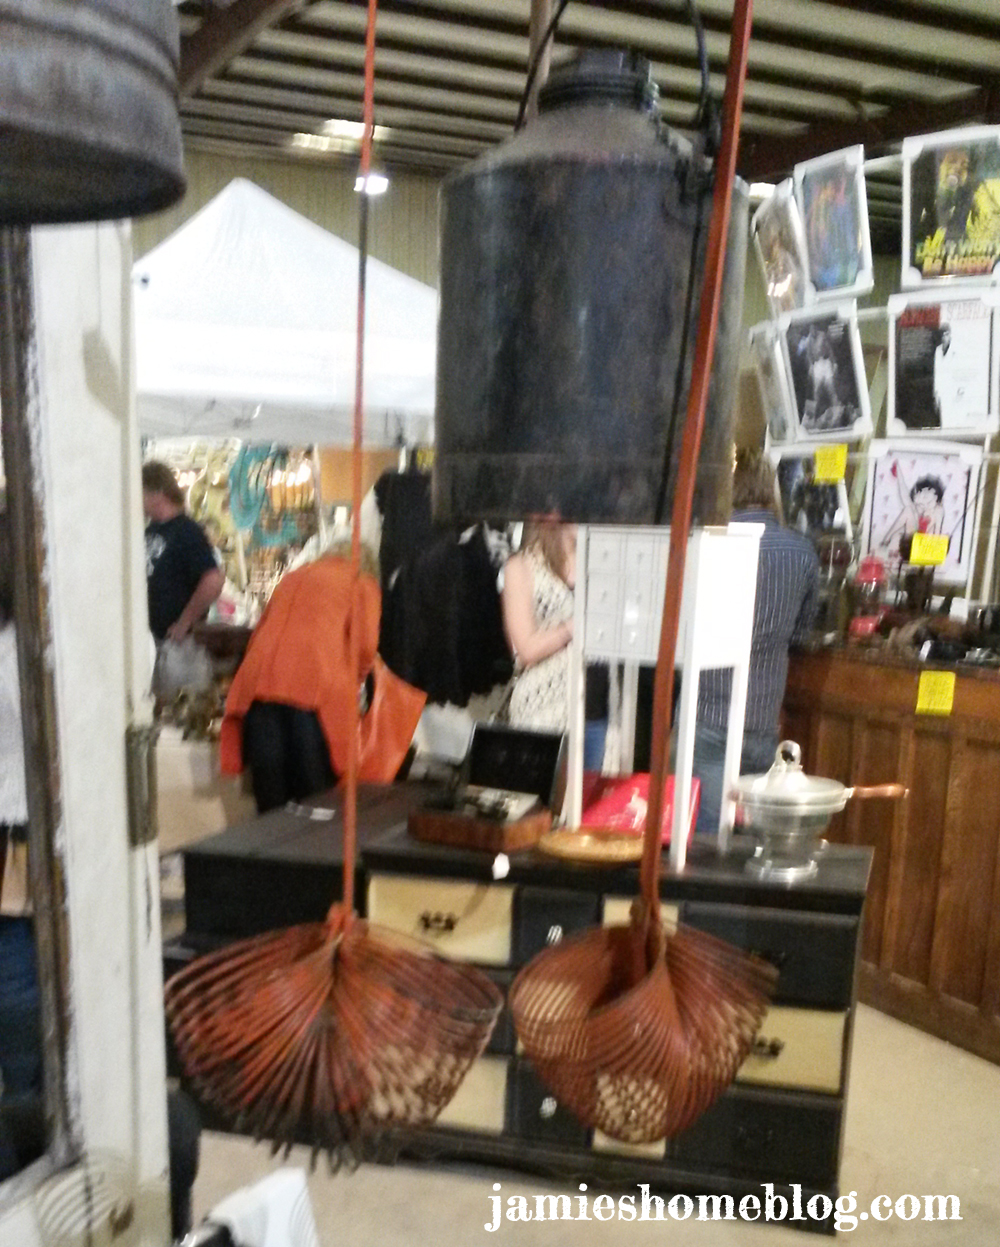
These guys (they looked like three foot long orange whisks?):

Fort Worth Vintage Market Days

And possibly my favorite little corner of the whole market was this antique egg incubator, on top of which sat an old Poloroid camera and a butter churn.  Such an odd and interesting grouping.

Fort Worth Vintage Market Days

All in all it was loads of fun, and totally worth the two hour round trip.  I ended up purchasing three things.

Number One.  This Foreigner Record for $1. Because duh.

Fort Worth Vintage Market Days

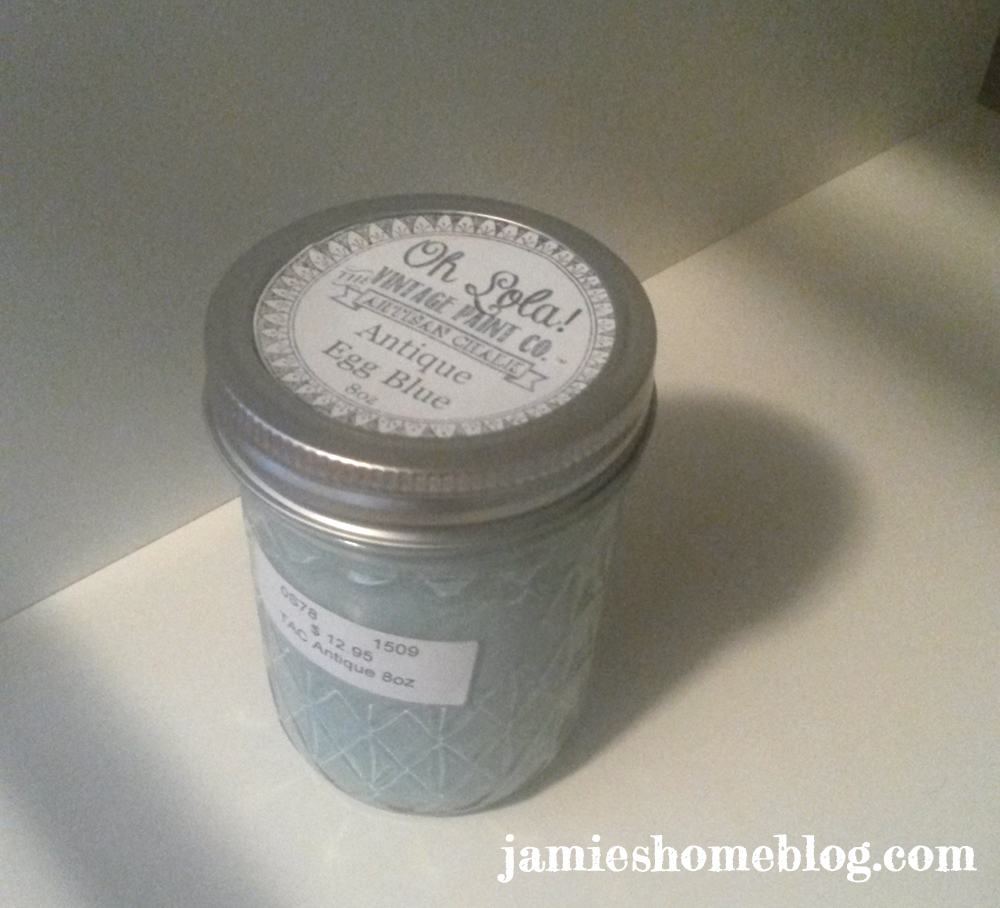
Number two.  An 8oz sample of chalk paint from Oh Lola Vintage Paint Co in Antique Egg Blue.  Which I am super excited to try.  I’ve never used chalk paint and have always been curious about it.  I think I know what I’m going to paint with it, so stay tuned for my review!

Fort Worth Vintage Market Days

Number three is a secret for now, but I’ll be back really soon with a post about it.  I’ll give you a hint, I mentioned it in this post!  Any guesses as to what it is?  Did anyone else out there visit Fort Worth Vintage Market Days or a similar event recently?  Do tell…

Three Easy DIY Heart Garlands

Love is in the air and the Hallmark Holiday that many of us celebrate and others love to hate is right around the corner.  I’m not big Valentine’s Day to be honest.  My birthday is the day before (YAY!) so I just ride the birthday high all the way into the 14th and keep on celebratin’.  Plus any excuse to get crafty and make cute decorations is A-OK with me.  Anyway I’m running late with this post so lets get on with it, yes?  Here are three easy diy heart garlands that I made!

diy heart garland tutorial

For the one you see in the top of the above picture, I used cutesy heart paper and music note vellum paper, a piece of card stock for a heart shaped template, decorative baker’s twine and a sewing needle, and some adorable little skeleton key charms.

diy heart garland tutorial

First, I cut the paper into 3″ x 3″ squares.  Making them “hand-held” made it much easier to cut them into heart shapes.

diy heart garland tutorial

I free-handed a teardrop shape in a piece of card stock that was folded in half and cut it out to use as a heart template.

diy heart garland tutorial

Traced it on the back of my paper squares…

diy heart garland tutorial

Then cut the hearts out.  That sounds heartless, but who can resist the bad pun?

IMG_2206

I layered four pieces each time I traced and cut the hearts to make the process faster.  I have no idea how many I cut, I just kept going until I felt like I had enough for my garland (which is around 9 feet long).

diy heart garland tutorial

Then I threaded a sewing needle with my red and white baker’s twine and just strung the hearts together, adding a skeleton key after every fourth heart.  I didn’t follow any formula when sewing the twine into the hearts, just into the front and again into the back somewhere near the top.

diy heart garland tutorial diy heart garland tutorial

diy heart garland tutorial

diy heart garland tutorial

That’s it!  Heart Garland One: Done.

diy heart garland tutorial

The second garland is my Valentine’s Day version of the good ol’ paper chain.  For this I used four 12″ x 12″ pieces of red and pink scrapbook paper, two 12″ x 12″ pieces of decorative scrapbook paper (hearts and the word love), one piece of the 8.5″ x 11″ music note vellum paper, a paper slicer and a stapler.

diy heart garland tutorial

The solid-colored papers, I cut into 8 equal strips; each 1.5″ thick.

diy heart garland tutorial

This paper has a pretty, linen-like texture to it and is thicker than plain paper but not as thick as card stock.  I’m not sure how this project would work with thicker paper but I imagine this next part would be more difficult.

First, I folded the strip in half and stapled it about one-half inch above my fold.

diy heart garland tutorial

diy heart garland tutorial

Then I pulled both sides around and stapled the ends together at the bottom to make a heart!

diy heart garland tutorial IMG_2236

I repeated this process for each of the eight strips from all four papers.

diy heart garland tutorial

diy heart garland tutorial diy heart garland tutorial

I’ll save you the math, that’s 32 times!  This particular garland clocks in at around 15 feet!

Then the heart, love and music note papers were cut into strips that were about 3/4″ thick.

diy heart garland tutorial

I stapled the strips like rings through the hearts to create a heart chain.  And that’s  all, it’s that easy! 

diy heart garland tutorial diy heart garland tutorial

Heart Garland Two: Done.

IMG_2255

This last one took a little longer, but was less step-involved and might be my favorite one.  It’s so simple and cute!  I used eight pieces of V-Day colored felt, a card stock heart template, an iron and stitch witchery, and twine.

diy heart garland tutorial

I used the same teardrop technique from the first garland in this tale to create a heart-shaped template that’s about the size of my palm.

Then I cut hearts out of each piece of felt, two layers at a time.  I didn’t follow a method with this, I just cut a heart, moved the template, cut another and so forth.

diy heart garland tutorial diy heart garland tutorial diy heart garland tutorial

After the hearts were all cut, I pulled out my iron and got to work with the stitch witchery.  If you haven’t used this stuff before, let me break it down real quick for you.

You lay your stitch witchery where you want your fabric to be bonded or hemmed, lay a damp cloth over your fabric, and use your iron to essentially melt the stitch witchery, sealing your fabric just like thread would, but without the stitched look.  It’s even machine washable.  The stuff rocks my socks off.

I used a long strip across the top of one heart and a short strip across the bottom, laid another heart on top, laid my damp cloth on and pressed with my iron for ten seconds.  Then flipped each heart over, laid the damp cloth down again and pressed for another ten seconds on the other side.

diy heart garland tutorial

diy heart garland tutorial

diy heart garland tutorial

I repeated this process I’m not sure how many times, and ended up with a nice little stack of them.  This last garland ended up being around 12 feet long.

diy heart garland tutorial

Then I just strung the twine between the two bonded parts of the hearts.  I used a crochet hook on some of them since the twine seemed to slide through more easily that way.

diy heart garland tutorial diy heart garland tutorial

And just like that… Heart Garland Three: Done.

diy heart garland tutorial

These were so fun to make!  I wish I could have posted this sooner, but there’s still time for you to make one too!  Well, I’m off to hang them now…

diy heart garland tutorial

What diy Valentine’s Day projects have you been up to?  Do you have a favorite of the three garlands I made?  Do tell…

A Tale of Two Tables

I like to work with what I’ve got.  It’s a budget-friendly way to make fun updates to our home.  And that’s just what I did to two secondhand accent tables!

DIY Accent Table Makeover

Now, the first in this “table tale” actually got it’s original makeover almost a year ago, before I started this little site.  Lucky for you, I have pictures!

What started as a black framed glass-top table (sad)…

Before - Sad Little Glass Top Accent Table

Got a sassy new geometric top thanks to a stencil and spray paint (happy)!

After - Happy Little Glass Top Accent Table

Basically I printed out a geometric pattern that I loved, traced it onto some Martha Stewart stencil film with a permanent marker, used an X-ACTO knife to cut the pattern out of the stencil film (while binge watching HIMYM), and stuck the film to the underside of the glass top so I could paint over the pattern.  Make any sense?  Maybe these pics will help…

DIY Geometric Stenciled Table Top

Tip: I find that using an old gift card to smooth down stick-on stencils really helps to ensure that there aren’t any bubbles and the stencil is firmly in place.

I started with a few light, even coats of gray spray paint…

DIY Geometric Glass Top Table

Then I carefully pulled the stencil off (while the gray was still wet) and gave the entire thing a few light coats of white.  What resulted was a pretty geometric pattern on the underside of the glass!

DIY Geometric Glass Top Table

DIY Geometric Glass Top Table

I couldn’t decide whether I wanted to paint the frame or not, so I resolved to live with it as-is until I could make my mind up.

Fast forward several months later and I am definitely feeling that the black frame is too harsh for our living room and just doesn’t look right.

In the meantime, I had acquired the little orange accent table.  I bought it because the price and shape were right, but I wasn’t feeling the color.  I like orange, I just don’t really have a desire for it in my accent tables.  Plus this little guy had some scratches and dents…  Don’t mind that awkward vase – I have no explanation for it.

Before - DIY Matching Accent Tables

With furniture, color is almost never a deal-breaker for me.  Most pieces can be sanded and painted or re-stained, and it’s so fun to customize something to my own taste!

The funny thing is, these tables got together by pure chance.  I never even considered sticking them next to each other until we put up our Christmas tree.  We stuck them by the front door behind the couch to get them out of the way, and that’s when the light bulb went on above the ol’ noggin.

I decided they both wanted to be yellow since we have yellow in other places in the room, and the (formerly) orange table would get a gray top, so it would play well with the gray and white glass top on the other one.

I primed them both with Zinsser B-I-N (my favorite); the black frame with spray and the orange table with liquid.

Primed Metal Accent Table Frame Primed Wooden Accent Table

I’ve mentioned before that I have a weakness for the Lowe’s Color Studio samples, and the paint used for this project was no exception.  They were part of the Lowe’s Color Studio Fall / Winter 2013 pallet.

Valspar Delightful Moon / Cathedral Stone

Delightful Moon / Cathedral Stone

I ended up hand-painting both tables.  I know what you’re thinking – wouldn’t it be easier to spray the metal frame instead of hand paint it?  The answer to your question is absolutely yes it would be easier.  But I couldn’t find a spray paint that I could be certain would match the Delightful Moon, which I was swooning over.  And I’m a bit OCD about things like that.  I needed an exact match.  The black frame took three coats of paint and the orange accent table only needed two.  No progress pics of the black frame, so imagine me laying on my floor with a foam brush in hand carefully and painstakingly painting the thing, k?

DIY Painted Accent Table

Now before I go further I want to take a minor “non”-stance on something – many people cut their latex paint with a thinner (like Floetrol) or use oil based paint / lacquer to minimize brush strokes.  I don’t mind brush strokes on some things, and this table falls into the “some things” category.  The brush strokes are barely even noticeable.  If it were the focal point of the room I may be singing a different tune…  But it isn’t, so I’m not.

Let me go back a bit, the orange top needed a little pizzazz, since it’s geometric counterpart was so fancy, so I opted to use the same textured wallpaper I used on our media stand, my frame in my cubicle and the frames above our bed (which I’m still not in love with).  I cut the wallpaper to fit the top before I painted the table, and when the table was primed, I soaked it and stuck it to the top.  I waited 24 hours before attempting to paint it, and then this happened:

DIY Accent Table

I must have taken the wallpaper out of the water it was soaking in too early.  I can’t seem to find the instructions, so I suppose I threw them away.  Fail.  But no matter, Mod Podge to the rescue!

I went ahead and painted the base of the table yellow, and then mod podged the wallpaper to the top (I used the gloss finish, because it was what I had on hand and therefore free).  It worked perfectly!

Once the mod podge dried, the top got three coats of Cathedral Stone.  As with many paint jobs, it was looking a bit funky after the first coat.

Accent Table Makeover

But by the third coat it was looking great!  I wish the gray translated better in pictures – it reads really lavender here but its very cool bluish gray in person.

DIY Accent Table Makeover DIY Accent Table Makeover

The tables fit perfectly between the couch and our front door.  I really wish I could put a cute sofa table there, but then the fella and I would be seriously lacking in the walkway department.  These were never intended to be long term pieces, but now that they’ve gotten a face-lift, I may change my mind!  For now, they’re perfect for us to set mail or our keys on when we walk in the door.  How about one last pic before you go?  Here is the final before and after:

Before and After

How do you work with what you’ve got when you decorate or organize?  I do love sharing creative ideas.  Do tell…

How to Hang Curtains Like MacGyver

UPDATE: Welcome to jhb!  Thanks so much for stopping by!  This method worked really well for hanging curtains in my rental without damaging the walls.  If you want to see how the removal went, click HERE!  If you’re installing your curtains, read on for instructions friend!

First, chew a piece of gum.  While chewing, use duct tape to fashion floor length curtains.  Find a piece of plumbing pipe longer than the width of your window.  Affix your duct tape curtain to the plumbing pipe using more duct tape.  Spit out your gum, tear it in half, put some on each end of the plumbing pipe and attach it to the wall.  Boom.  That’s how MacGyver would hang curtains in my situation.  See, the condo that the fella and I live in was built in 1983.  And like most condos built in the early 80s, we have… a mirrored wall.  Here it is in all its glaring, shiny, mirrored glory.  Note that this photo was taken previous to me purchasing my sectional and also previous to the last two living room rearrangements.

Mirrored Wall in Condo

One of the two small windows in our living room is surrounded by this massive mirror.  Into which I cannot drill holes for window treatments.  Convenient.  Our landlord is a saint, but I’m pretty sure taking a sledgehammer to the mirrored wall would be on his no-no list.  Plus, who needs all that bad luck, anyway?  So my task was to figure out how to hang curtains on a wall I couldn’t drill into.  And though MacGyver’s version sounds lovely, I’m not sure it would match our decor.  So here’s how I did it…

*Disclaimer: as with the rest of my posts, this post is NOT sponsored.  I just want to write about products that I love, use and have success with!

My curtain rods, mounting hardware and finials all came from IKEA.  For each window – one rod, a pair of mounting brackets and the finials came to the grand total of $7.47 pre-tax.  So for both windows, I spent $16.17.  Can’t beat it!  And how cute are these finials?!

IKEA finial

Here’s where it got real complicated for me.  I went out and got the 3M Command hanging strips that hold up to 16 lbs.  The ones that work like velcro.  These guys.

Command Strips

I’ve used them before on heavy frames and they work wonders.  I attached the strips to the brackets and the wall according to the instructions, then I waited two days before touching them to let the adhesive set.  I put my curtains on my rods and then carefully rested the rods in the brackets.  And 15 minutes later, the strips separated and the whole thing came crashing to the floor.  Sad face.  My curtains are a really breezy, thin linen, so I really don’t think they weigh 16 lbs (even combined with the rod and finials), but I guess gravity got the better of the Command strips because down they came.

I knew there had to be another way… Enter Alene’s turbo tacky glue…

Alene's Turbo Tacky Glue

I thought it might have enough strength to keep the strips from separating, but also be pliable enough to make removal easier.  I figure if its a little stubborn when I take them down, I can take a box cutter to the tacky glue.  The strips are destroyed when you remove them anyway.

So all it took was a little bead of tacky glue down the length of the strip and a firm press into the wall.

Bead of Glue

I waited a couple of days before putting the curtain rod on the brackets, just to be sure that the tacky glue had set and was completely dry.  I very gingerly put the curtain rods into the brackets and much to my excitement, they stayed up!

Curtains Hung with Command Strips

Imagine me doing a happy dance in my living room while the dog tries his best not to feel embarrassed of me.

Turkish Embarrassed

So far its been a month and I haven’t had any issues with the system not staying put.  I’ll definitely post an update if that changes.  But I’m glad that its a success thus far!  Now I’m thinking I may want to dye my curtains or otherwise give them some sort of upgrade.  Right now they’re just plain linen but I’d love to give ’em some character.  Commencing brainstorm session…

Curtains Hung with Command Strips

So that’s how I hung curtains on a wall that cannot be drilled into.  Pretty great, right?  Anyone else have a creative way to hang curtains without drilling holes?  I’d love to hear other folks’ ideas or workarounds for a situation like this!  Do tell…

MORE Wall Art?!

Yep, I have more wall art to talk about!  We have LOTS of wall space too, so this is definitely not the last post to be written on the subject here at Jamie’s Home Blog…

Between the mixture of bachelor and bachelorette furnishings that my fella and I combined when we moved in together, and the lack of wall decor or even a headboard, our bedroom wasn’t much to look at.  As I’ve said before, apologies for the muddy iPhone pics…

Bedroom Before

One day, while I was not at all sitting in a meeting, I doodled this:

Doodle of Dream Bedroom

Recognize the bench?  That drawing was the idea I had for our room.  Simplicity with a touch of mid-century.  And this is the story of the wall art in that doodle. One face-melting hot sunny Texas day, my Mom and I went garage sale hoppin’.  Well, first we went to this great little hole in the wall fabric shop that had no air conditioning.  We were basically surrounded by fabric insulation in a smallish room on a 100 degree day… and it was only about 10am at this point.

Obstacles of Fabric

Fabric Store

But I digress… At one of these garage sales we visited I came across six 8.5″ x 12.5″ frames priced at $2 per.  I offered up $10 they were mine!  I’m sure I could have haggled her even lower but I had a $10 on me so that made it easy.  The art wasn’t my style but that hasn’t ever stopped me from purchasing useful frames for sure!

Frames / Weird Flower Art

I lucked into finding some Krylon Coral Isle at my local Jo-Ann.  I’m not sure that color is regularly sold in my area.  I looked for it at several locations of a big retailer that carries Krylon (you know, the dreaded “W”) and didn’t find it!  So you better believe I bought all three cans that were on the Jo-Ann shelf!  I demonstrated my love for the color with this fancy Instagram.

Krylon Coral Isle on a Frame

You know how the process works… Spray a coat of primer (I prefer Zinsser BIN) and several light coats of paint.

Krylon Coral Isle on Frames

Then it was time to make the art!  I still have tons of leftover Allen + Roth basketweave textured wallpaper from my dresser project.  I affixed it to poster board with spray adhesive and then cut it to fit my frames, using the original art as my template for size.

Creating Wall Art

I had some trouble deciding what color these wallpaper / posterboard “mats” should be.  I’m a very visual person so I did the below “mock up” to give myself an idea of what the final product should look like.  Don’t worry, the twine taped on the paper makes sense in a minute.

Wall Art Color Decision Making Process

The peachy coral in the center at the bottom was the winner!  I mixed acrylic paint with water (and a little mod podge for some sheen) and used a simple sponge brush to paint it on.

Acrylic Paint, Water and Mod Podge

Paint Mixture on Wallpaper

Once they were dry, I hot-glued pieces of twine equal lengths apart in the middle of each mat.

Twine on Textured Wallpaper

Now the fun part!  I popped them into the frames and hung them over our bed using a laser level.  Please excuse the poor lighting in my poor iPhone pics.  A photographer, I am not.

Bedroom

To be honest – I wasn’t that crazy about them at first but they’ve really grown on me.  They have a sort of calming and serene quality – perfect for a room where we mainly rest!  I’m feeling good about my progress thus far in this room, that’s certain.

Bedroom Progress

Is anyone else getting good deals at the thrift shop?  Who has made something that they didn’t like initially, but have come to love over time?  Do tell…