
There are all kinds of tutorials available in multiple media on how to sew pillow covers. I know I’m not re-inventing the wheel here but if this tutorial helps just one person I’ll be satisfied. This is how I sew pillow covers.

Alternate title for this post: That time I made a west elm knock off.

As I mentioned in my post about my fancy-pants new headboard, I ended up having enough leftover material to make a toss pillow. And I just so happened to have an INNER 16″ x 26″ insert from IKEA that was desperate to be opened and swaddled in canvas. What, too dramatic?

Recently I pinned this pillow from my beloved west elm with the caption “Probably pretty easy to diy this one!”… I was right.
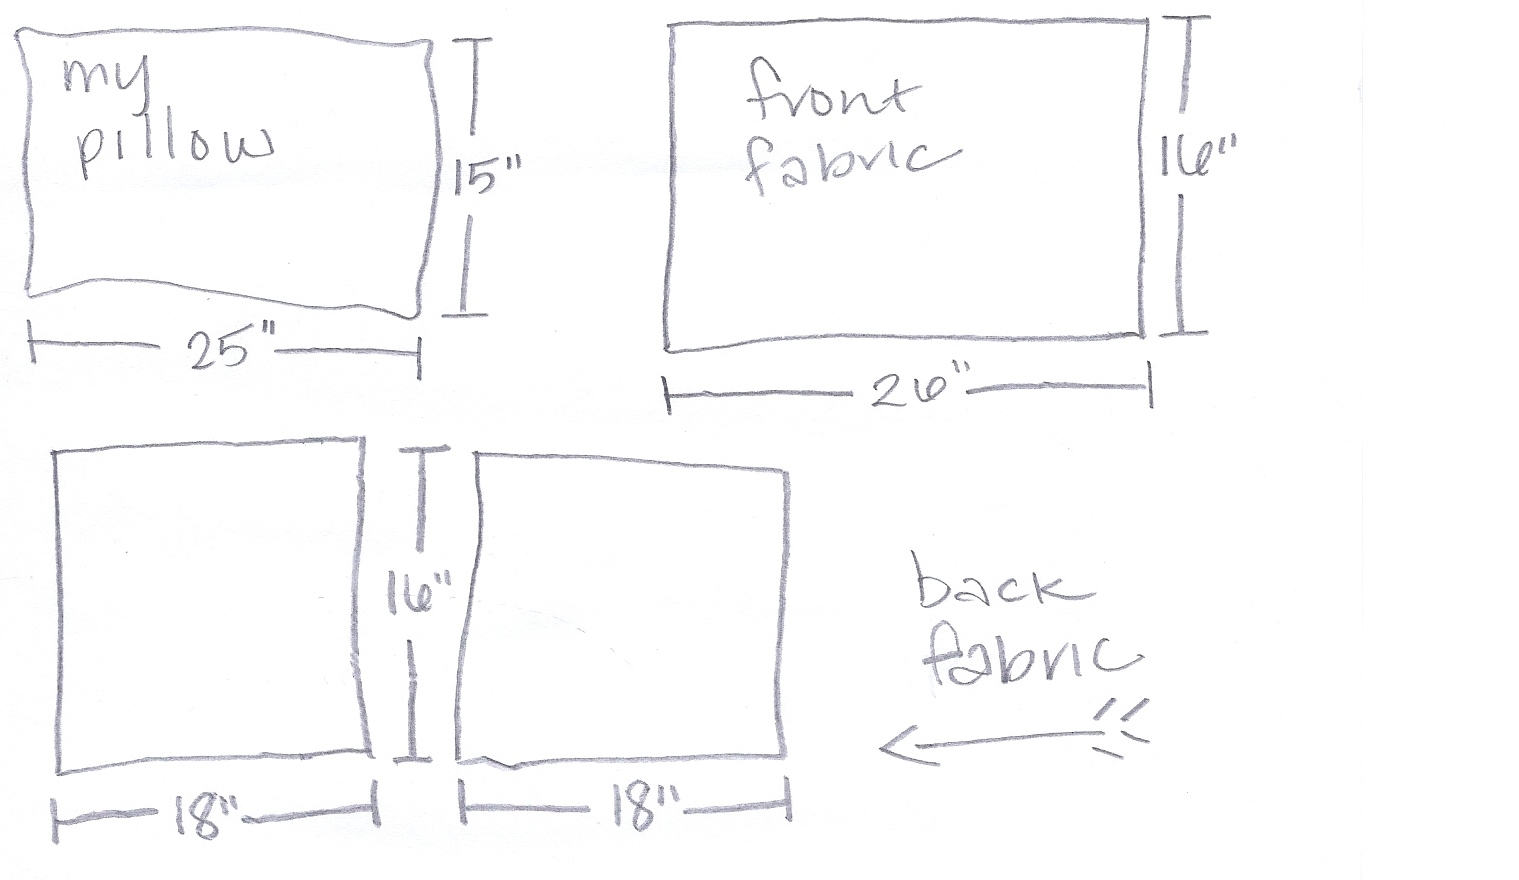
First off, when you make a pillow cover for an insert (not just plain stuffing), always measure your pillow seam to seam. This pillow was not 16″ x 26″ as advertised, but actually 15″ x 25″. I would have been super disappointed if I made my pillow cover based on incorrect measurements!
The type of cover I make is generally referred to as an envelope pillow sham or envelope closure. This method calls for zero zippers, which means I don’t have to switch out feet on my sewing machine, which makes for a fast, easy process and a happy Jamie. Basically, the back folds onto itself like an envelope.

The fabric for your front piece should be 1″ longer and wider than your pillow, so I went with 16″ x 26″ (remember my pillow was smaller than advertised – silly IKEA).
The back is made of two pieces, and one overlaps the other. For this to work, they each need to be 1″ wider than your width (again 16″ in my case) half of the length of your front piece plus five inches. Let me explain as it relates to my pillow. My pillow was 25″ long and 15″ wide so my front piece was 26″ and 16″ wide. 26″ long divided in half is 13″. Plus five inches is 18″. So each of my back pieces were each 16″ wide and 18″ long.
Here’s a not at all to scale rendering of what I’m trying to say.
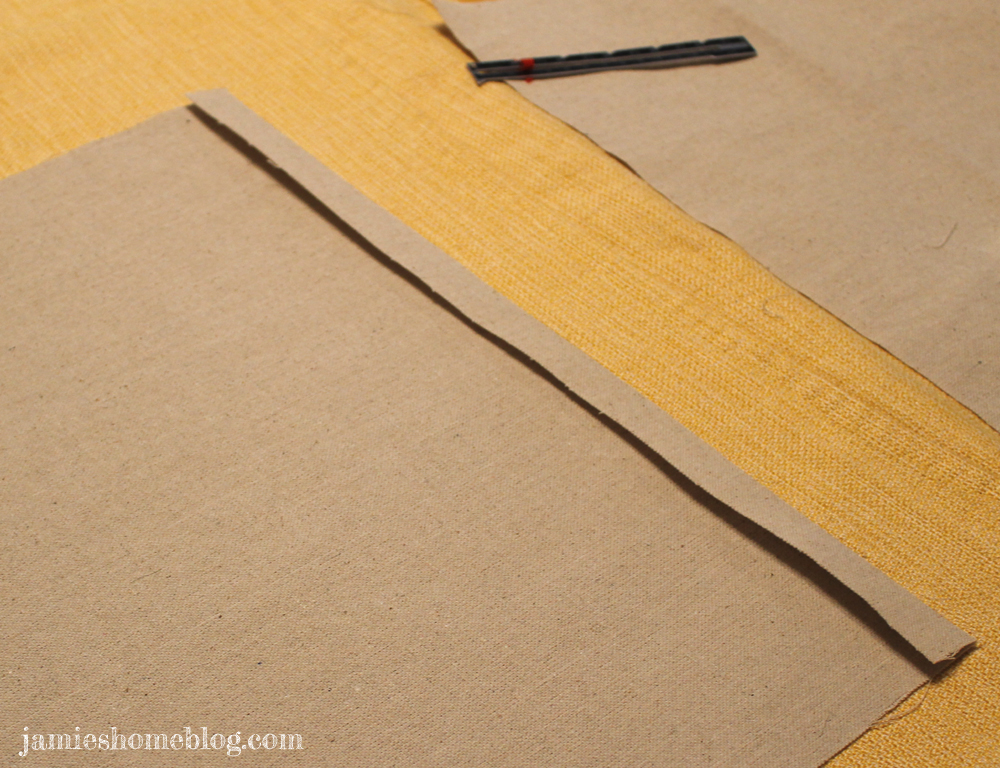
To hem the edges that make up the envelope fold, I use my tried and true method of using a hem ruler to measure a 1″ fold, iron, and fold it within itself to result in a 1/2″ fold. Then one quick stitch down the center of each fold.

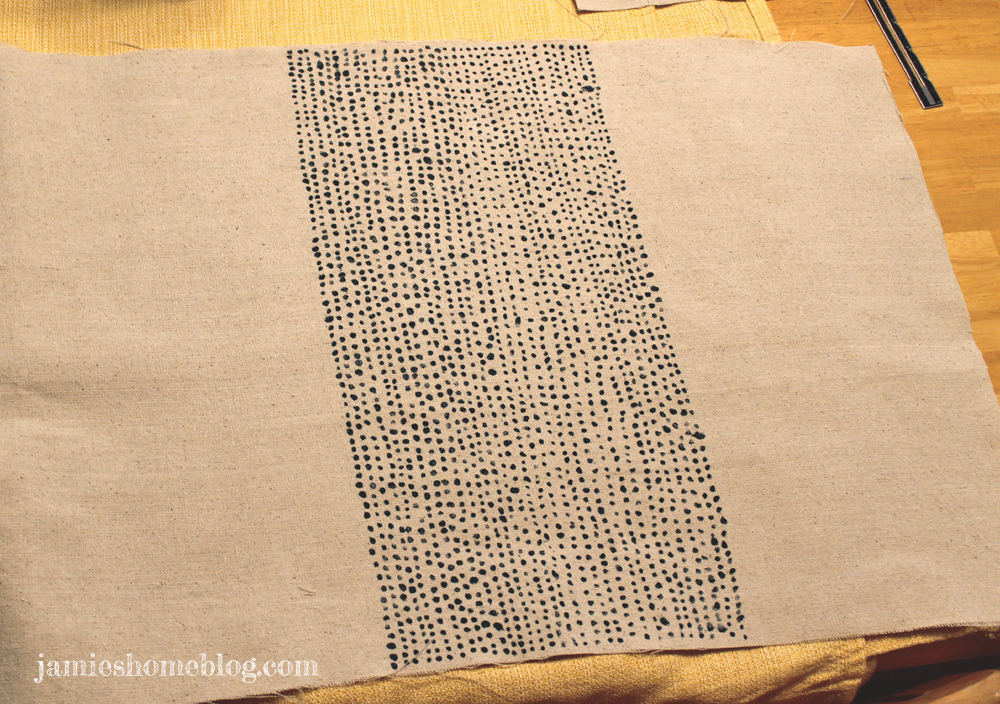
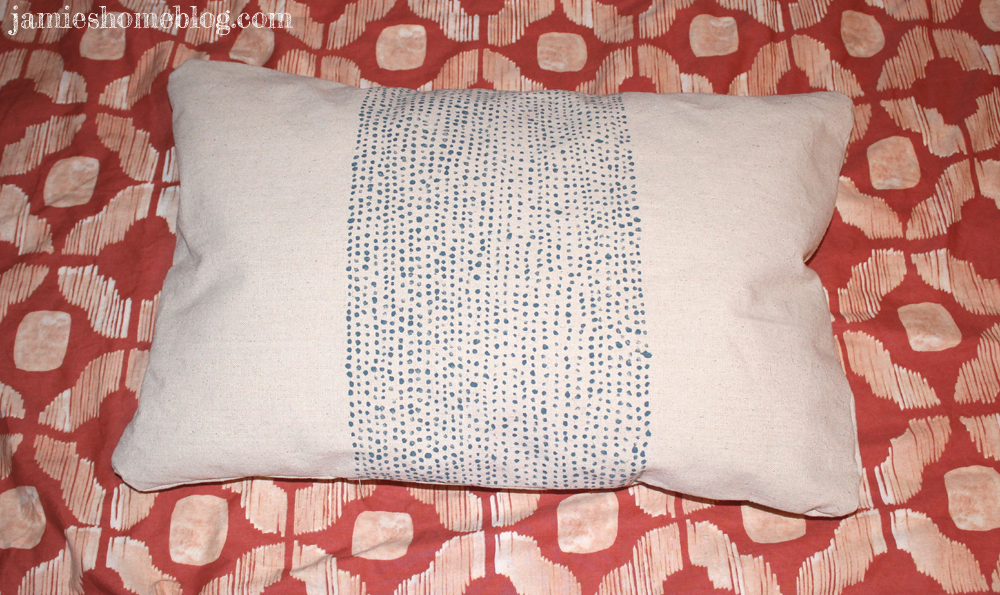
For my front, to recreate the look of this pillow, I used my Valspar Perfect Storm paint sample (also used on my headboard and some wall art) and a small watercolor brush. I used a ruler for the middle row of dots to line everything up but after that I just free handed 16 rows on either side of the middle row. It didn’t take long at all to dry, maybe 10 minutes after the last row was dotted, it was dried.
So I laid the back pieces on the front piece, right sides in, with my hems in the center, one overlapping the other. I don’t think you’re allowed to put that many commas in a sentence but it just happened.


I sewed all the way around my fabric pieces, the stitch 3/4″ from the edge of the fabric.

Then I flipped the pillow cover right-sides out, stuffed my insert in there and it was done.

Cute, right?
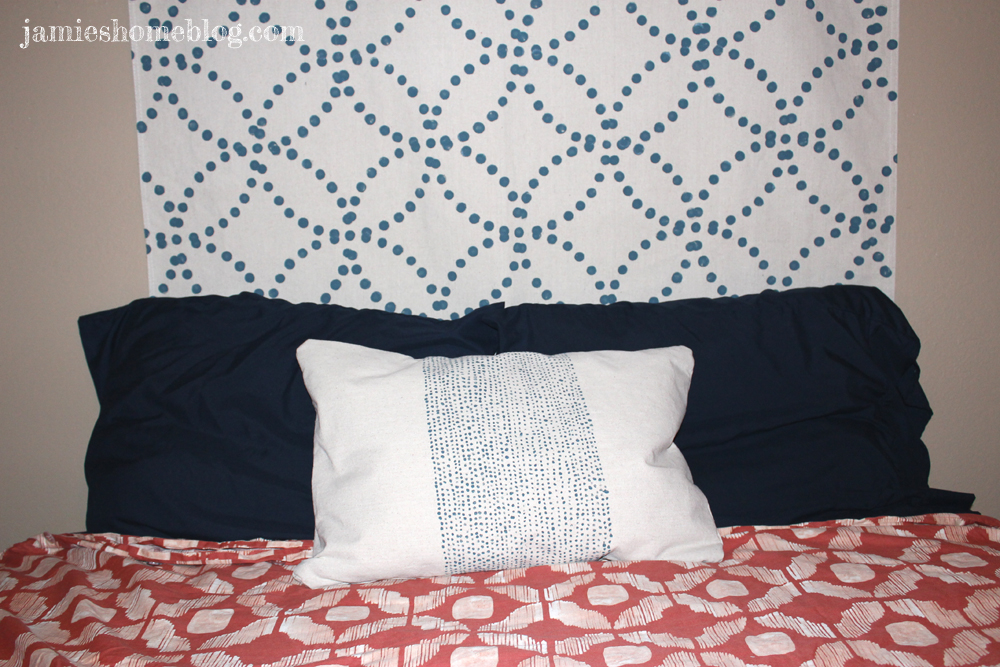
Please ‘scuse the bad lighting in the above pics…
Do you prefer envelope closures or zipper closures on your pillows? Or do you prefer to buy pillows and not think twice about it? Do tell…

Jamie as always: you’re very insightful very creative and have some amazing blogs have a great week.
Thanks Tim! Hope you have a great week too! 🙂