Call it hippie-ism, call it The Pinterest Effect – call it whatever you want – but in recent years I’ve taken a bit of an interest in natural remedies. It started with a quest to alleviate my severe allergies, chronic sinus infections (thank you North Texas) and tinnitus (thank you rock music), but it has now spilled over to my beauty routine, too!

These lotion bars smell light and fresh, are easy to make, and are a natural way to moisturize your skin without exposing yourself to the chemicals found in many store-bought lotions.
Supplies
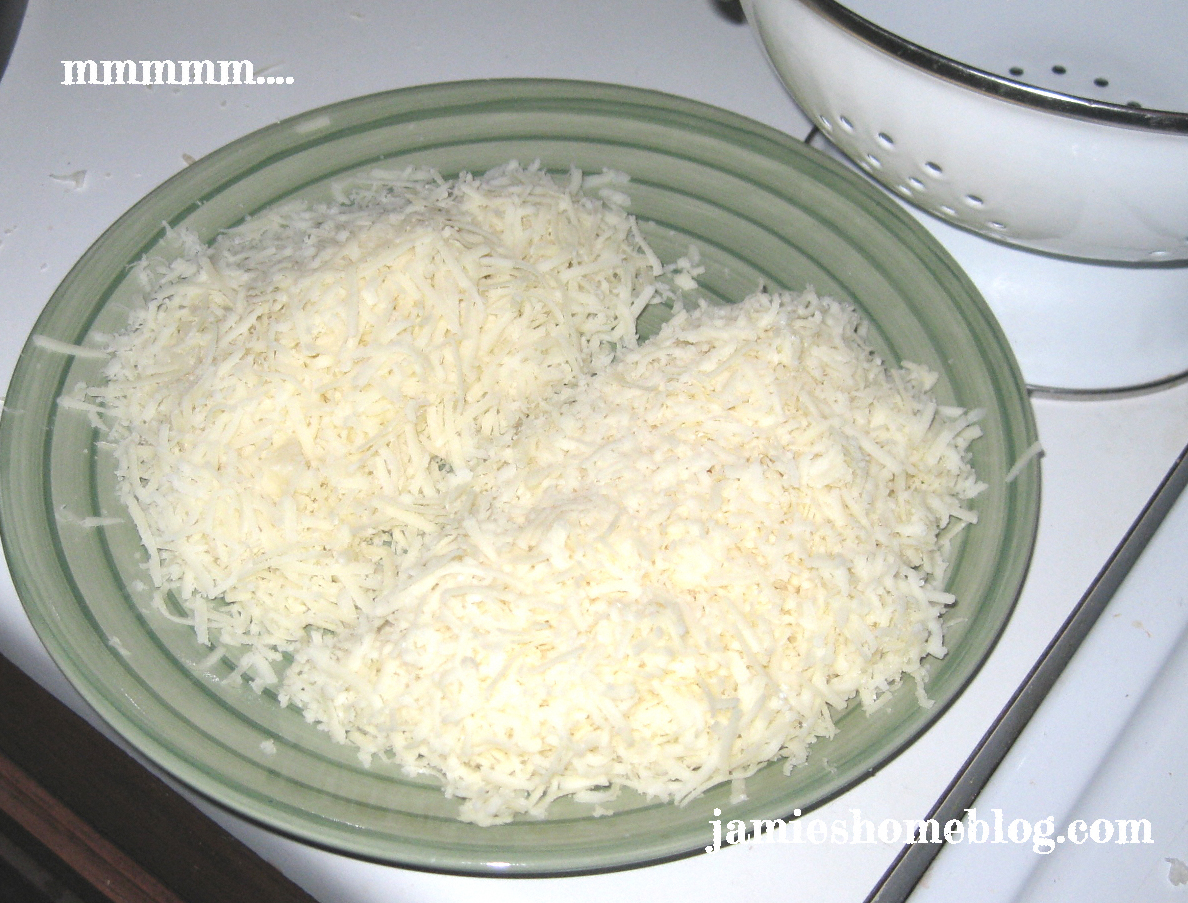
- Beeswax
- Coconut oil
- Essential oils (I used Orange, Jasmine and Sweet Basil but you can choose whichever scents you like)
- Glass bowl / measuring cup or double boiler
- Metal spoon
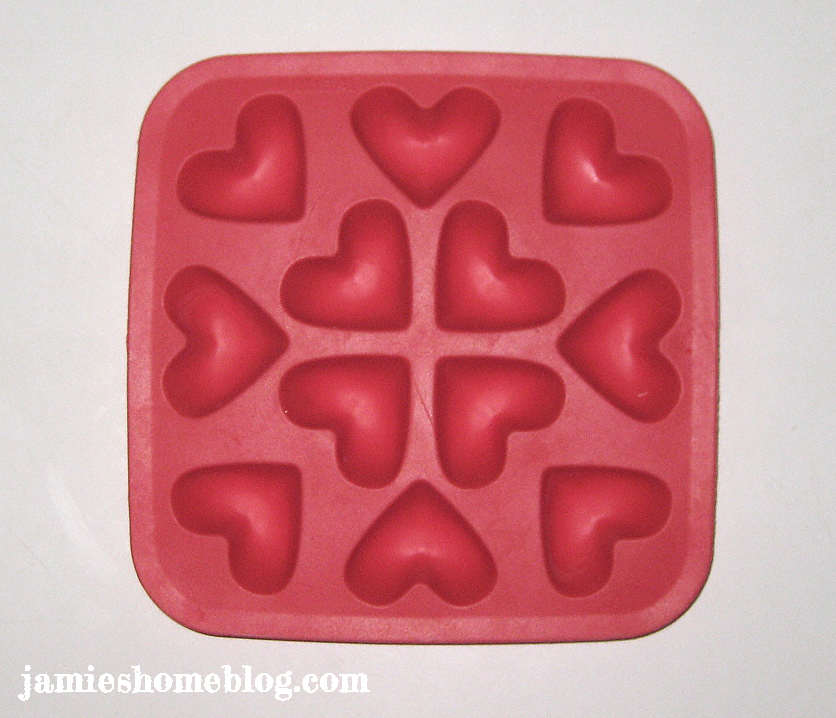
- Silicone mold, muffin tin or soap mold
The silicone mold I chose to use was one that was intended to make heart-shaped ice cubes. I bought it at IKEA a couple of years ago for a whopping $1. I used about 1/2 cup of beeswax and 1/2 cup of coconut oil and it filled this little 12 heart tray. If you want to make more or less, you can. Just make sure you use equal parts beeswax to coconut oil.
Start by mixing your essential oil blend in a small glass or coated ceramic container. This isn’t just to let the scents marry, but helps ensure that your fragrance is even and retains its potency. If you put the essential oils in later, you risk your mixture hardening too fast, which means you’ll have to re-melt it and potentially lose some of the scent to evaporation.

For these lotion bars, I used 72 drops of orange essential oil (“EO”), 12 drops of sweet basil and 10 drops of jasmine. The scent is so fresh and spring-y!
Once you’ve mixed your EOs, it’s time to melt your beeswax. You can do this in a double boiler or in a microwave with a glass bowl – I used the latter for convenience. Take caution when you do this, because some beeswax can spark in the microwave. I used Country Lane White Beeswax (purchased at Hobby Lobby) and it didn’t spark. It took about four and a half minutes for my 1/2 cup of beeswax to melt down.
Once the beeswax is liquefied, carefully (its super hot) remove your bowl from the heat source and add in the 1/2 cup of coconut oil. This will melt very quickly because of the heat from the beeswax.

Pour your EO mixture in and stir well for about thirty seconds to evenly distribute the scent. Don’t stir too long – once this stuff starts to cool it hardens pretty quickly!
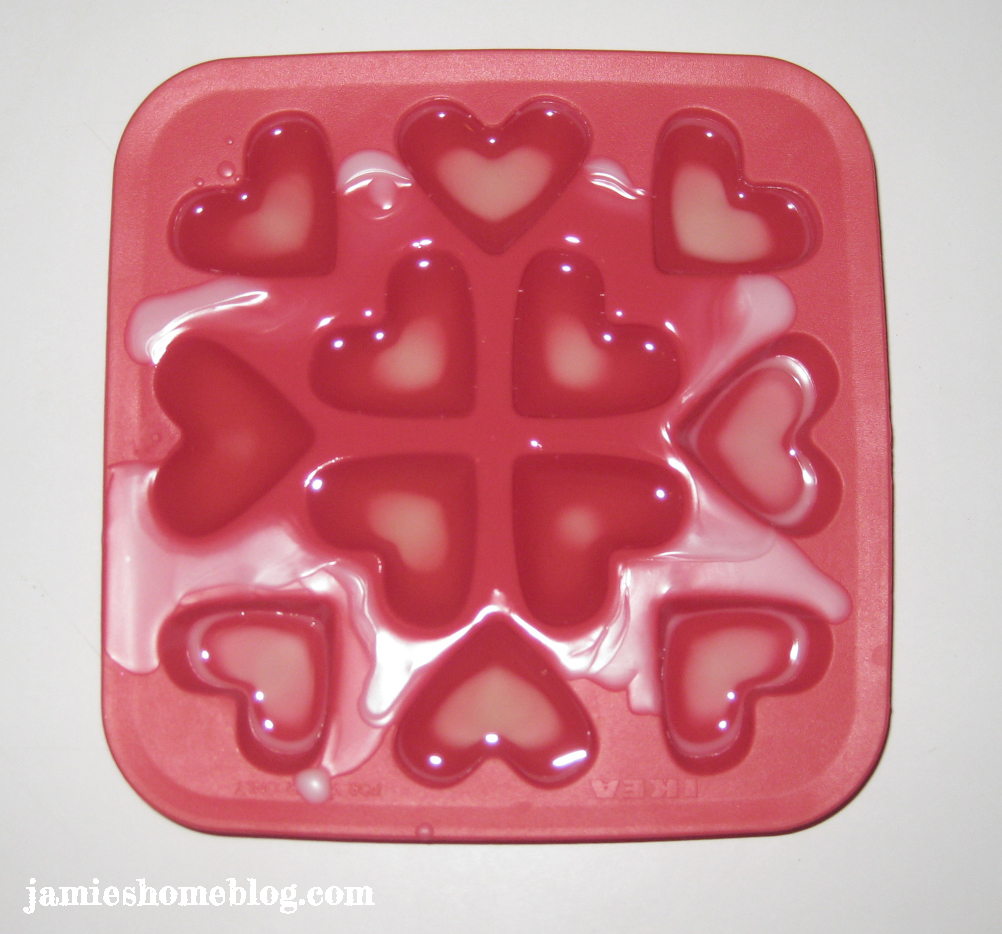
Carefully (use your oven mitts) pour your mixture into your silicone mold. As you can see my pour was a bit messy. It would probably be easier to pour cleanly with a microwave safe glass measuring cup, so if you have one, swap it out for the glass bowl I normally use.
You can either leave them on the counter to harden, or set them in your fridge to speed the process up. These smell so fantastic that I opt to leave them out.
Here it is after about 30 minutes:

And an hour and a half after I poured them into the mold, they were solid enough for me to pop them out!

To use: rub your lotion bar between your palms for a few seconds to warm it up and melt it a bit and then smooth over arms, legs, hands; anywhere that needs moisturizing!

Big Bonuses
- Easy to use: I used to use coconut oil by itself to moisturize. It was messy and took a while to soak in, and I still felt a little greasy. These lotion bars are simple to use without dripping and slipping everywhere!
- Gentle: I have super sensitive skin – especially on my legs just after shaving. I have yet to experience irritation after using these little gems.
- Customize-able: There are so many great EOs out there, so it’s really easy to make a scent that is uniquely you! There are also tons of different molds so you can personalize the shapes!
- Easy to make: The whole process took me about two hours and an hour and a half of that was spent watching Arrested Development while I waited for them to harden.
- Great for gifts: You could give these by themselves or even pair them with my sugar scrub recipe to give the gift of baby soft skin – your friends will love you!
What natural remedies do you guys use? Do you have a favorite combination of EOs? Do tell…