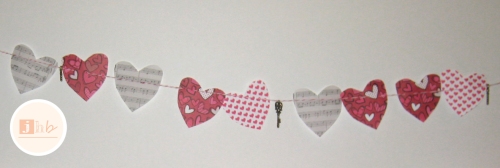
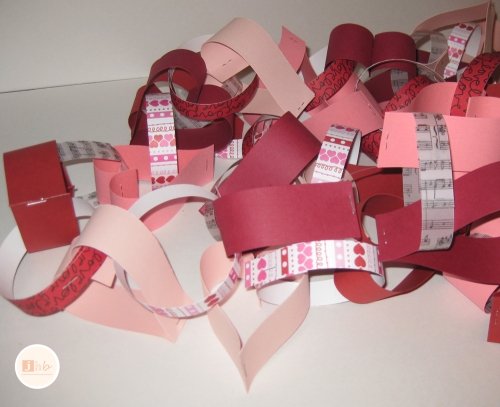
Love is in the air and the Hallmark Holiday that many of us celebrate and others love to hate is right around the corner. I’m not big Valentine’s Day to be honest. My birthday is the day before (YAY!) so I just ride the birthday high all the way into the 14th and keep on celebratin’. Plus any excuse to get crafty and make cute decorations is A-OK with me. Anyway I’m running late with this post so lets get on with it, yes? Here are three easy diy heart garlands that I made!
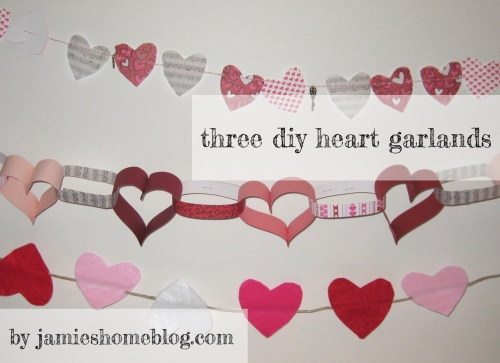
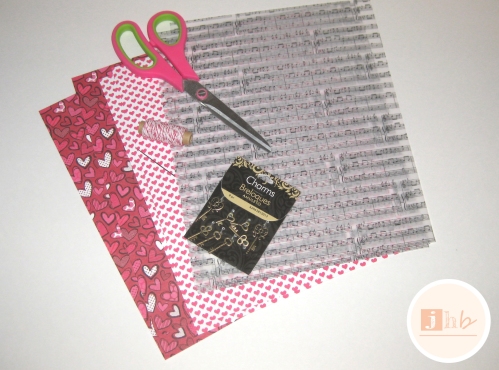
For the one you see in the top of the above picture, I used cutesy heart paper and music note vellum paper, a piece of card stock for a heart shaped template, decorative baker’s twine and a sewing needle, and some adorable little skeleton key charms.
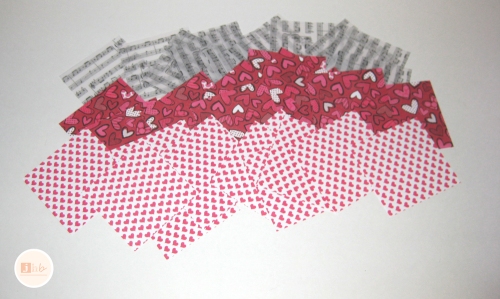
First, I cut the paper into 3″ x 3″ squares. Making them “hand-held” made it much easier to cut them into heart shapes.
I free-handed a teardrop shape in a piece of card stock that was folded in half and cut it out to use as a heart template.
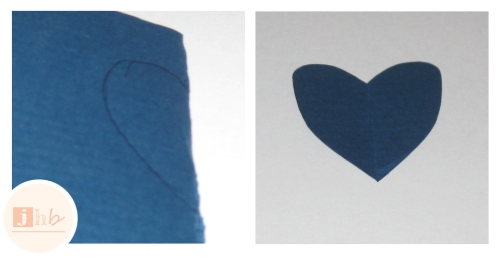
Traced it on the back of my paper squares…
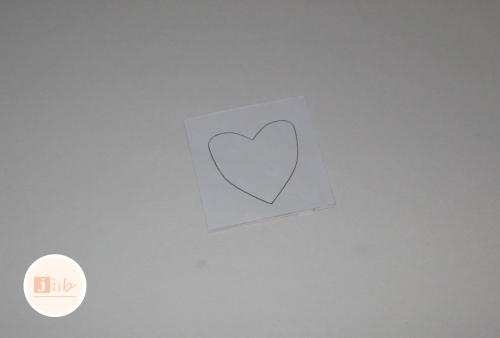
Then cut the hearts out. That sounds heartless, but who can resist the bad pun?
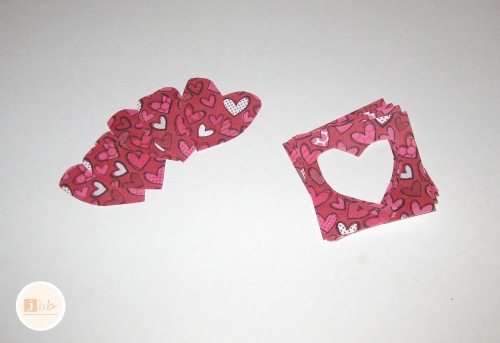
I layered four pieces each time I traced and cut the hearts to make the process faster. I have no idea how many I cut, I just kept going until I felt like I had enough for my garland (which is around 9 feet long).

Then I threaded a sewing needle with my red and white baker’s twine and just strung the hearts together, adding a skeleton key after every fourth heart. I didn’t follow any formula when sewing the twine into the hearts, just into the front and again into the back somewhere near the top.
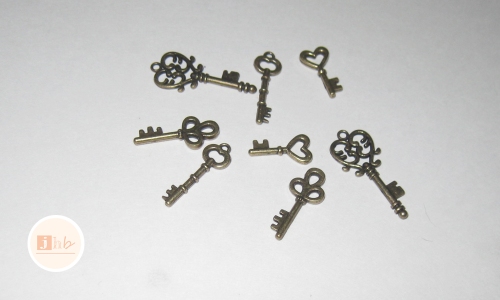

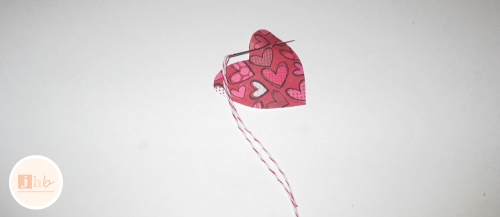

That’s it! Heart Garland One: Done.
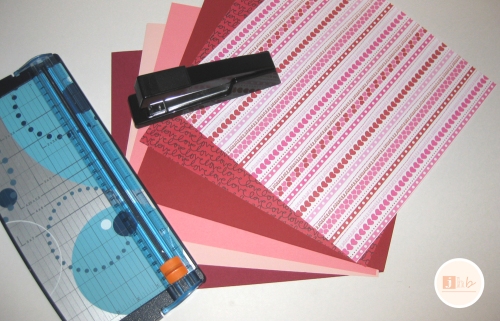
The second garland is my Valentine’s Day version of the good ol’ paper chain. For this I used four 12″ x 12″ pieces of red and pink scrapbook paper, two 12″ x 12″ pieces of decorative scrapbook paper (hearts and the word love), one piece of the 8.5″ x 11″ music note vellum paper, a paper slicer and a stapler.
The solid-colored papers, I cut into 8 equal strips; each 1.5″ thick.
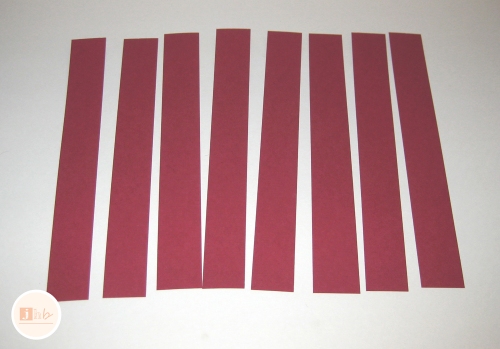
This paper has a pretty, linen-like texture to it and is thicker than plain paper but not as thick as card stock. I’m not sure how this project would work with thicker paper but I imagine this next part would be more difficult.
First, I folded the strip in half and stapled it about one-half inch above my fold.
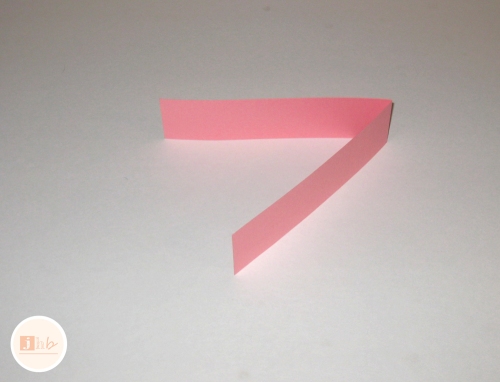
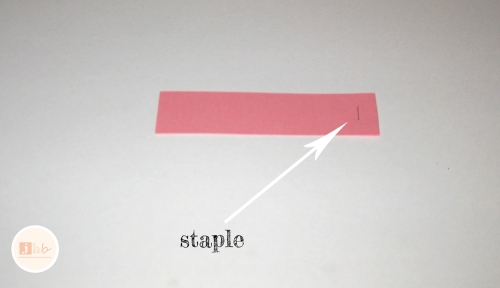
Then I pulled both sides around and stapled the ends together at the bottom to make a heart!
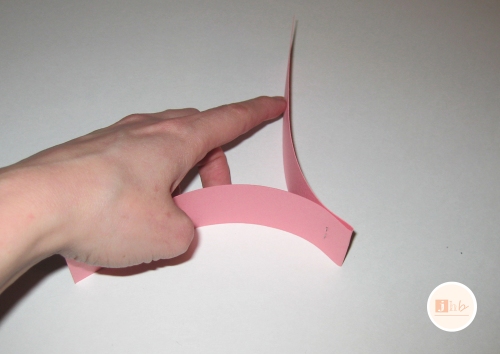
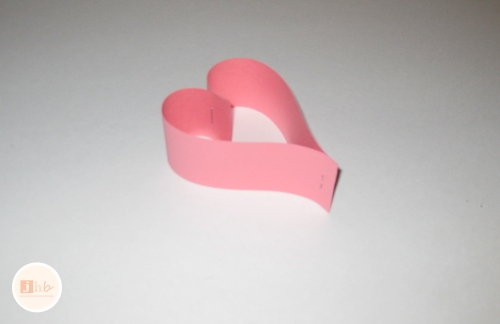
I repeated this process for each of the eight strips from all four papers.
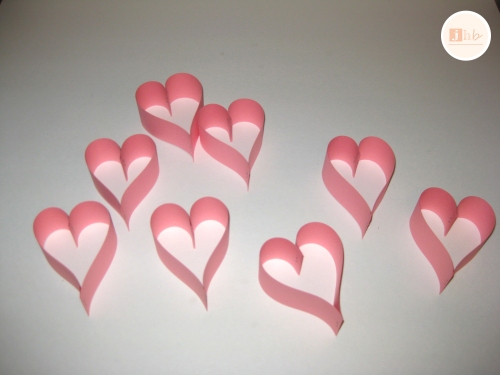
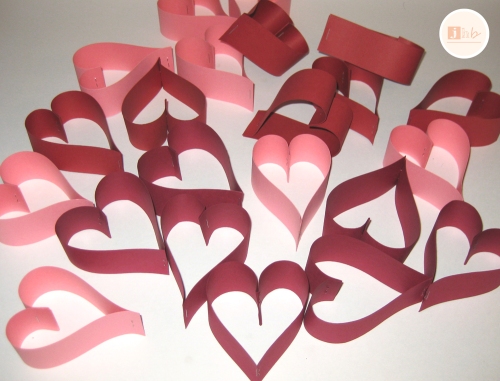
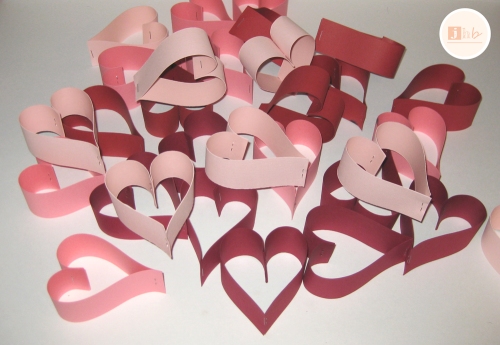
I’ll save you the math, that’s 32 times! This particular garland clocks in at around 15 feet!
Then the heart, love and music note papers were cut into strips that were about 3/4″ thick.
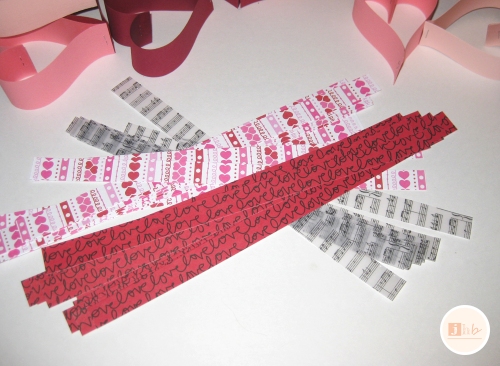
I stapled the strips like rings through the hearts to create a heart chain. And that’s all, it’s that easy!

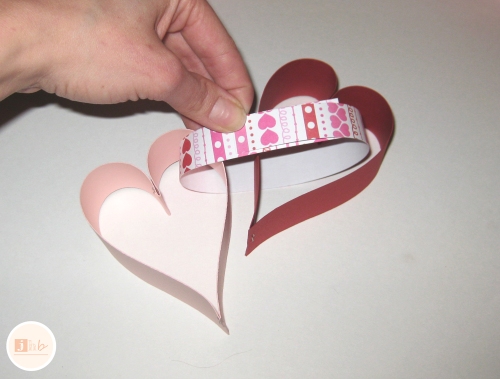
Heart Garland Two: Done.
This last one took a little longer, but was less step-involved and might be my favorite one. It’s so simple and cute! I used eight pieces of V-Day colored felt, a card stock heart template, an iron and stitch witchery, and twine.
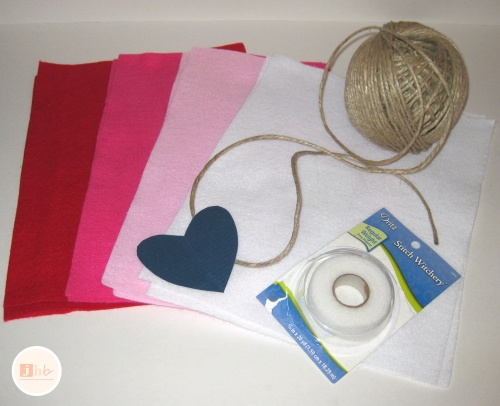
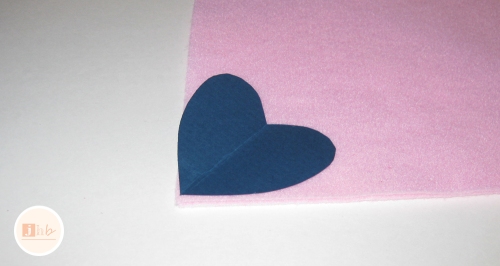
I used the same teardrop technique from the first garland in this tale to create a heart-shaped template that’s about the size of my palm.
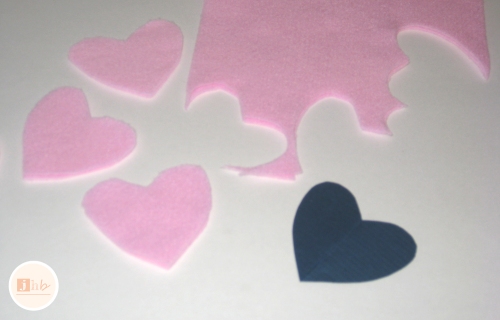
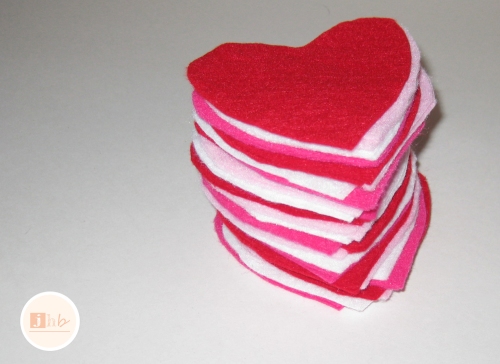
Then I cut hearts out of each piece of felt, two layers at a time. I didn’t follow a method with this, I just cut a heart, moved the template, cut another and so forth.
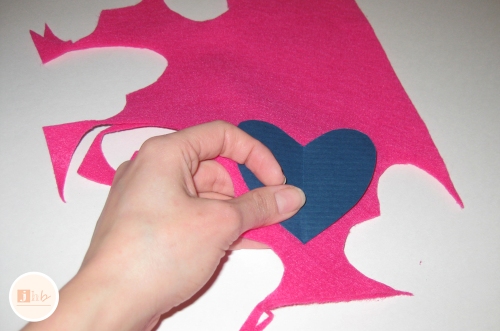
After the hearts were all cut, I pulled out my iron and got to work with the stitch witchery. If you haven’t used this stuff before, let me break it down real quick for you.
You lay your stitch witchery where you want your fabric to be bonded or hemmed, lay a damp cloth over your fabric, and use your iron to essentially melt the stitch witchery, sealing your fabric just like thread would, but without the stitched look. It’s even machine washable. The stuff rocks my socks off.
I used a long strip across the top of one heart and a short strip across the bottom, laid another heart on top, laid my damp cloth on and pressed with my iron for ten seconds. Then flipped each heart over, laid the damp cloth down again and pressed for another ten seconds on the other side.
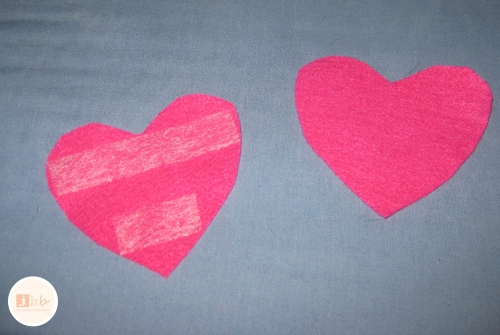
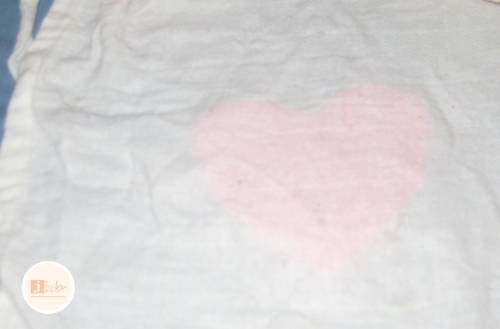
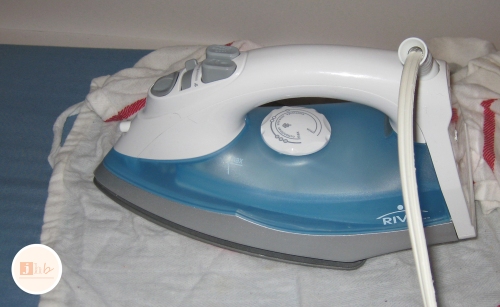
I repeated this process I’m not sure how many times, and ended up with a nice little stack of them. This last garland ended up being around 12 feet long.
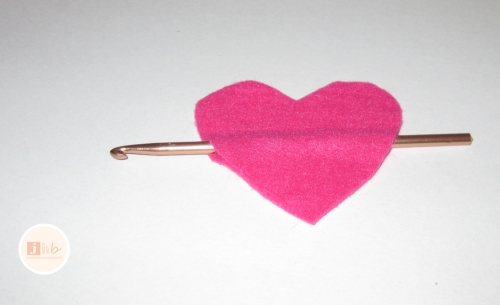
Then I just strung the twine between the two bonded parts of the hearts. I used a crochet hook on some of them since the twine seemed to slide through more easily that way.

And just like that… Heart Garland Three: Done.
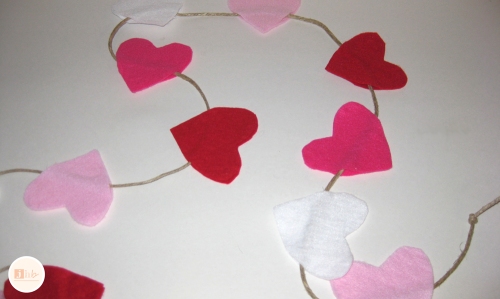
These were so fun to make! I wish I could have posted this sooner, but there’s still time for you to make one too! Well, I’m off to hang them now…

What diy Valentine’s Day projects have you been up to? Do you have a favorite of the three garlands I made? Do tell…
32.960637
-96.998943

